Wednesday, April 2, 2008

4G63 Build part 4

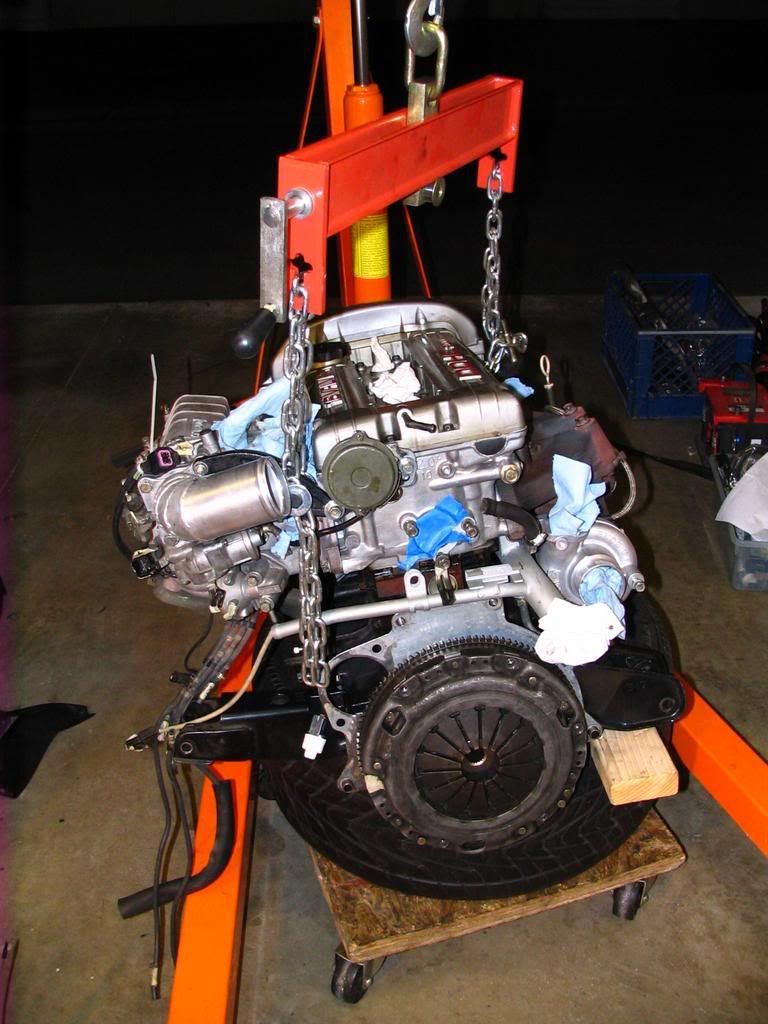
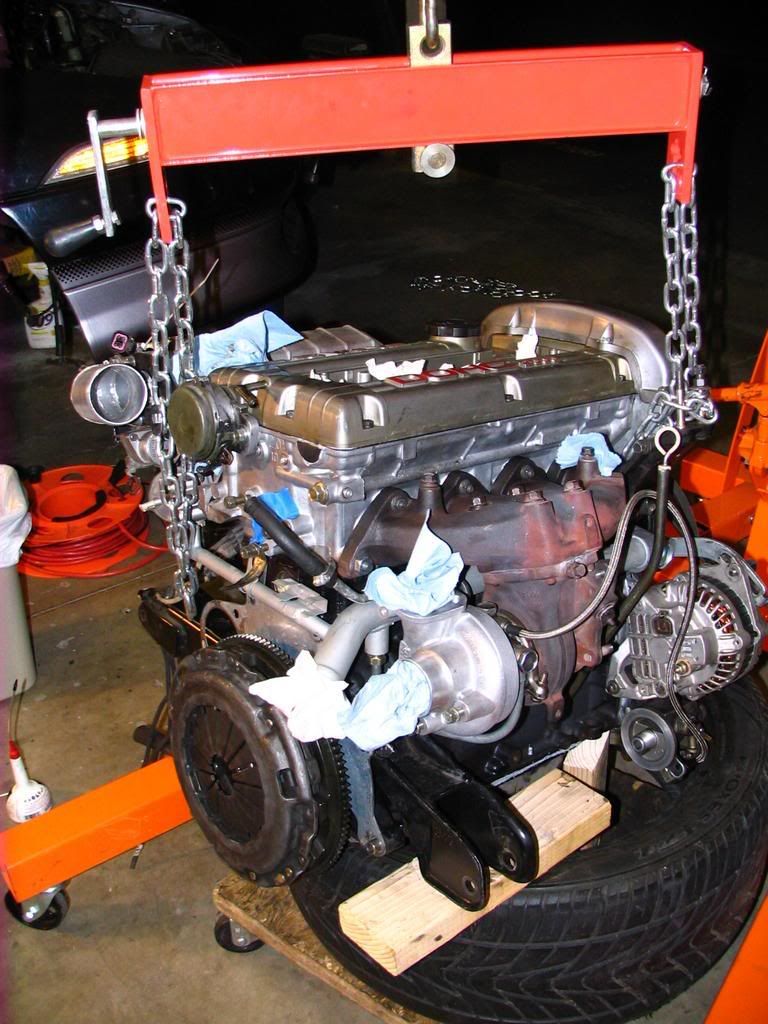
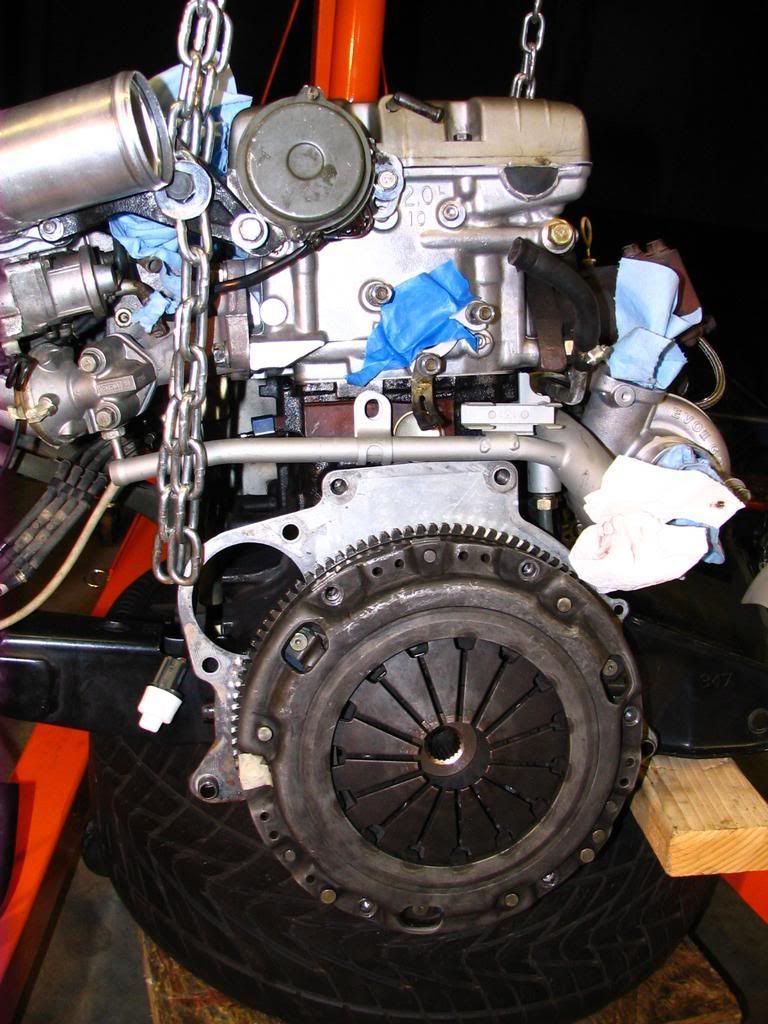
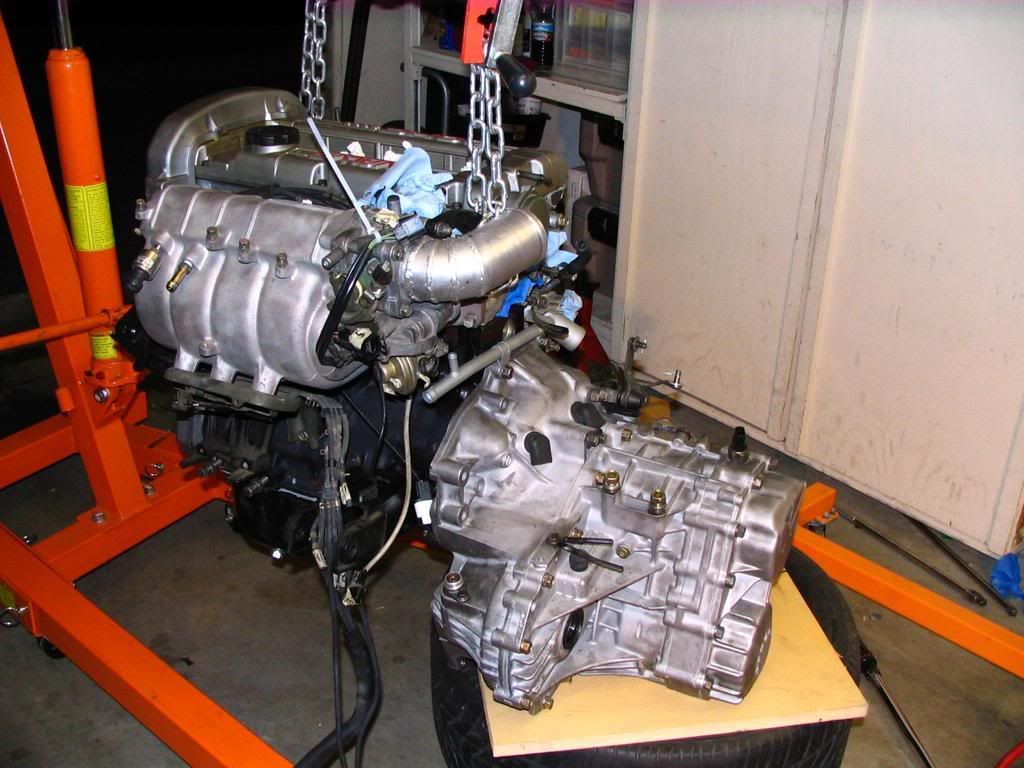
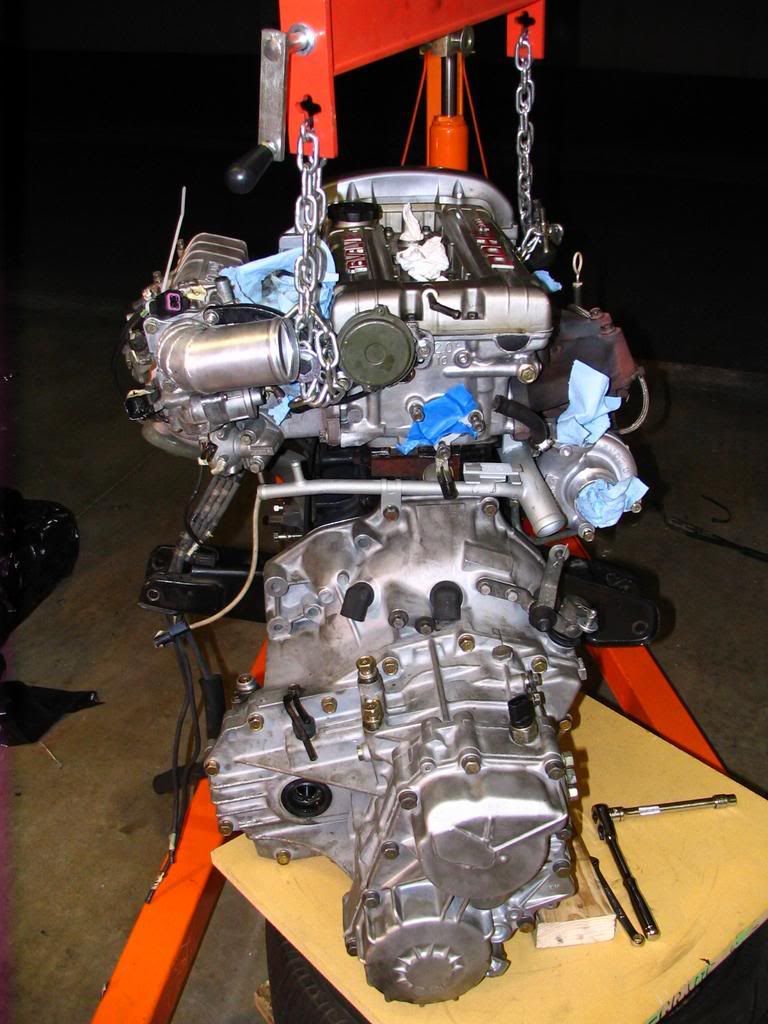
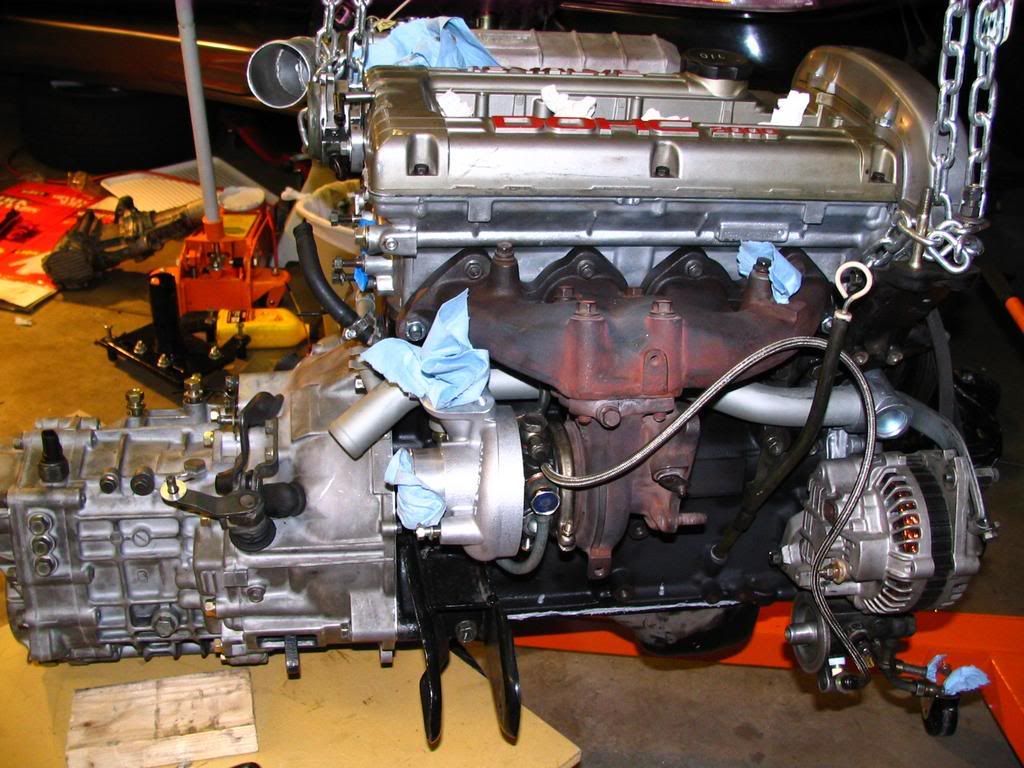
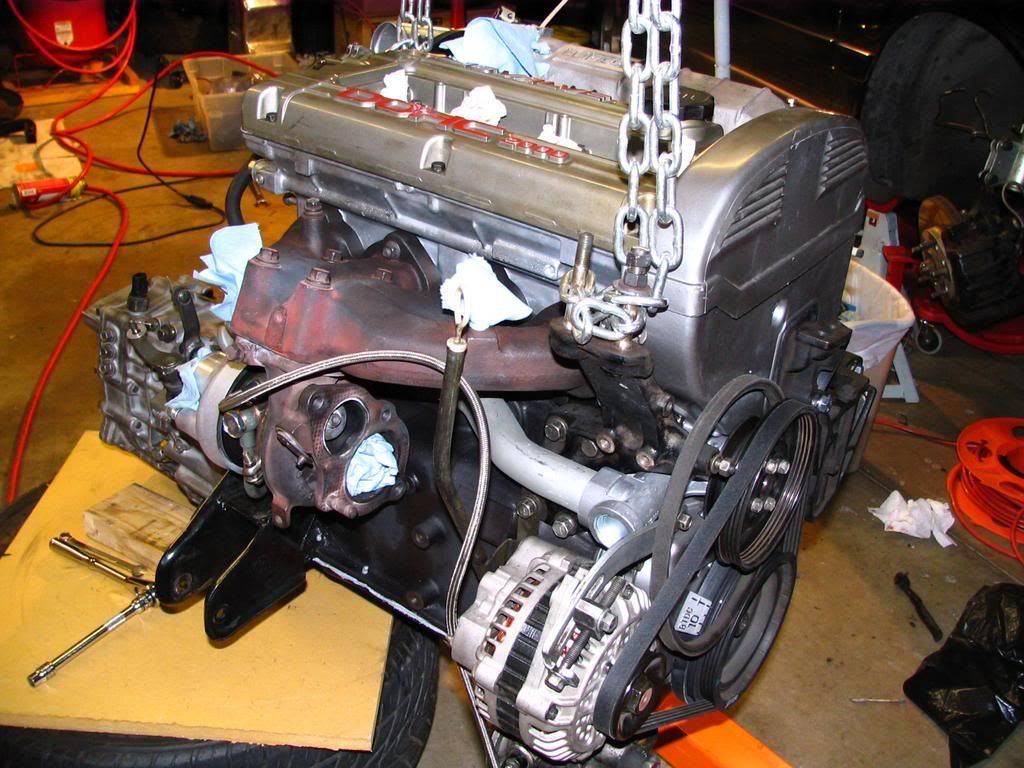
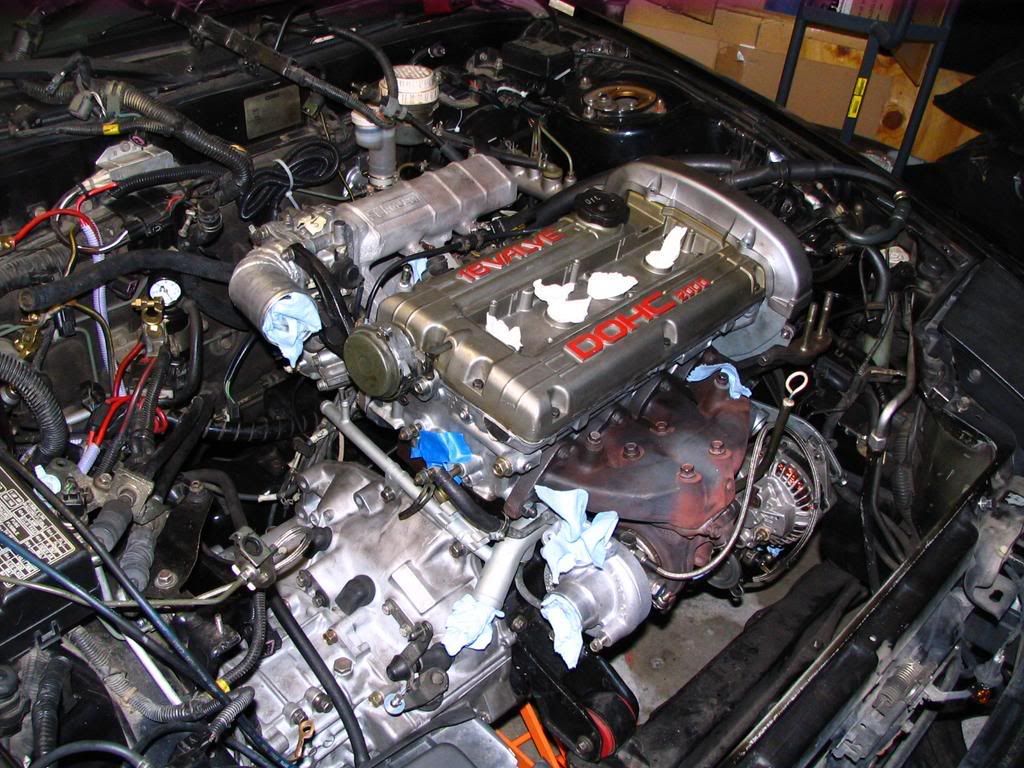
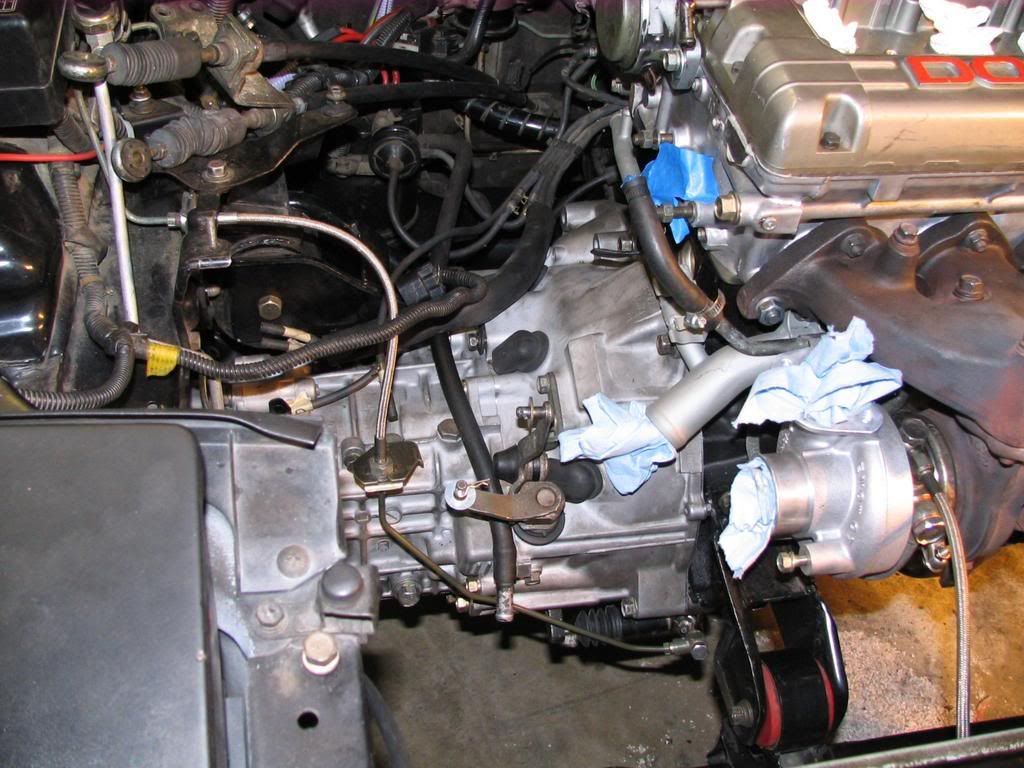
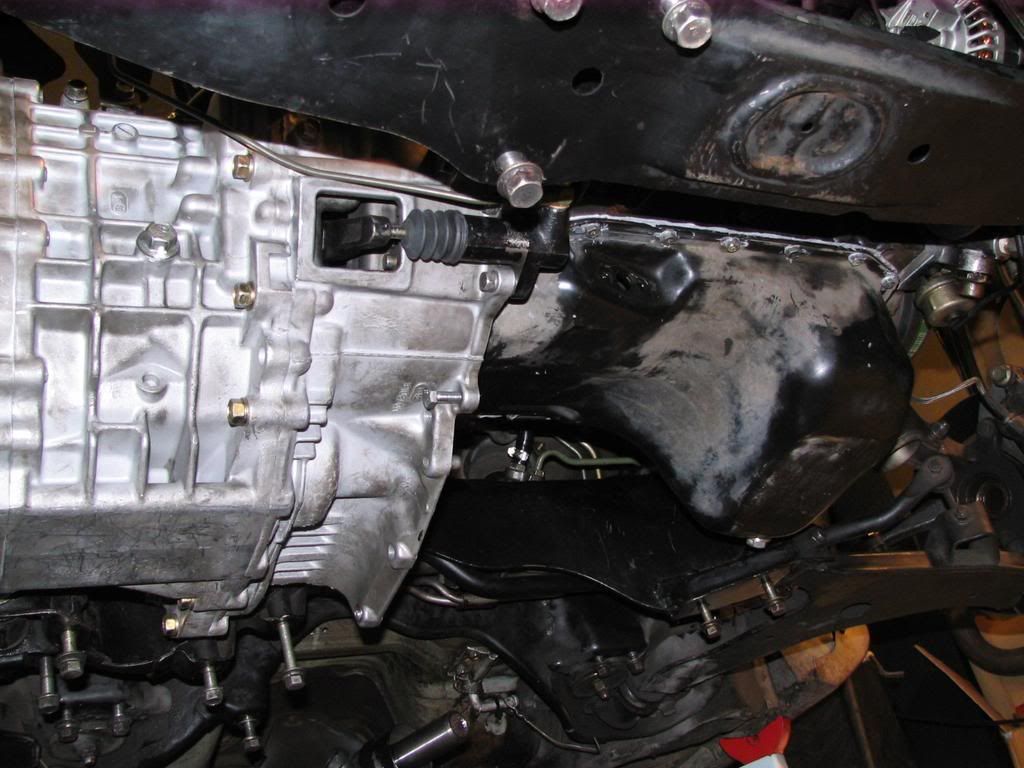
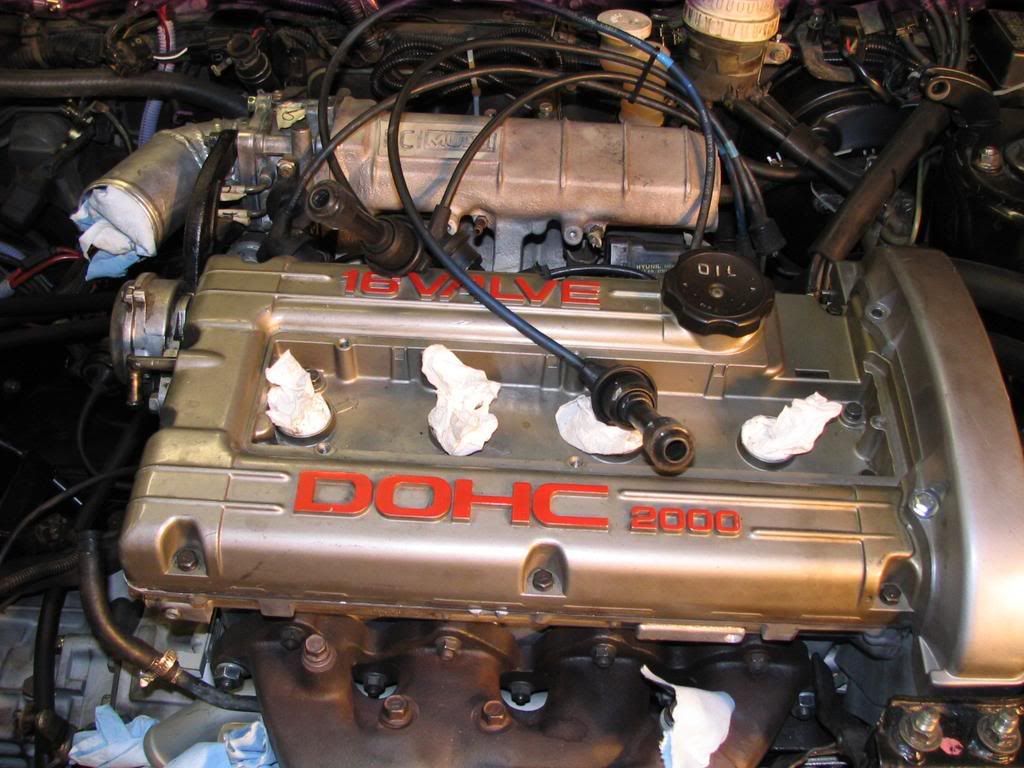
Okay, here we go. Yet another incredibly late update. Now that the engine is completely assembled, its time to bolt up the transmission before dropping it in. This was a little tricky by myself, but not to bad thanks to the cherry picker.


IMG_8280.jpg IMG_8280.JPG picture by stringfr
IMG_8281.jpg IMG_8281.JPG picture by stringfrIMG_8279.jpg IMG_8279.JPG picture by stringfrIMG_8284.jpg IMG_8284.JPG picture by stringfrIMG_8286.jpg IMG_8286.JPG picture by stringfr


All put together and ready to go in:

IMG_8288.jpg IMG_8288.JPG picture by stringfr
IMG_8289.jpg IMG_8289.JPG picture by stringfr


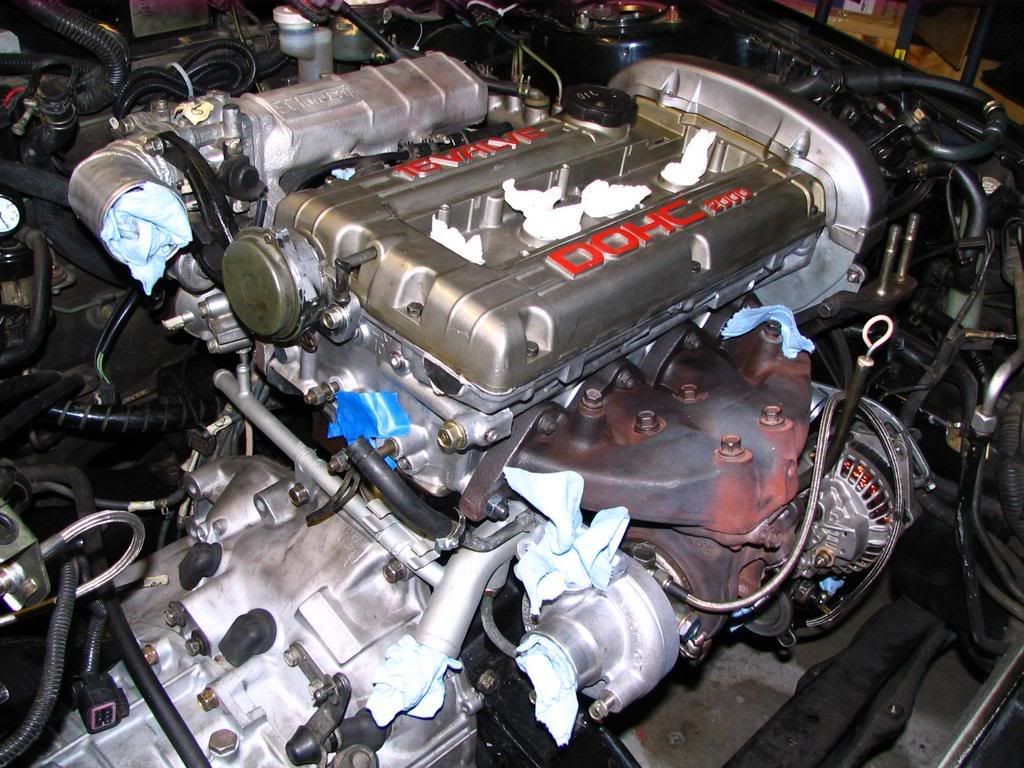
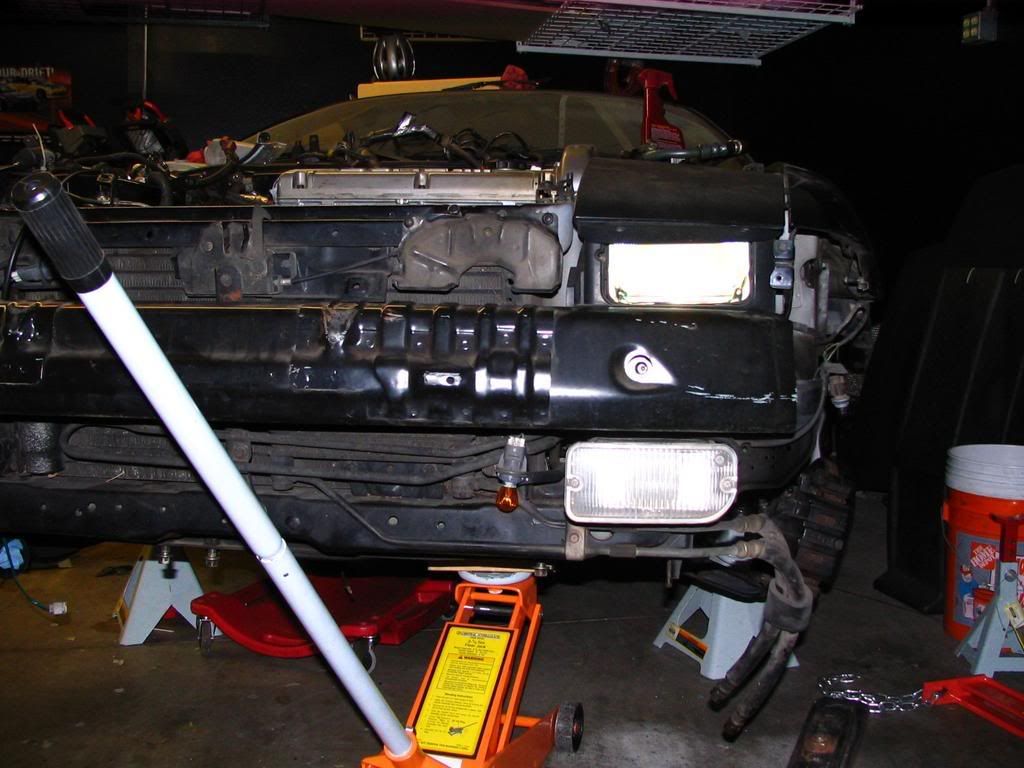
Sorry, no pics of hoisting it into the car (all hands were busy). Just like removing the engine, we jacked the car WAY up in the air and slid the whole assembly in from underneath and then lowered the car down.

IMG_8290.jpg IMG_8290.JPG picture by stringfr
IMG_8291.jpg IMG_8291.JPG picture by stringfrIMG_8292.jpg IMG_8292.JPG picture by stringfr


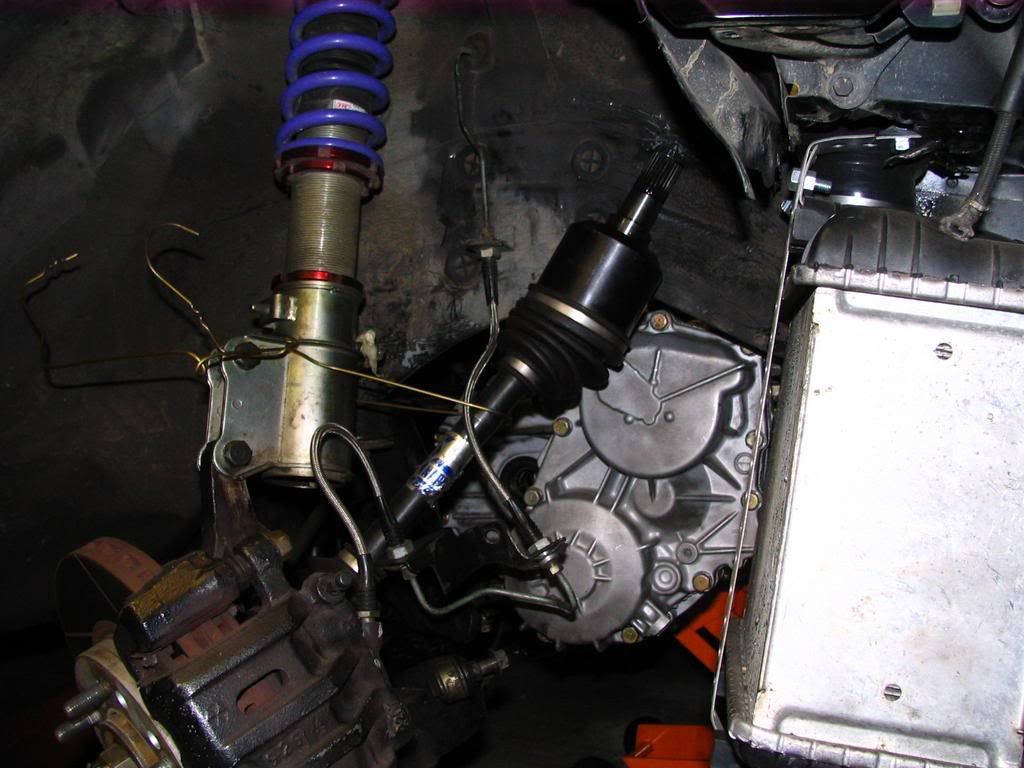
Oh, one tip I forgot to point out when removing everything. Here's how I supported the axle when I pulled it out of the transmission:

IMG_8293.jpg IMG_8293.JPG picture by stringfr


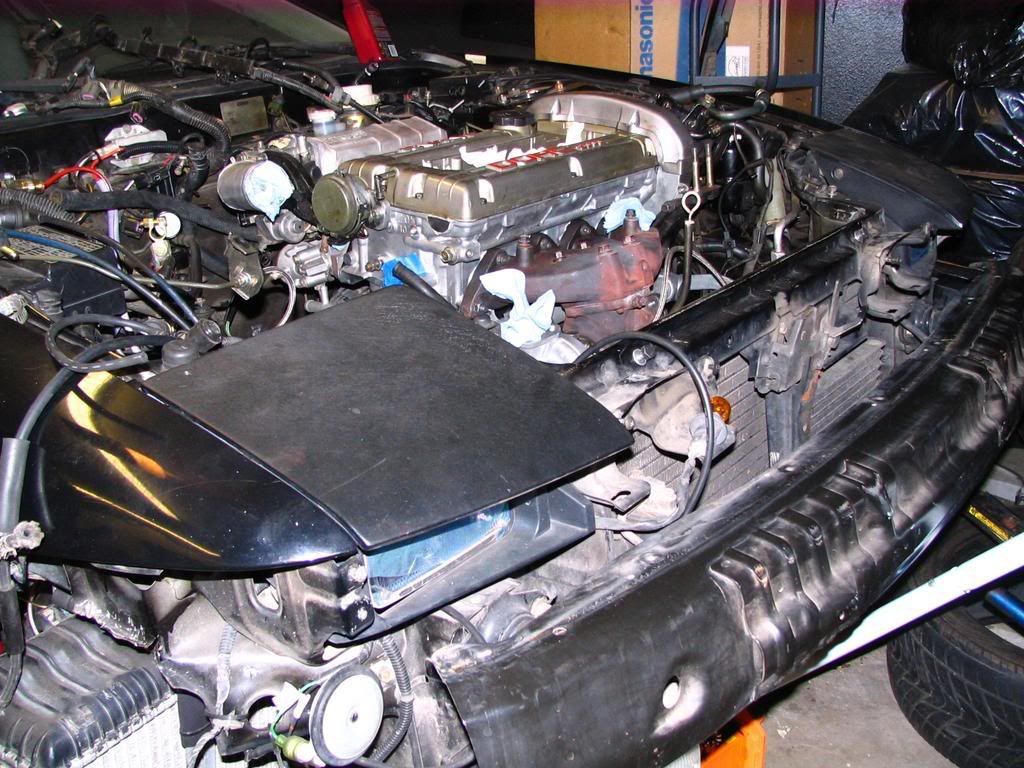
Progression of hooking everything back up:

IMG_8294.jpg IMG_8294.JPG picture by stringfr
IMG_8295.jpg IMG_8295.JPG picture by stringfrIMG_9150.jpg IMG_9150.JPG picture by stringfrIMG_9157.jpg IMG_9157.JPG picture by stringfrIMG_9158.jpg IMG_9158.JPG picture by stringfrIMG_9247.jpg IMG_9247.JPG picture by stringfrIMG_9248.jpg IMG_9248.JPG picture by stringfrIMG_9249.jpg IMG_9249.JPG picture by stringfr


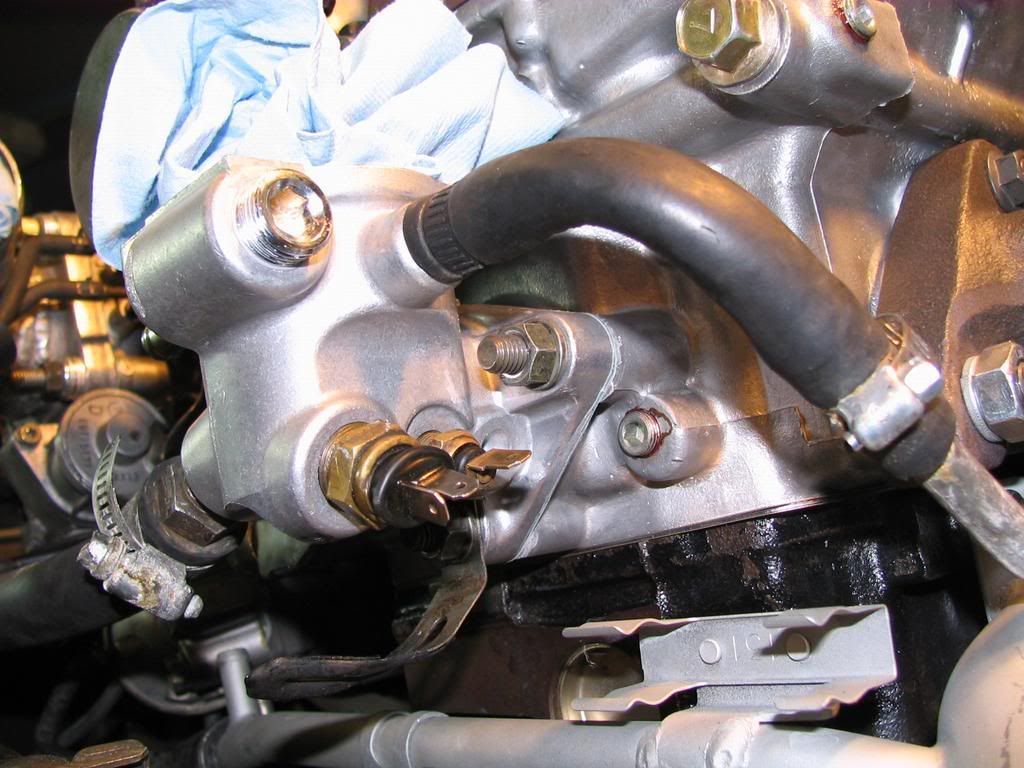
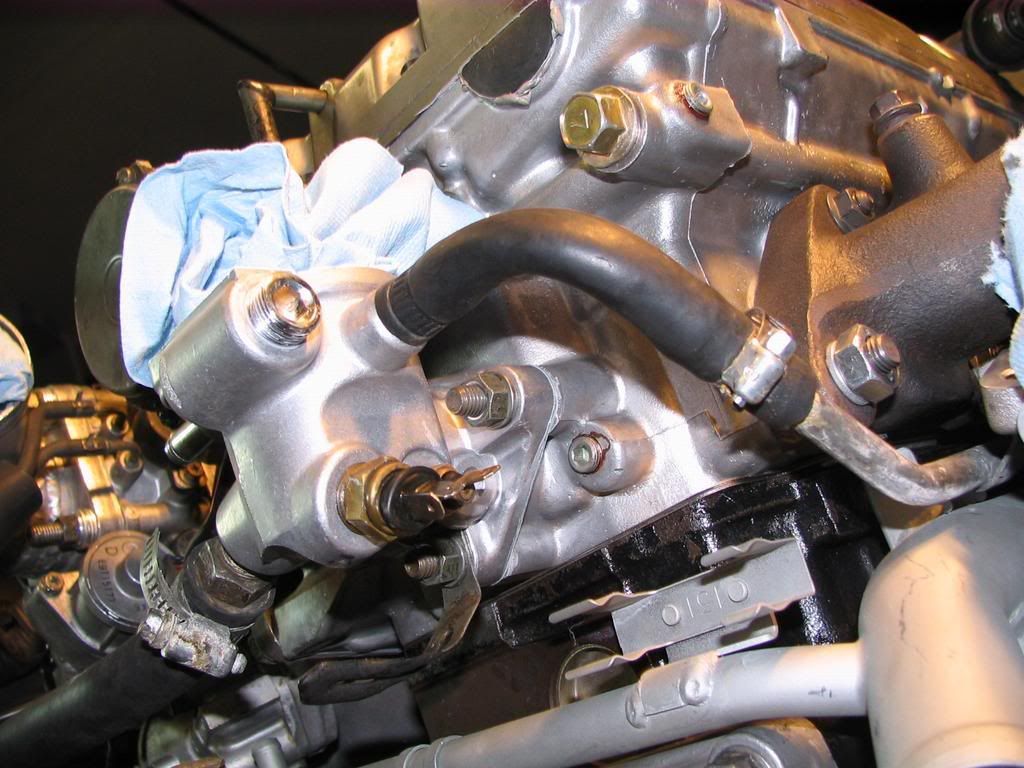
Brand new t-stat housing:

IMG_9163.jpg IMG_9163.JPG picture by stringfr
IMG_9164.jpg IMG_9164.JPG picture by stringfr


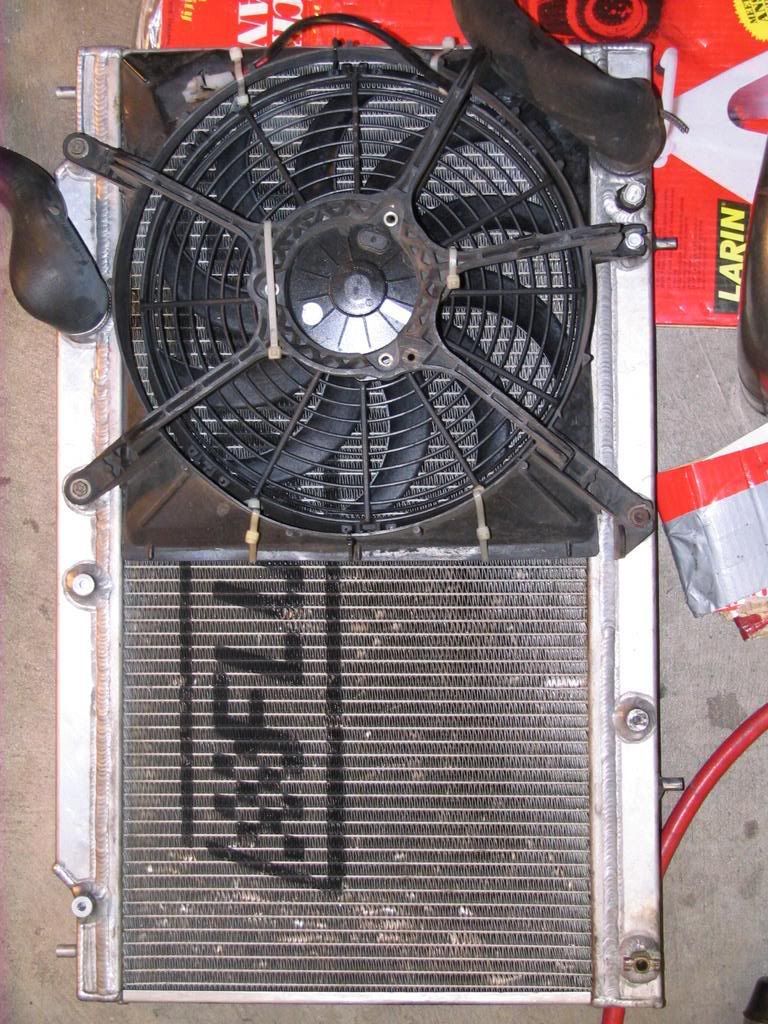
Radiator ready to go in:

IMG_9250.jpg IMG_9250.JPG picture by stringfr


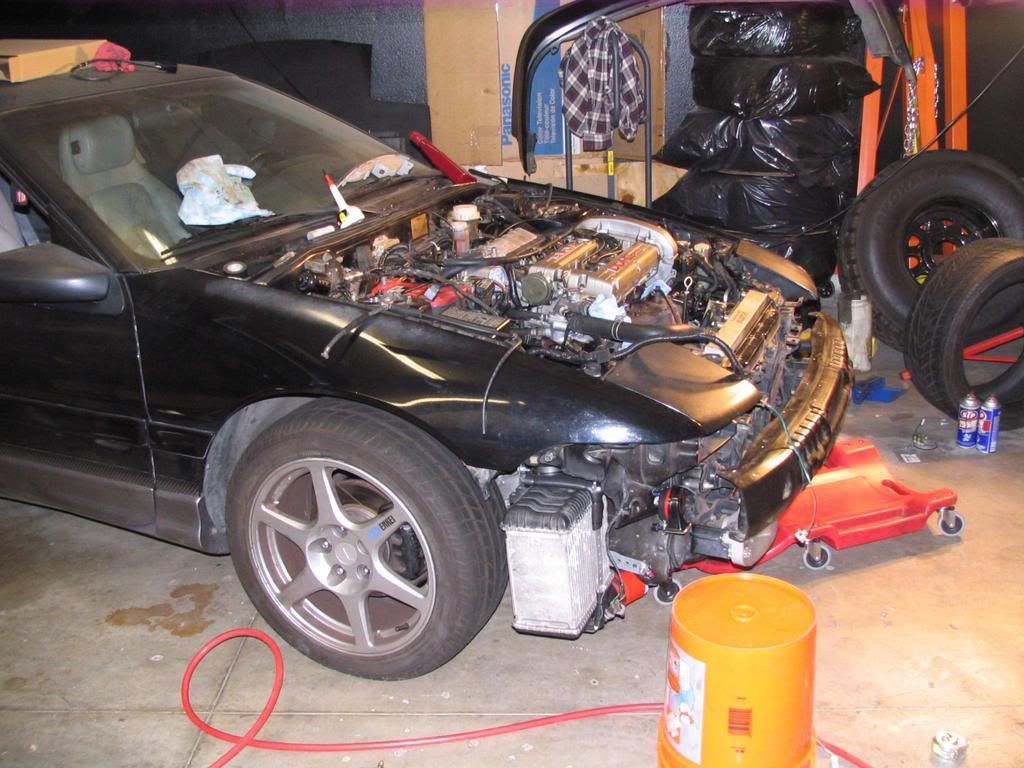
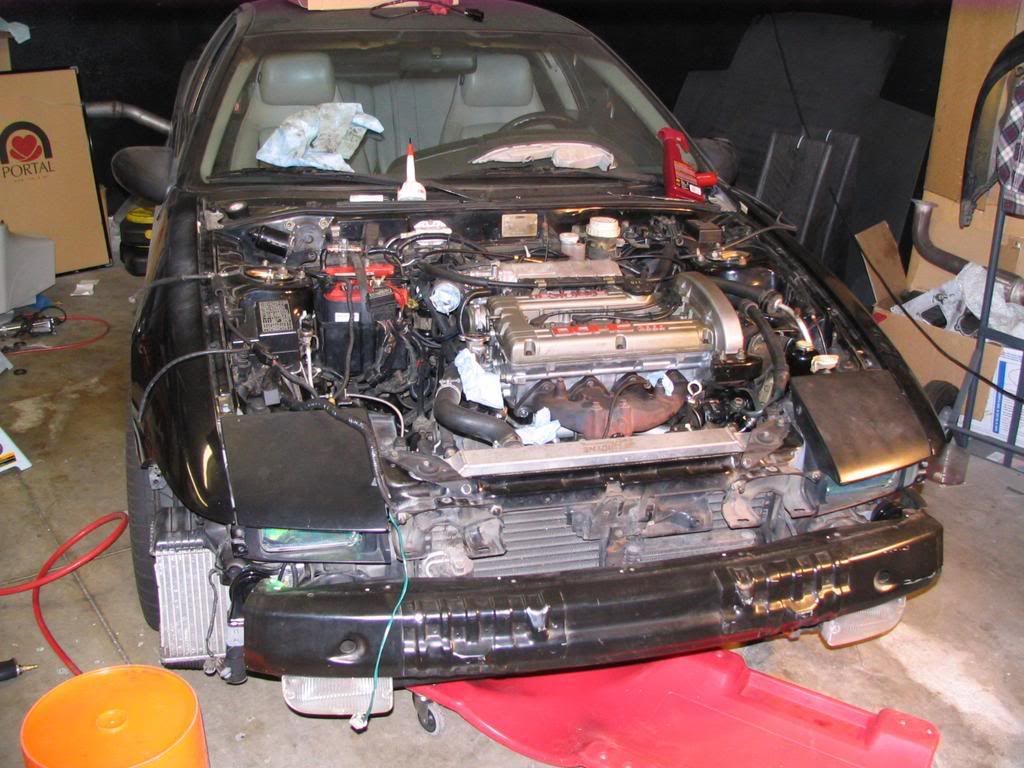
So close, yet so far away

IMG_9251.jpg IMG_9251.JPG picture by stringfr
IMG_9253.jpg IMG_9253.JPG picture by stringfrIMG_9559.jpg IMG_9559.JPG picture by stringfr


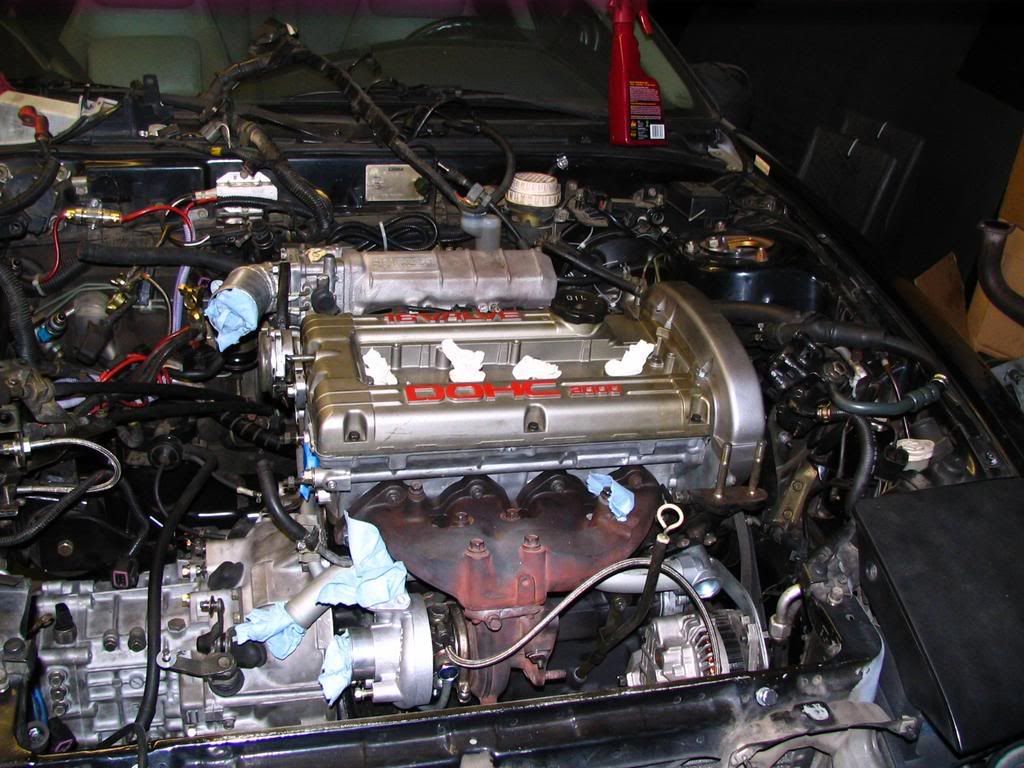
ALL RIGHT!! All put back together! Now all I have to do is prime the oil pump and fire it up! Stay tuned.

IMG_96293.jpg IMG_9629 (3).JPG picture by stringfr

Tuesday, April 1, 2008

Red Line Time Attack!

I wanted to enter my car in the Time Attack season opener last Sunday, but I'm still fine tuning and prepping the car. Megan and I did go up to Buttonwillow to spectate, though. Here's a short video that I put together from the event:


More updates on last year's engine swap coming soon! =P

Thursday, February 21, 2008

4G63 Build, Part 3

Well, so much for keeping this blog up to date. I completed installing the engine last December. At this point I'm fine tuning it and prepping it with a few more supporting mods so that I'll be able to turn up the boost. With that in mind, I'll go back in time and post the progression of the build where I left off.

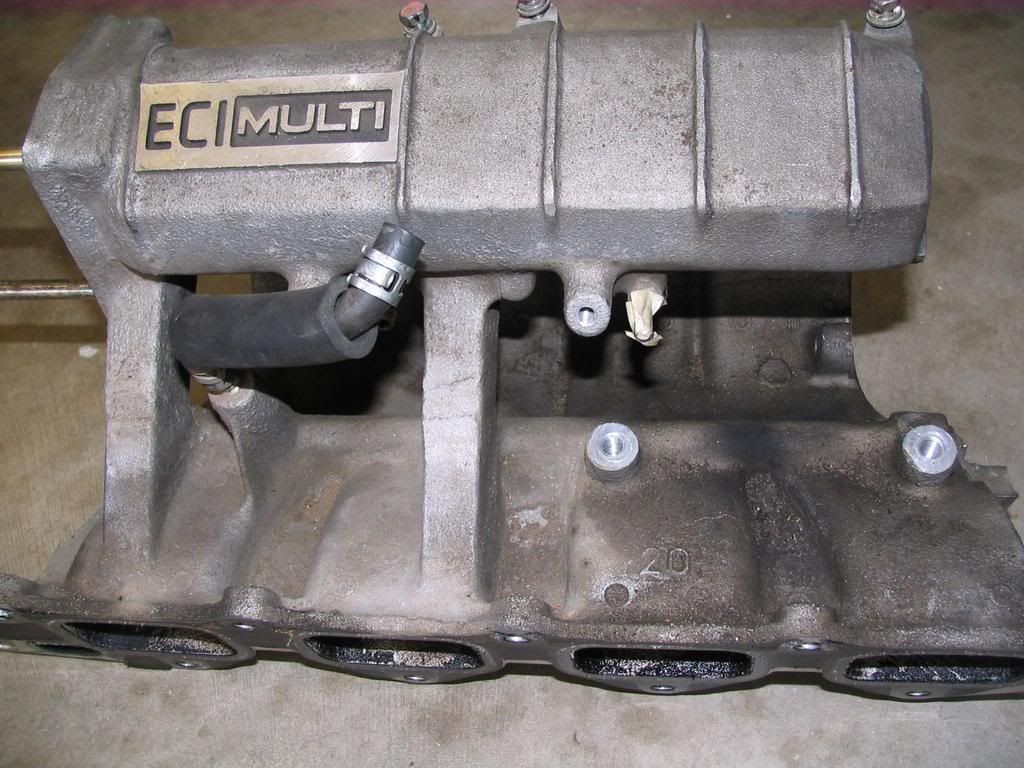
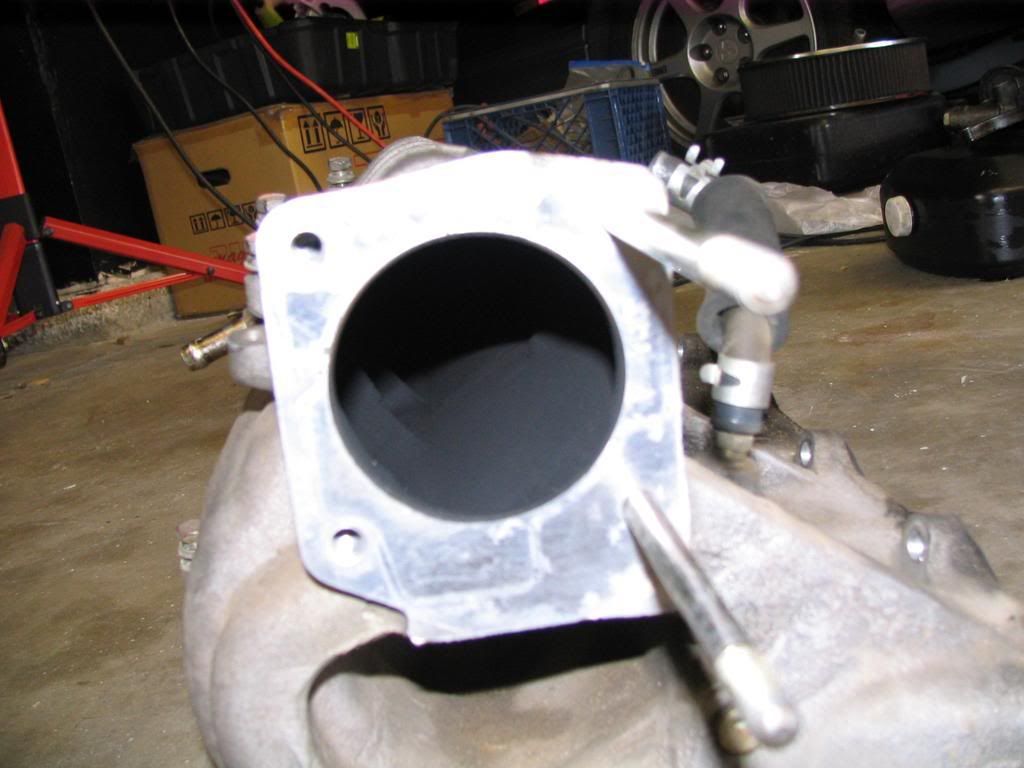
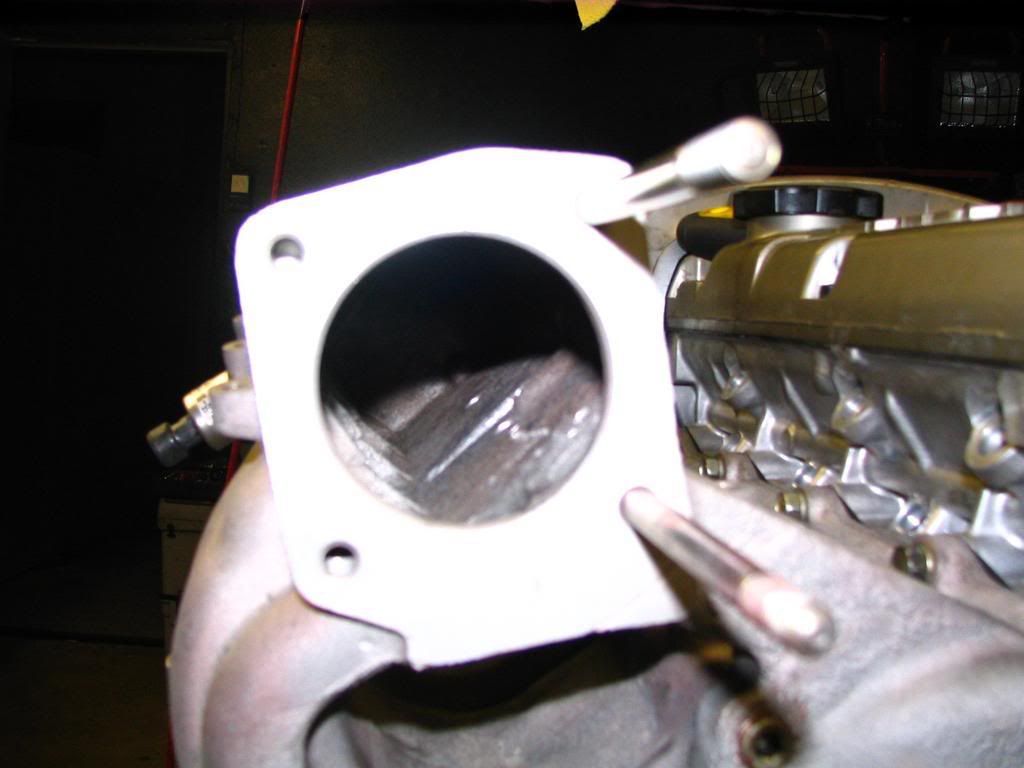
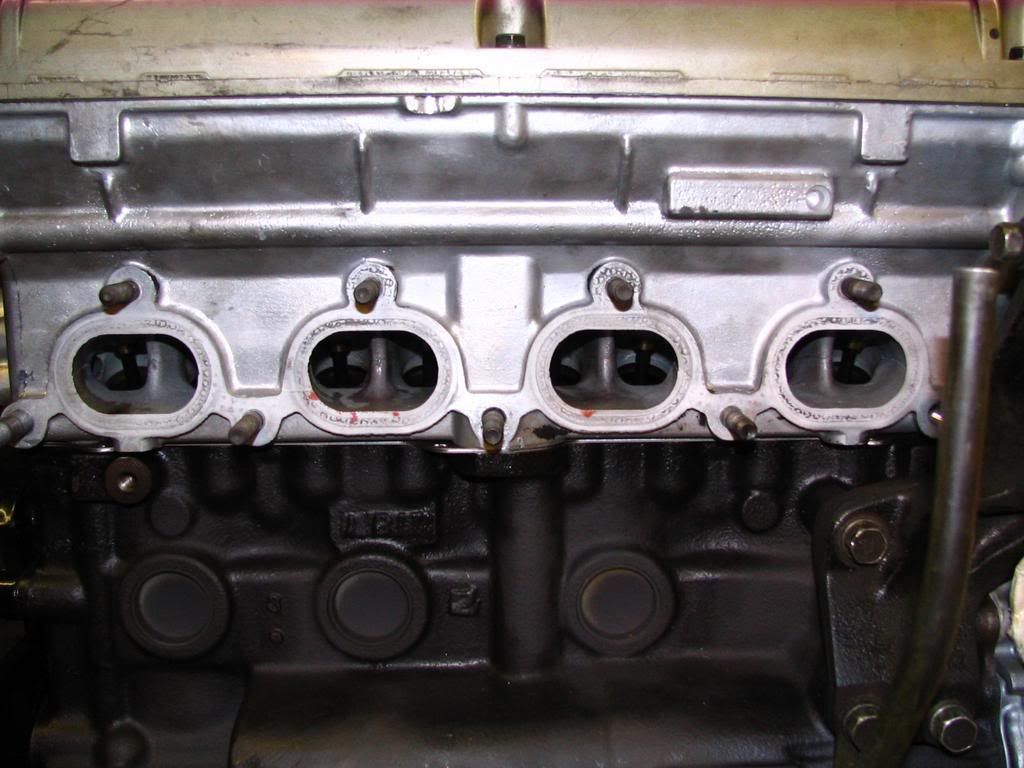
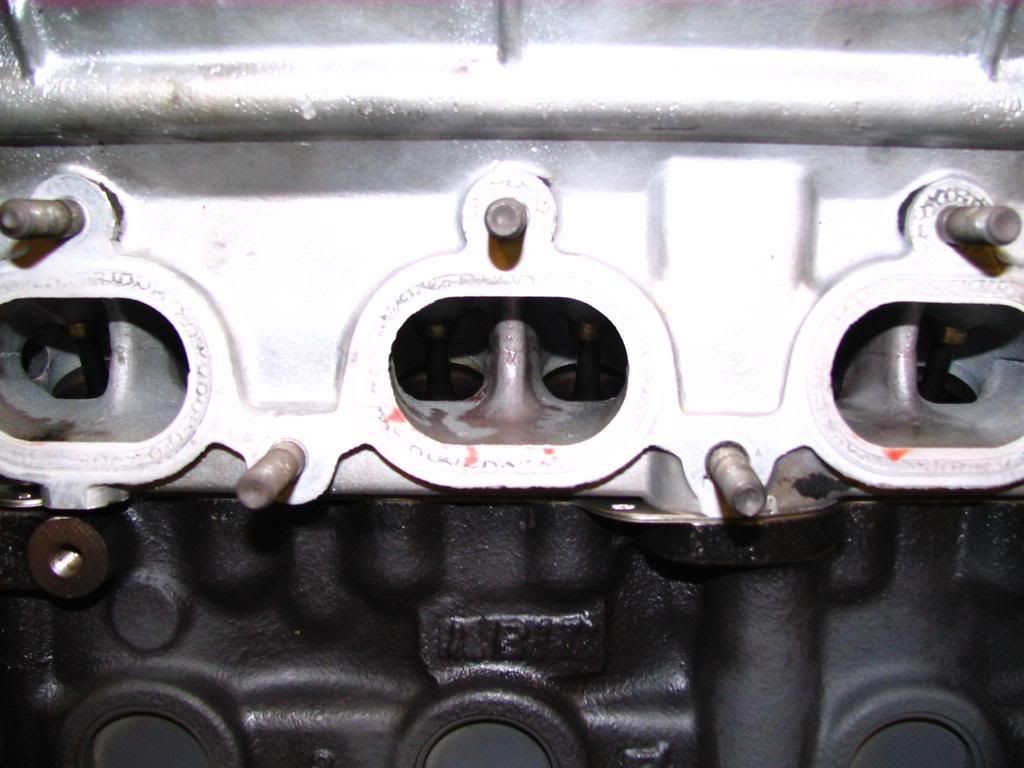
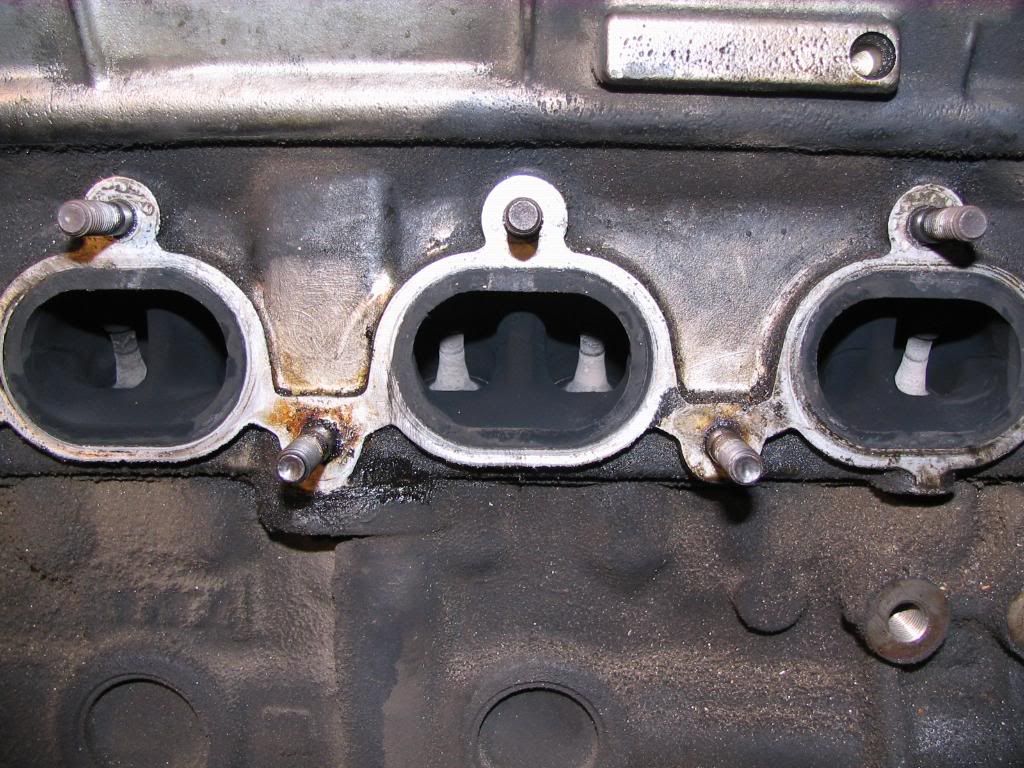
So, at this point the old engine was stripped to a long block and I dropped it off at Road Race Engineering to be transformed into a bored/stroked beast. I decided to take the intake manifold in to get it acid dipped so it would be nice and clean. Here's some "before" pics:


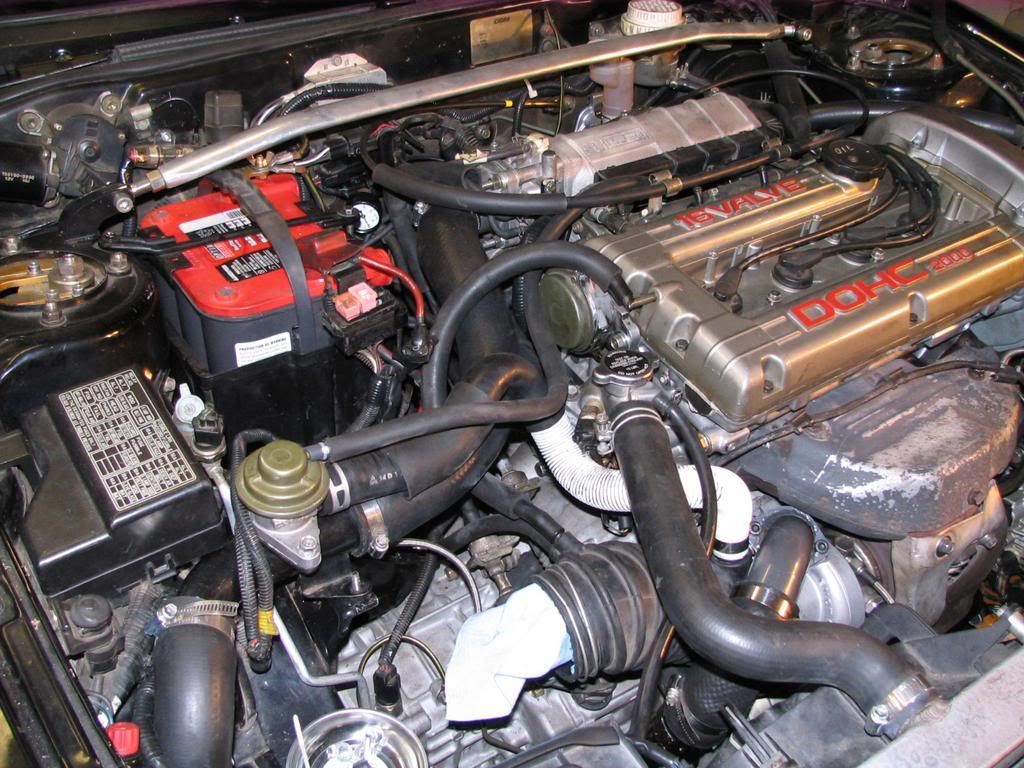
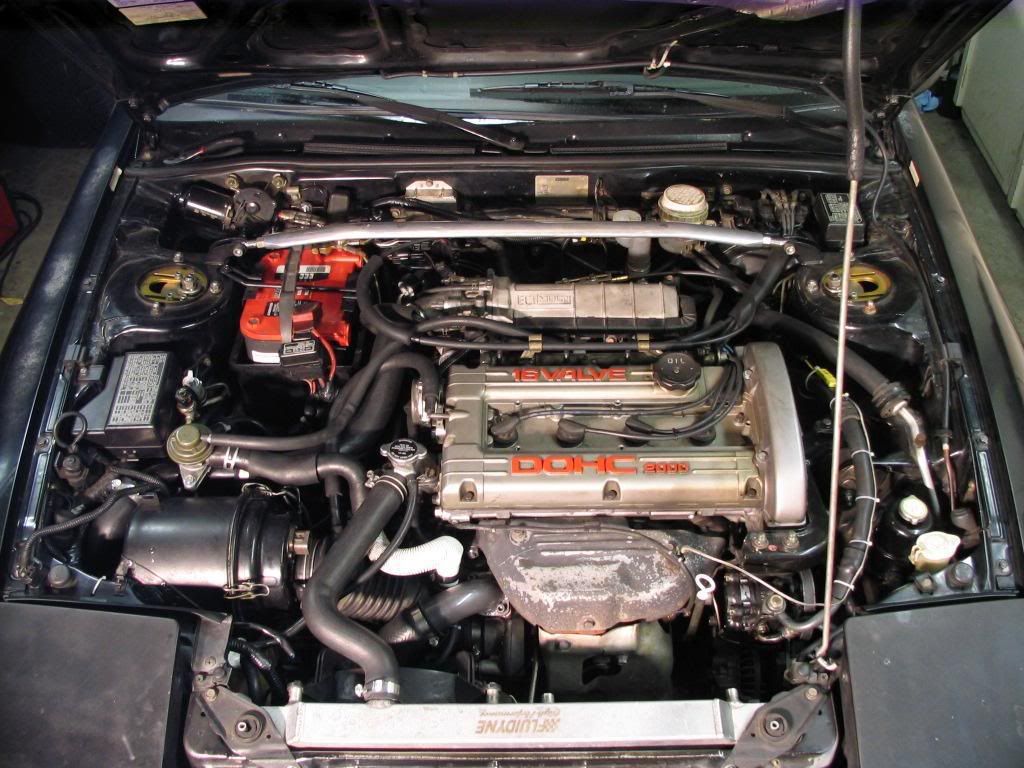
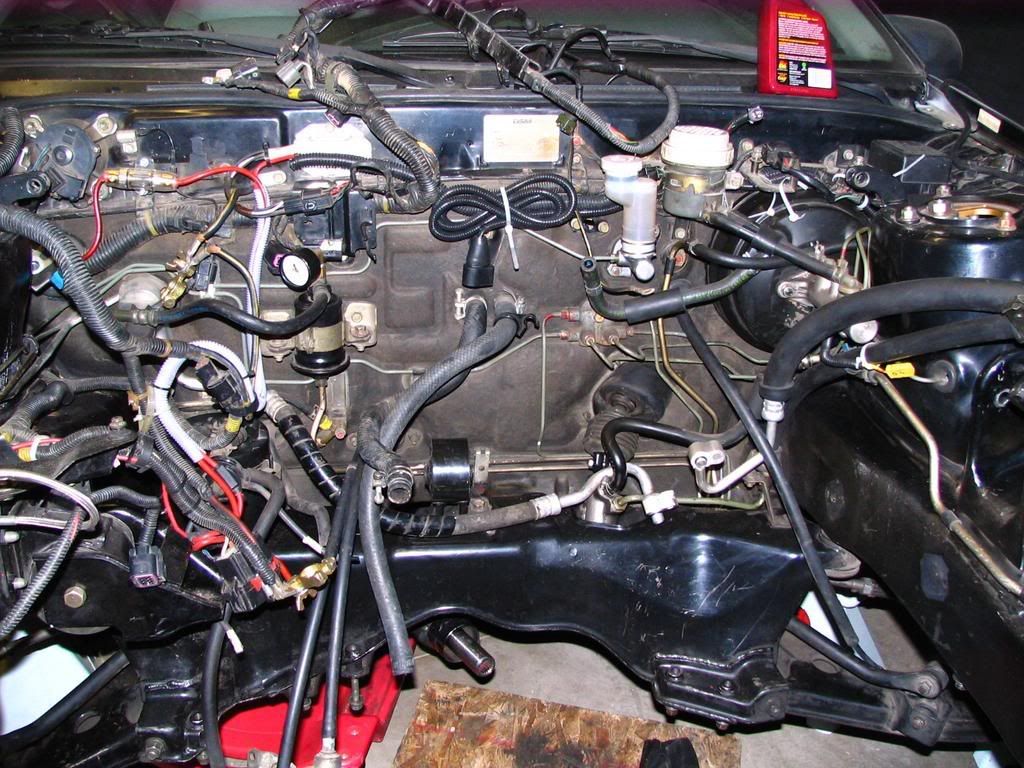
You'll see "after" pics once its installed on the rebuilt engine. Here's the engine bay...sans engine! I went at it for an hour or two with rags, scrub brushes, a toothbrush, and degreaser. NOT my idea of "fun".


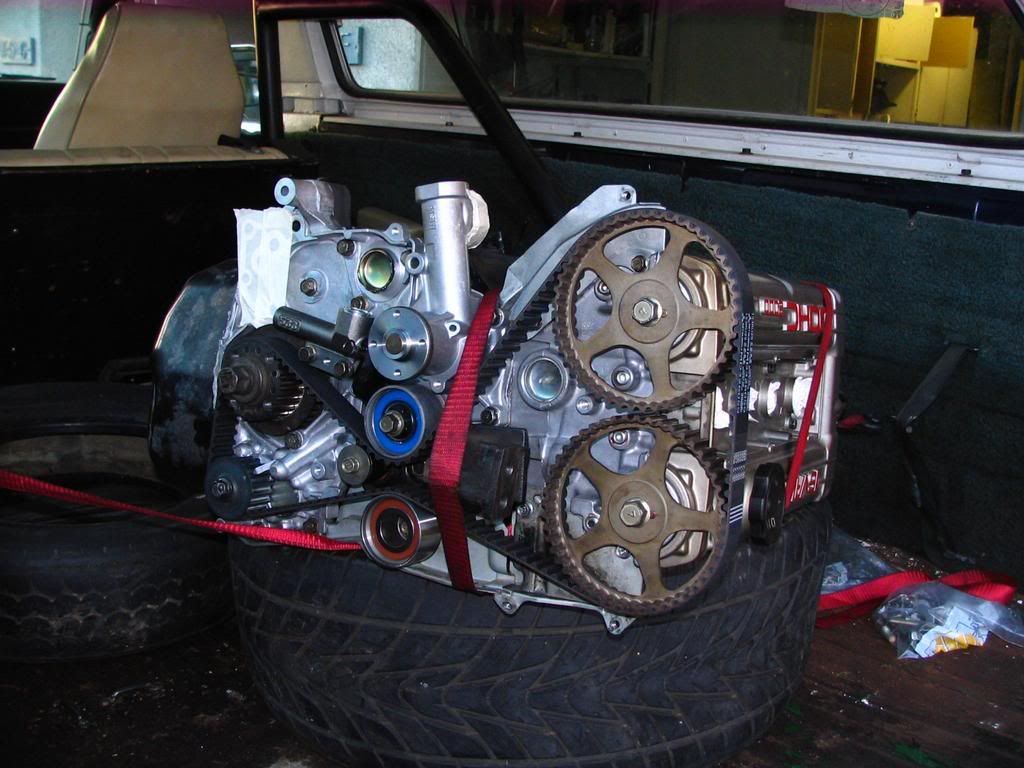
One day I got a call from Robert Garcia down at RRE. "Your engine's ready, come pick it up". I fired up the trusty ol' 1978 IH Scout and threw a tire and some ratchet straps in the back. Robert helped me load it up and back home I went with my brand new toy


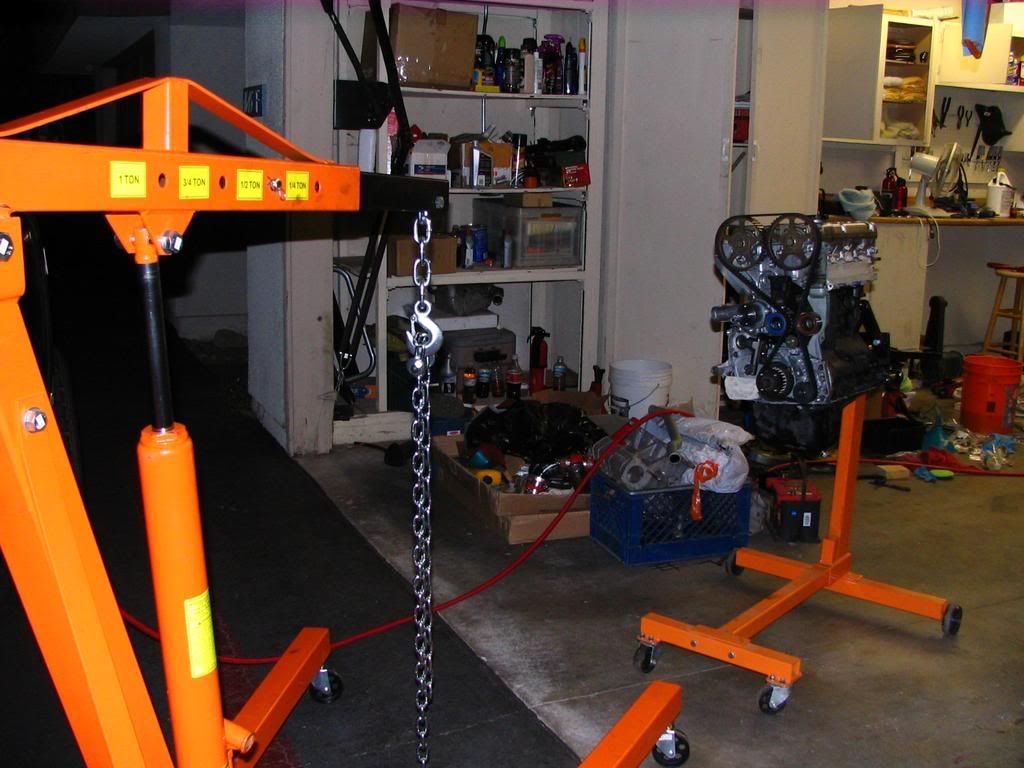
Used the Harbor Freight hoist to move it over to my Harbor Freight stand.


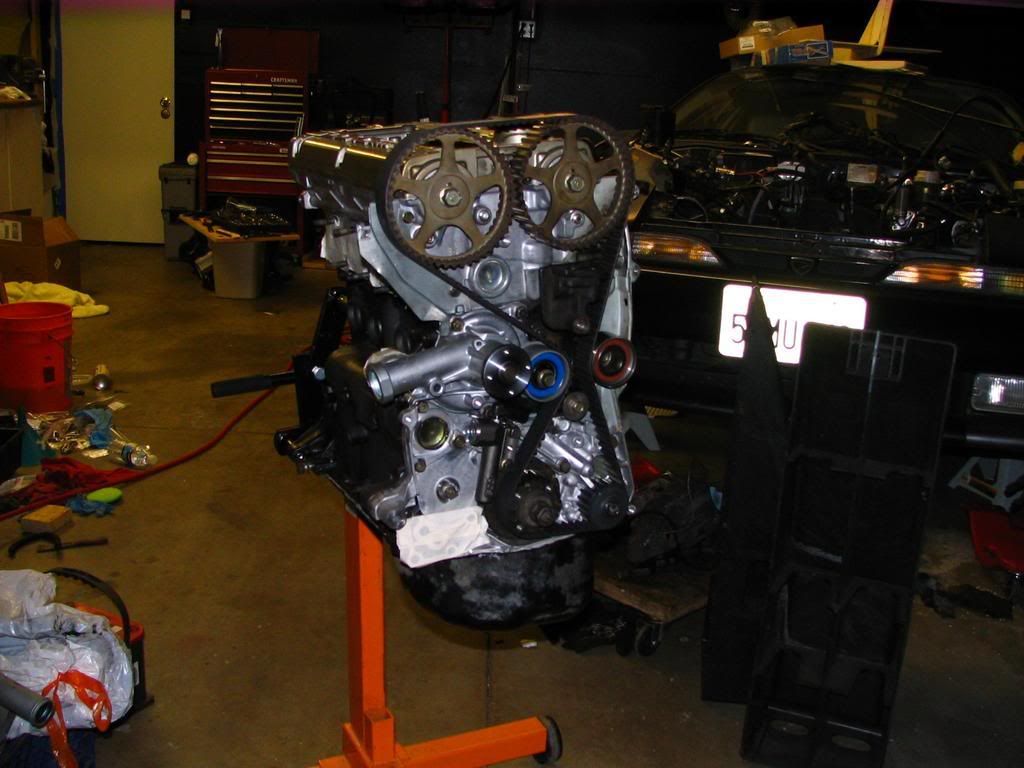
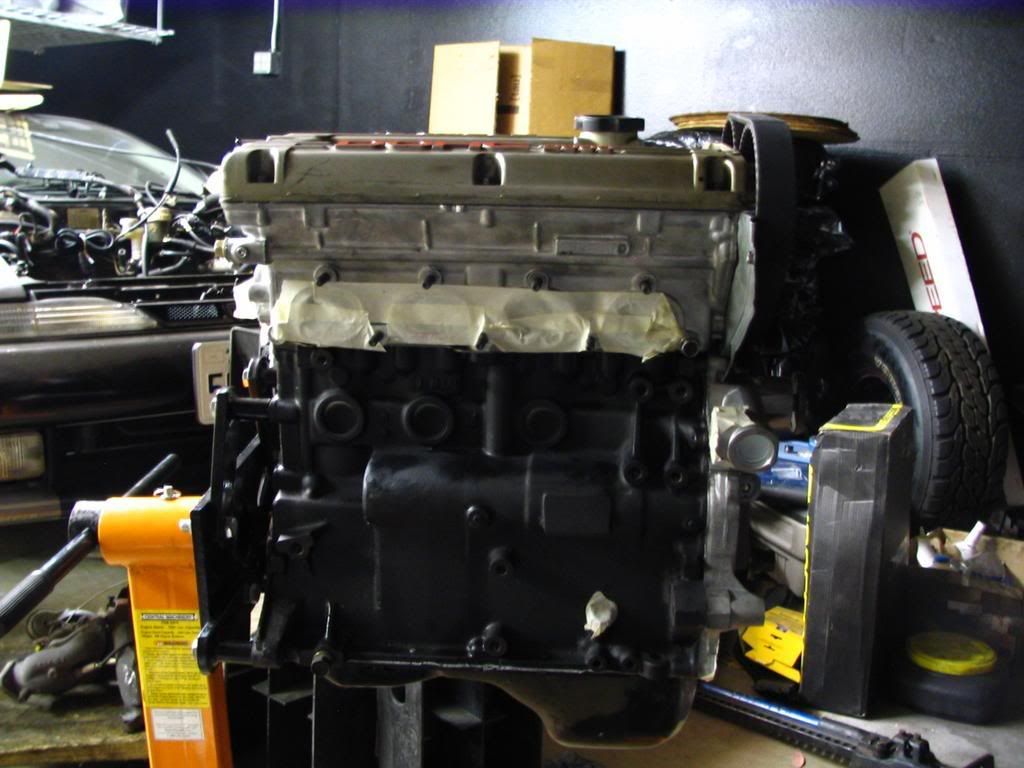
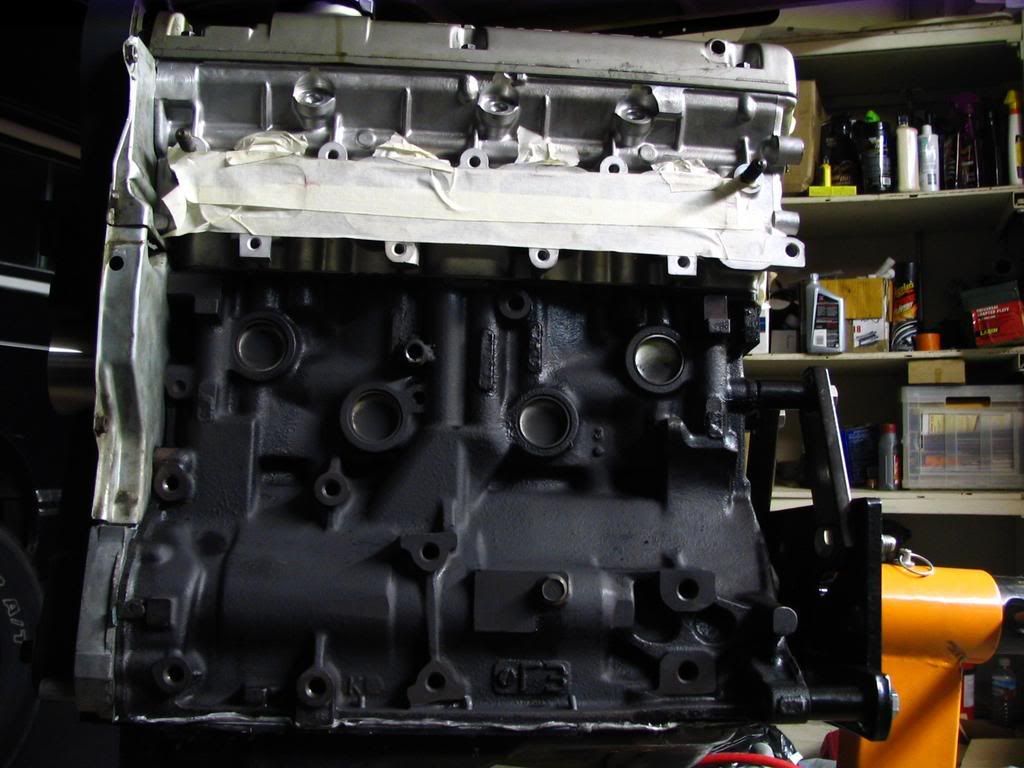
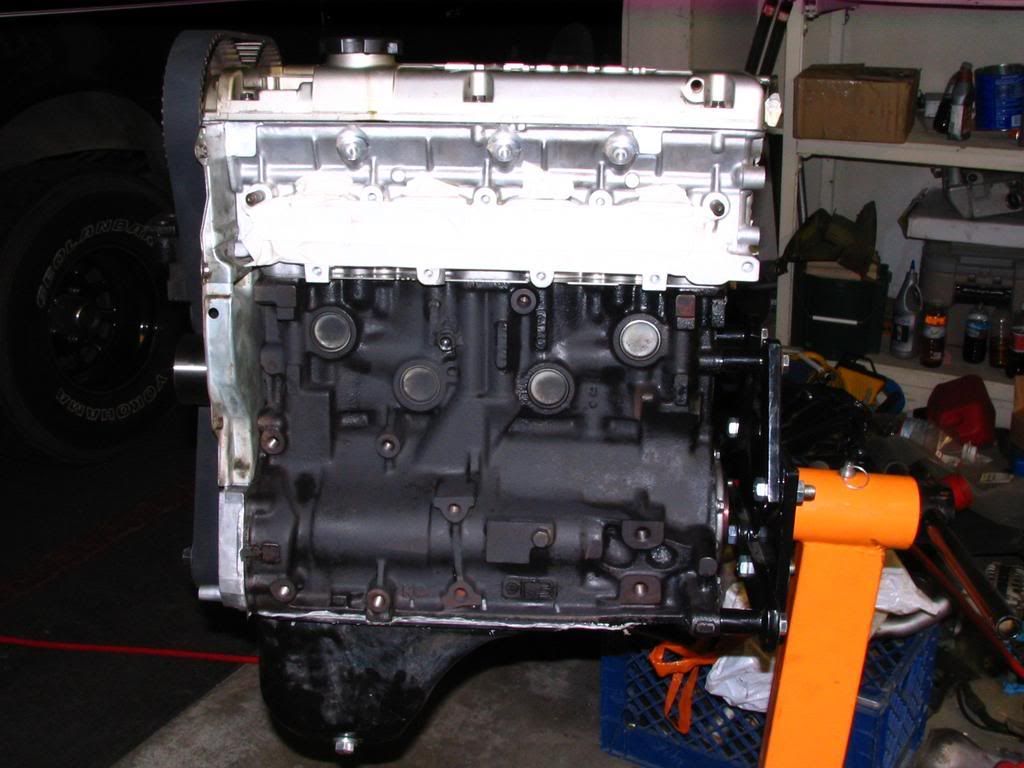
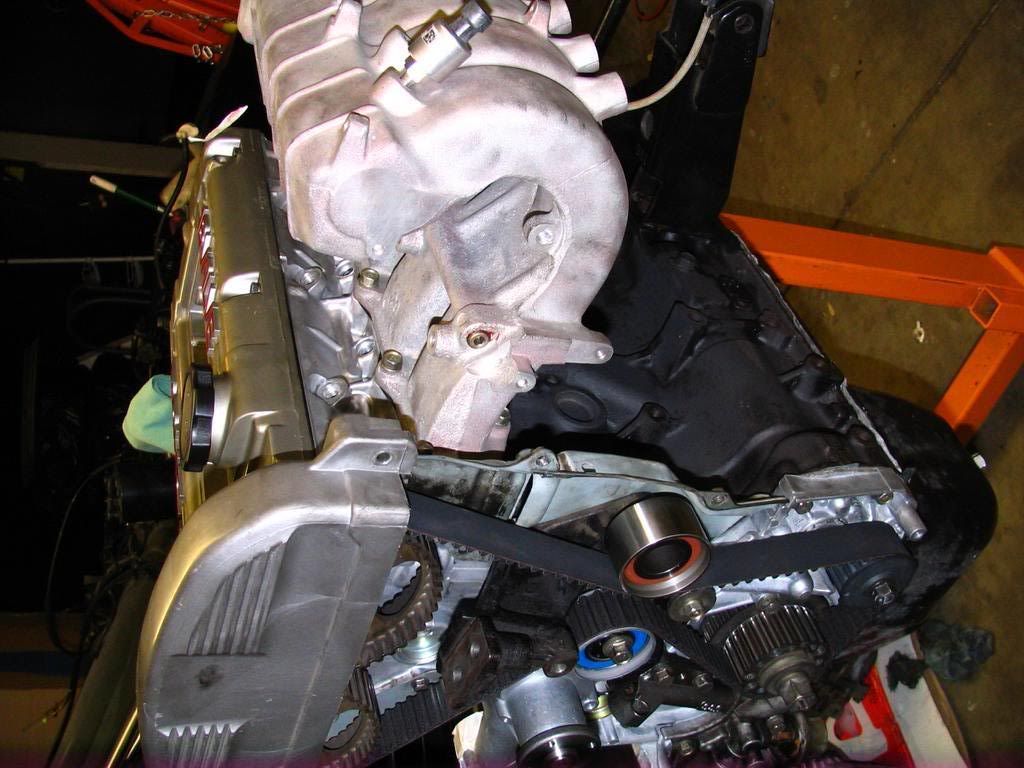
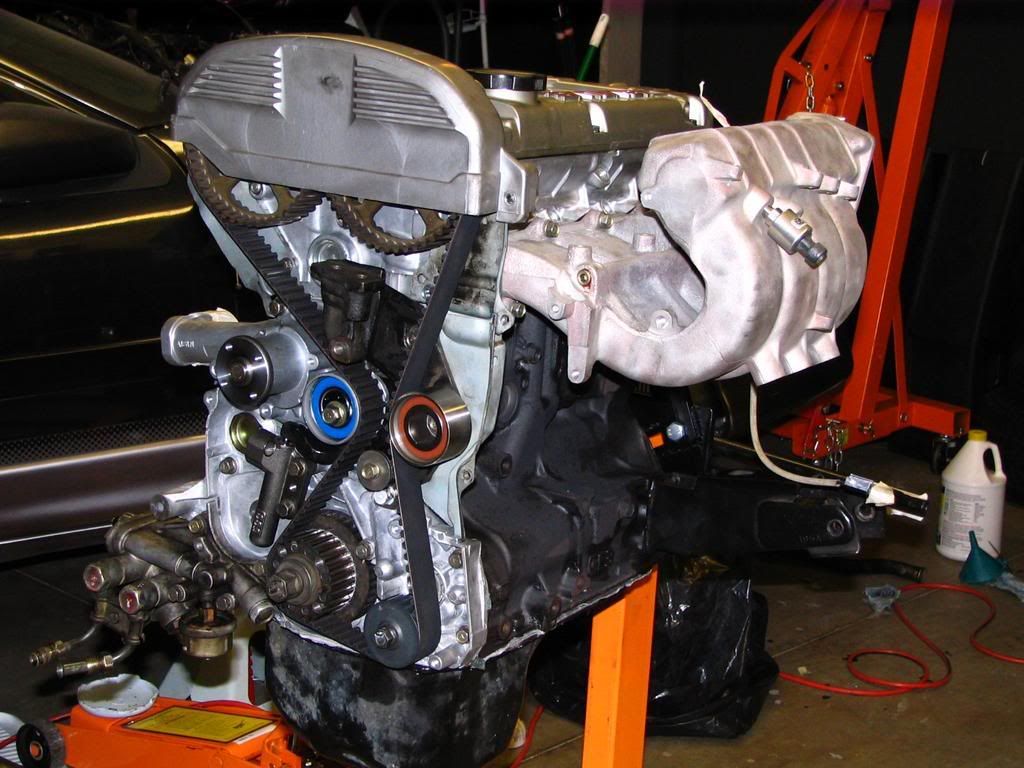
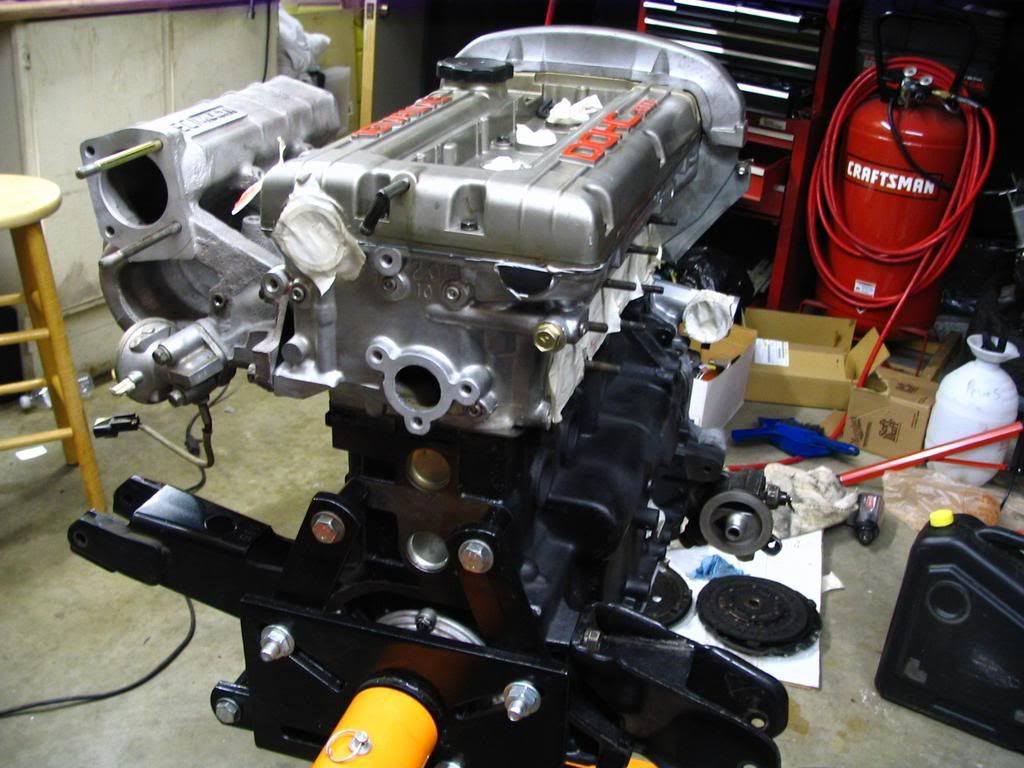
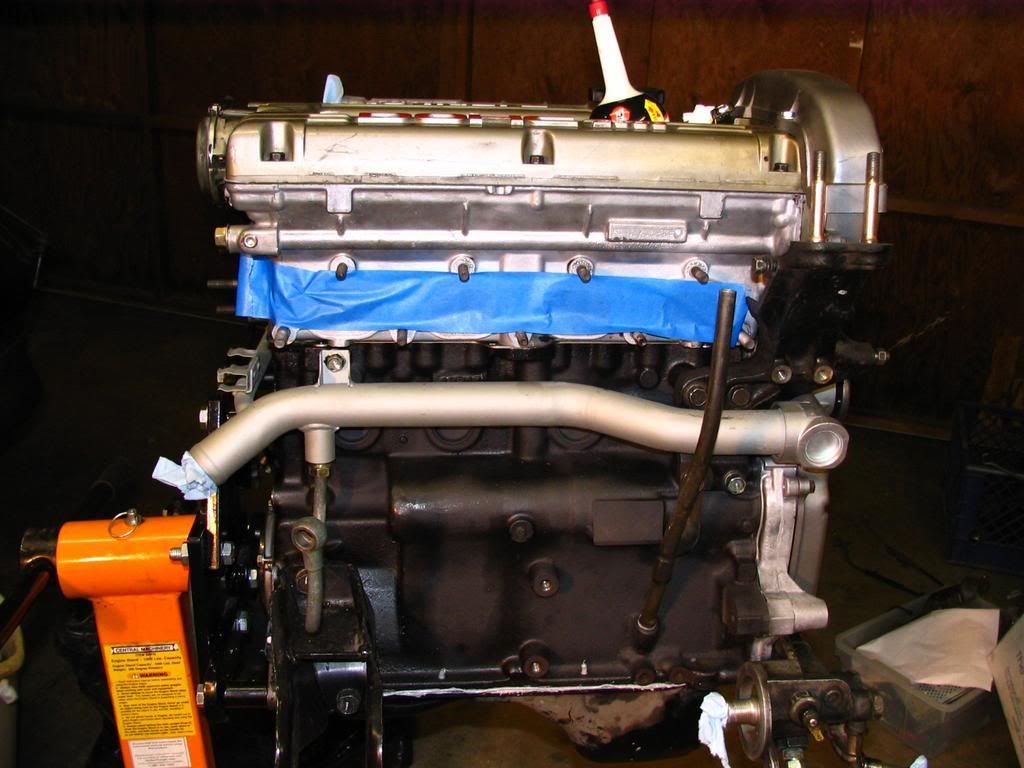
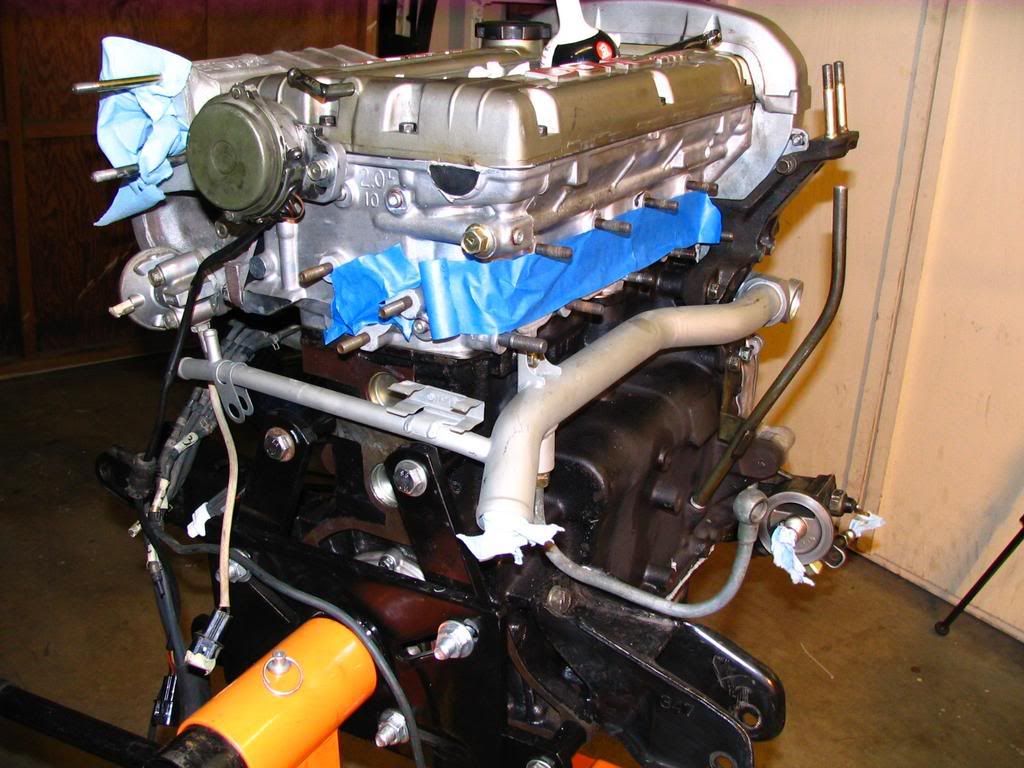
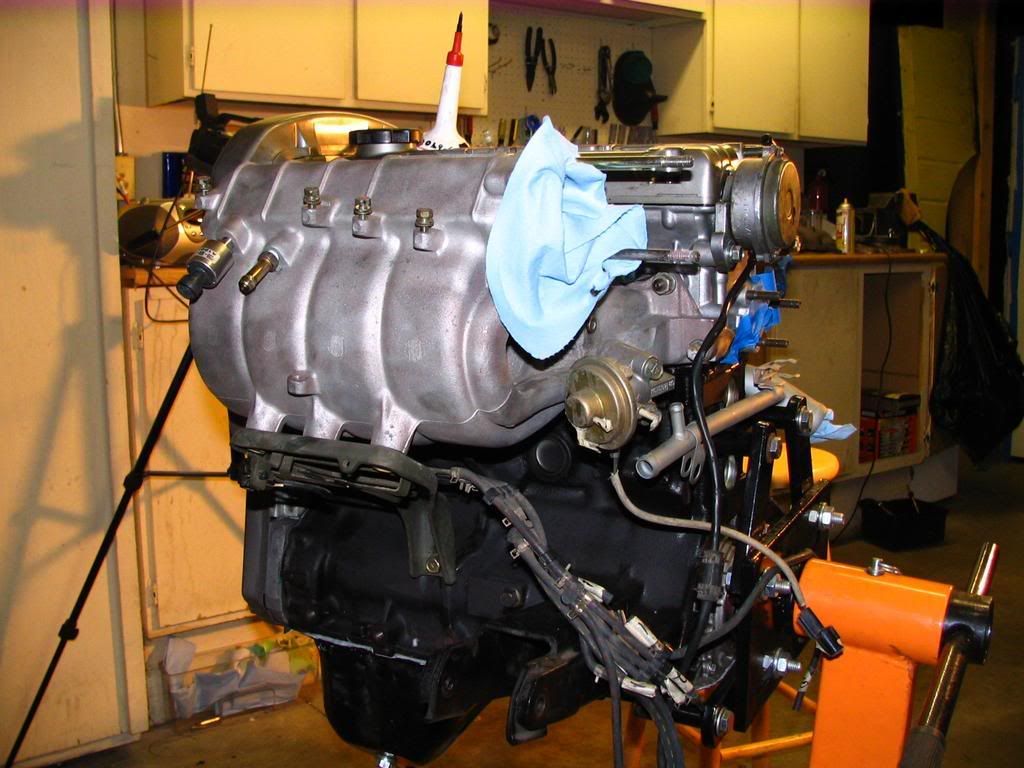
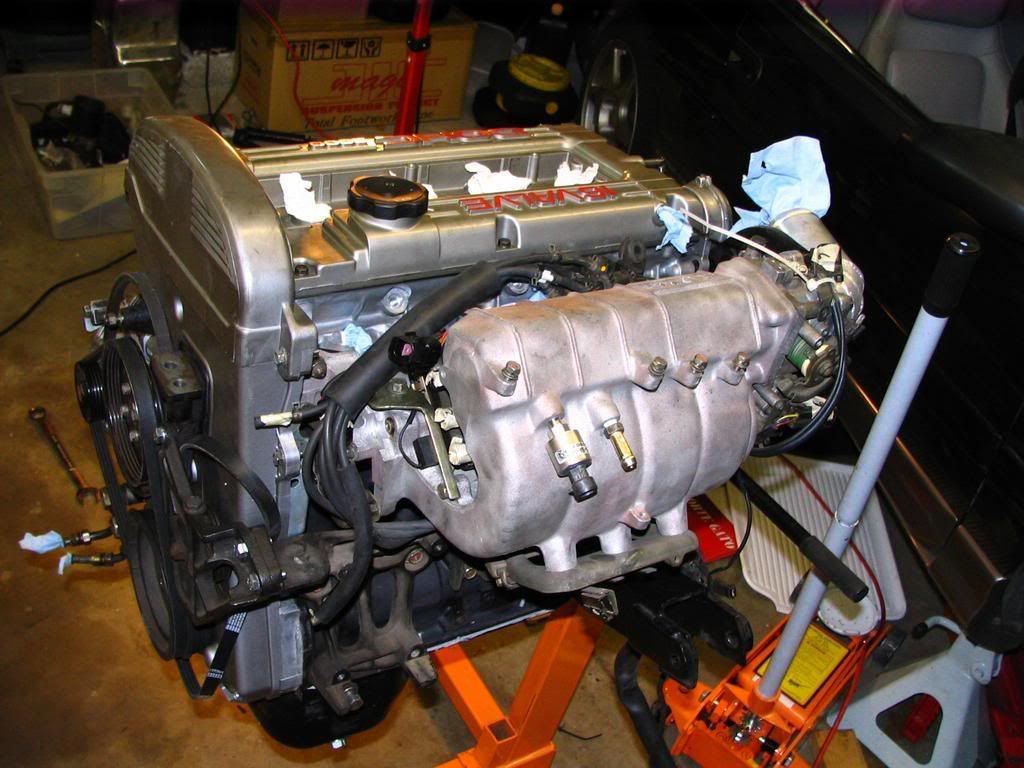
Ta-DAAA! Brand new (rebuilt) engine up close. This is mostly a photo blog post, so I'll post specs in a later post on its own.


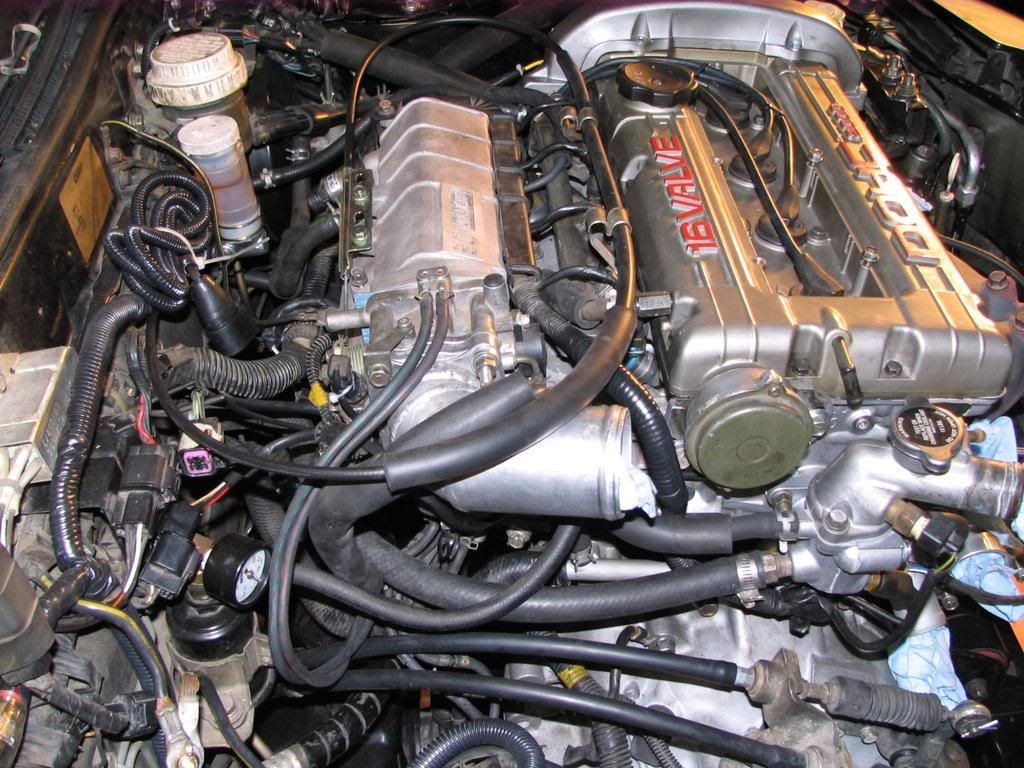
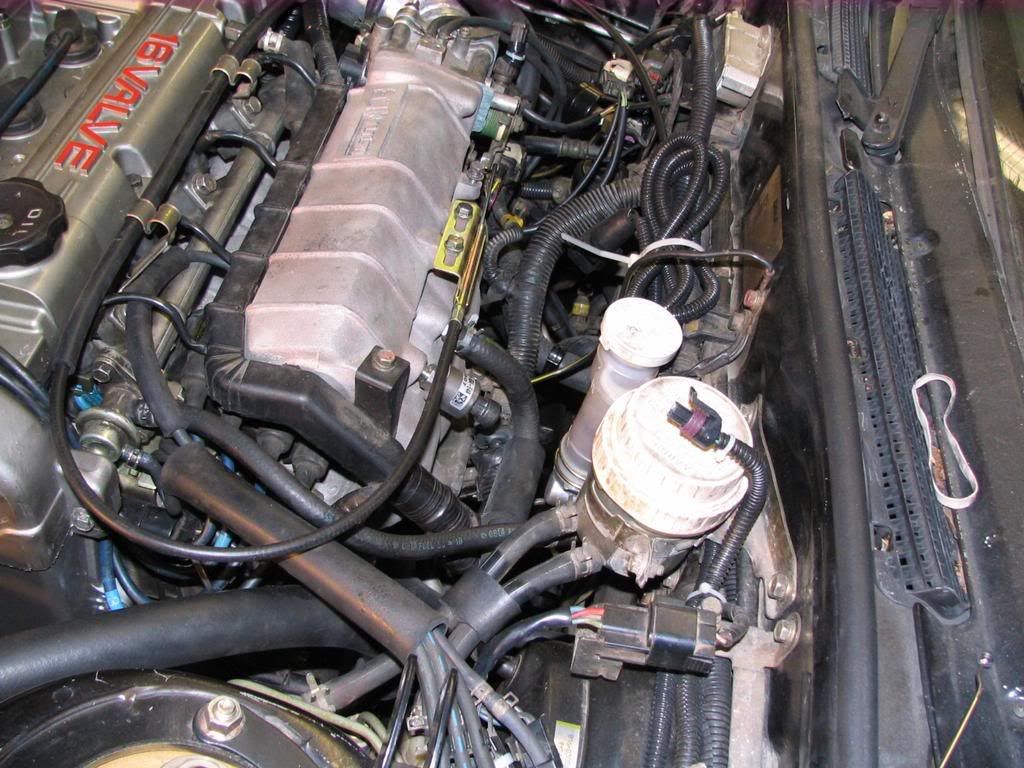
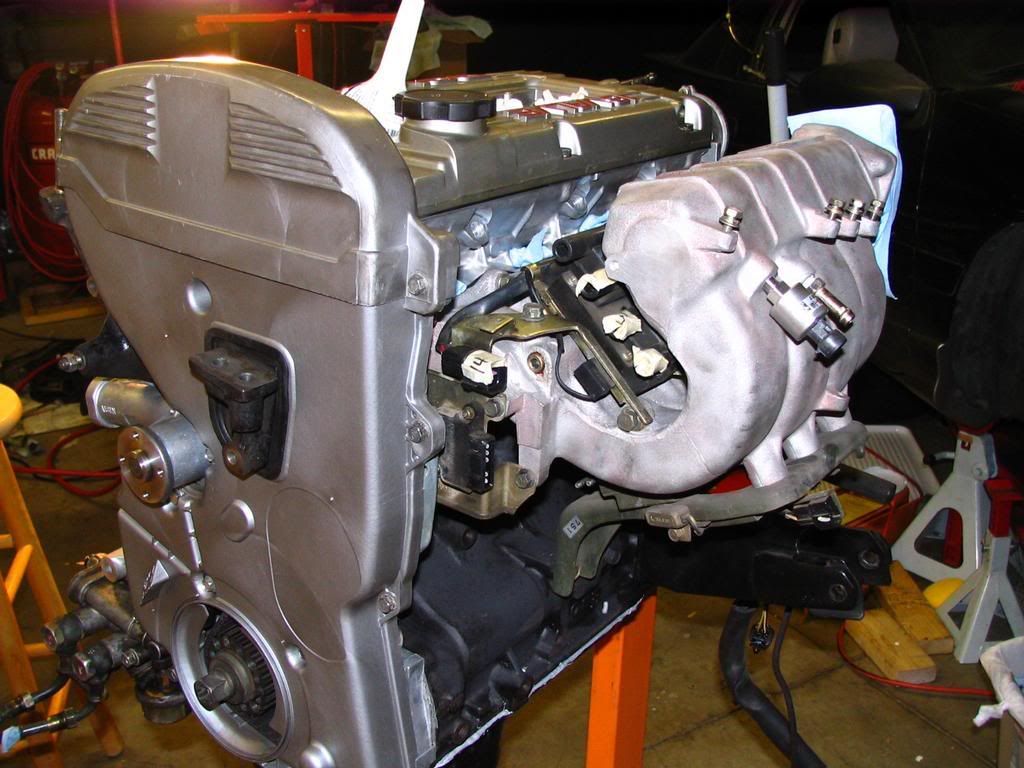
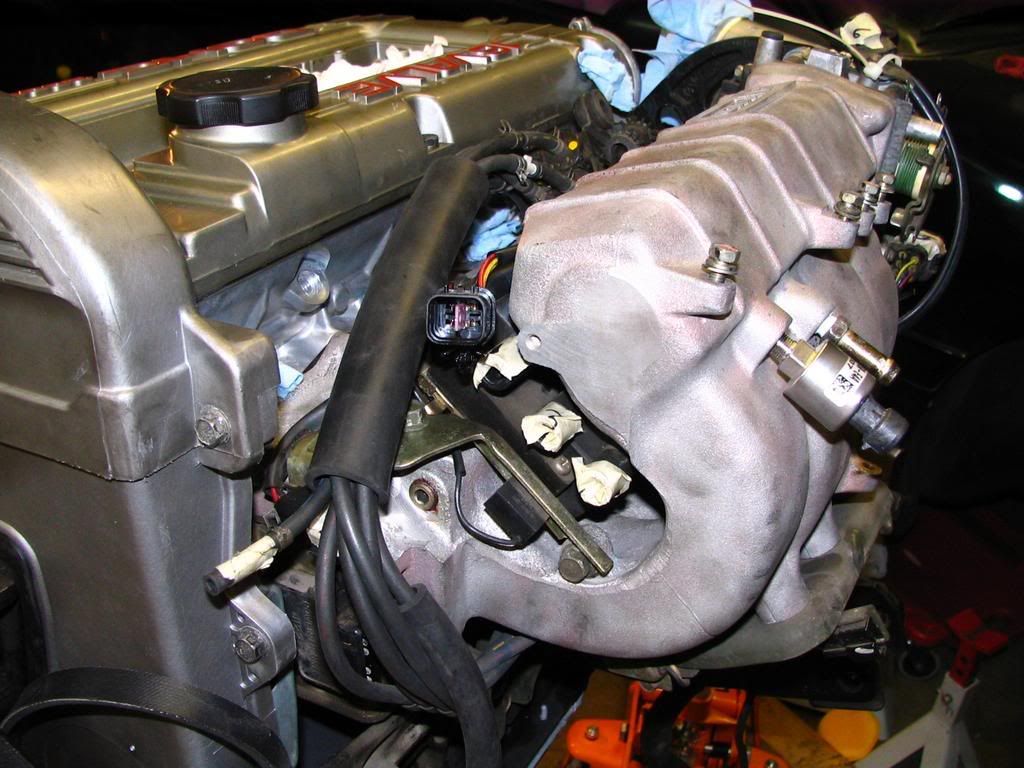
Cleaned intake manifold installed:


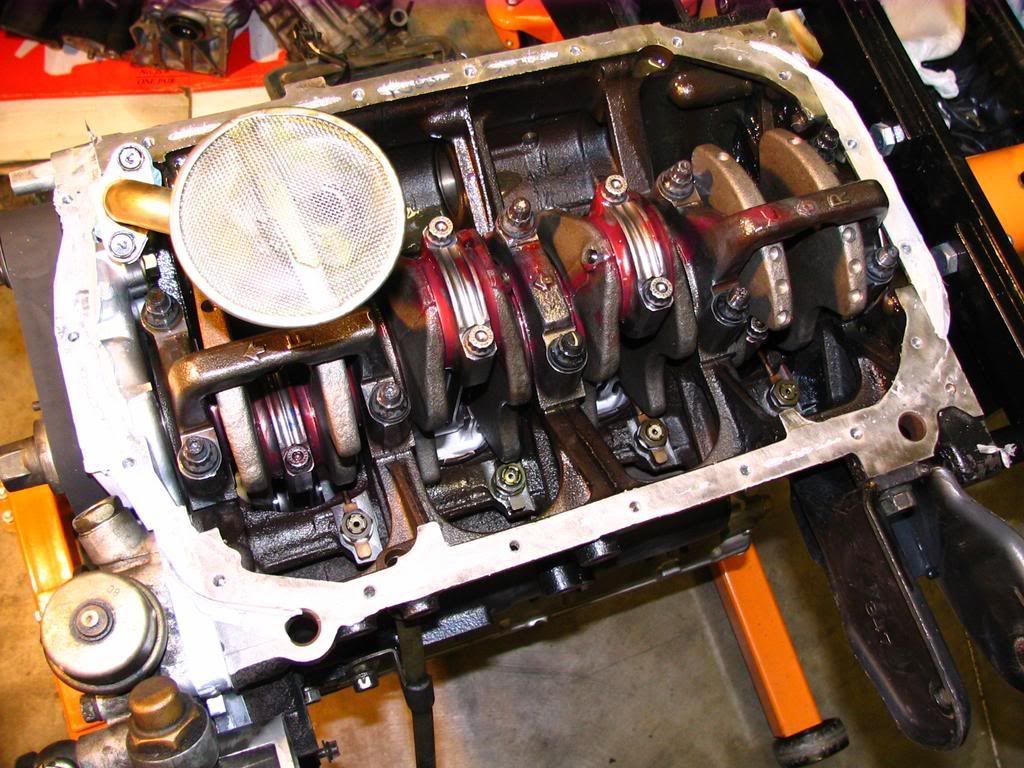
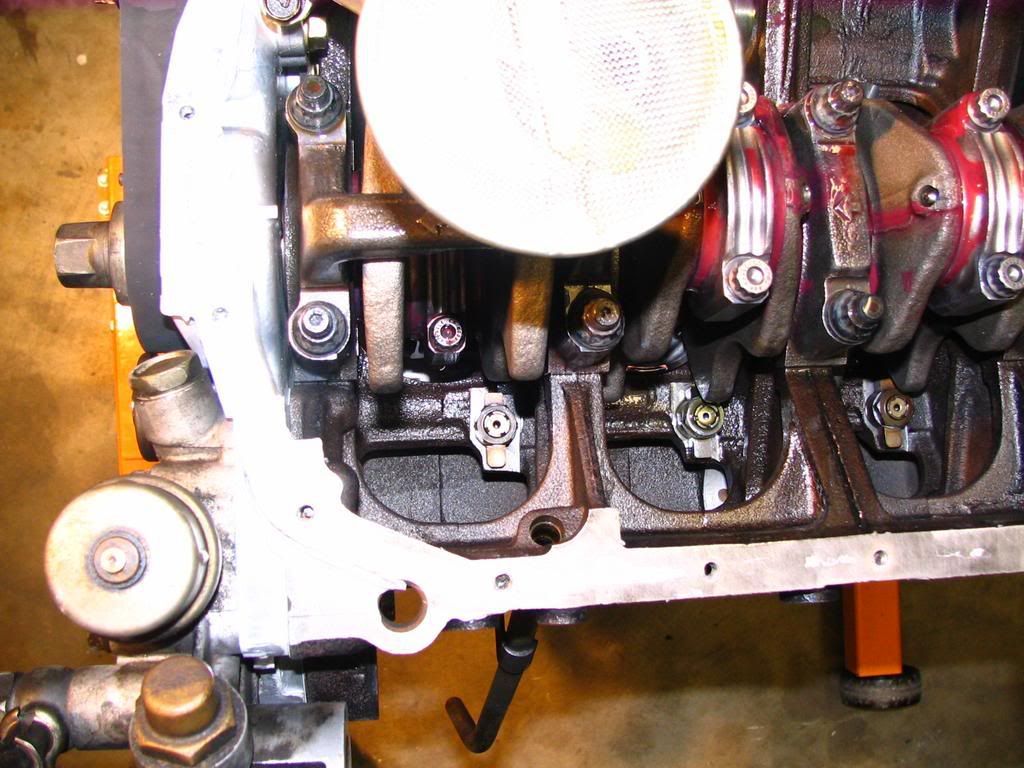
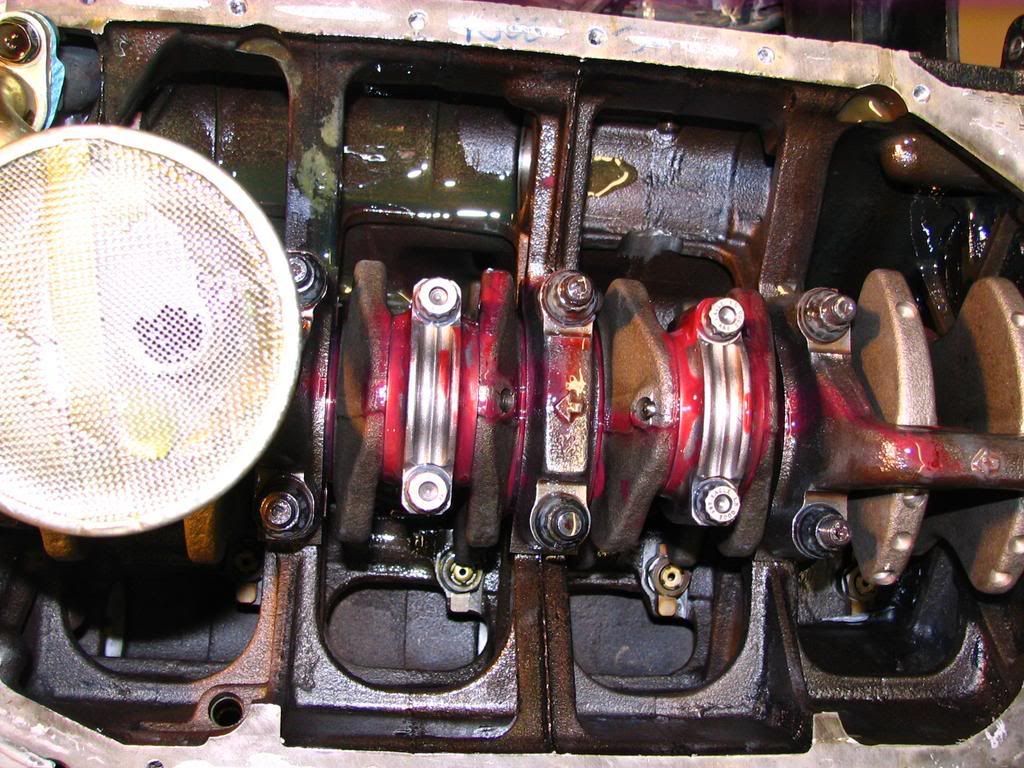
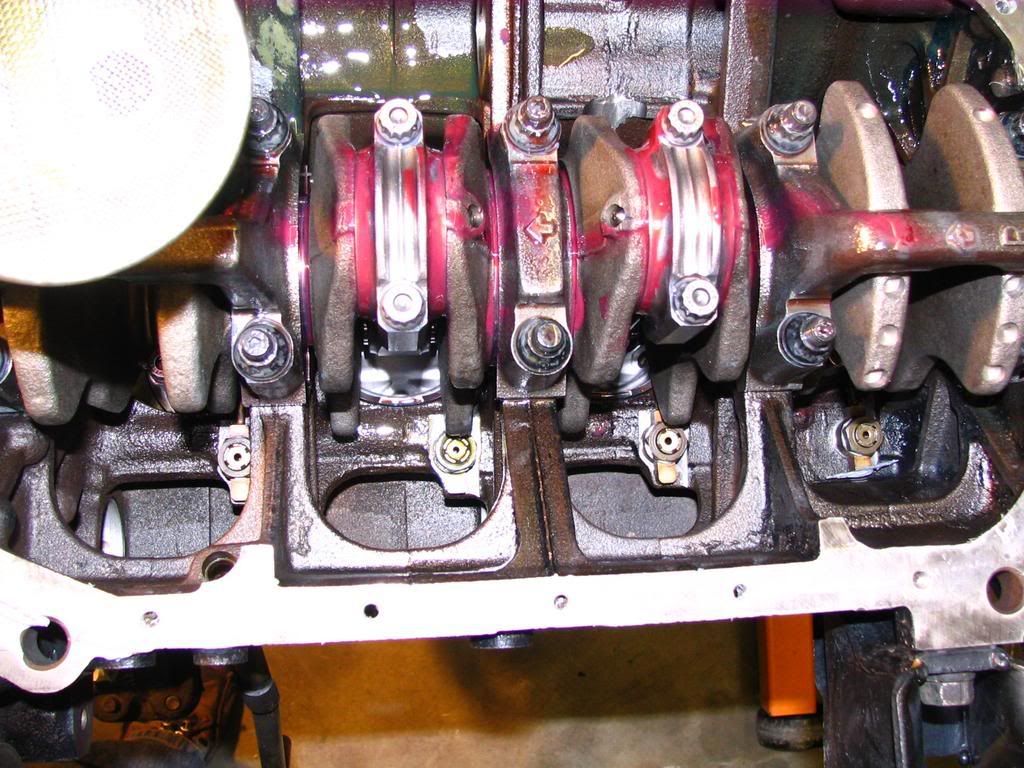
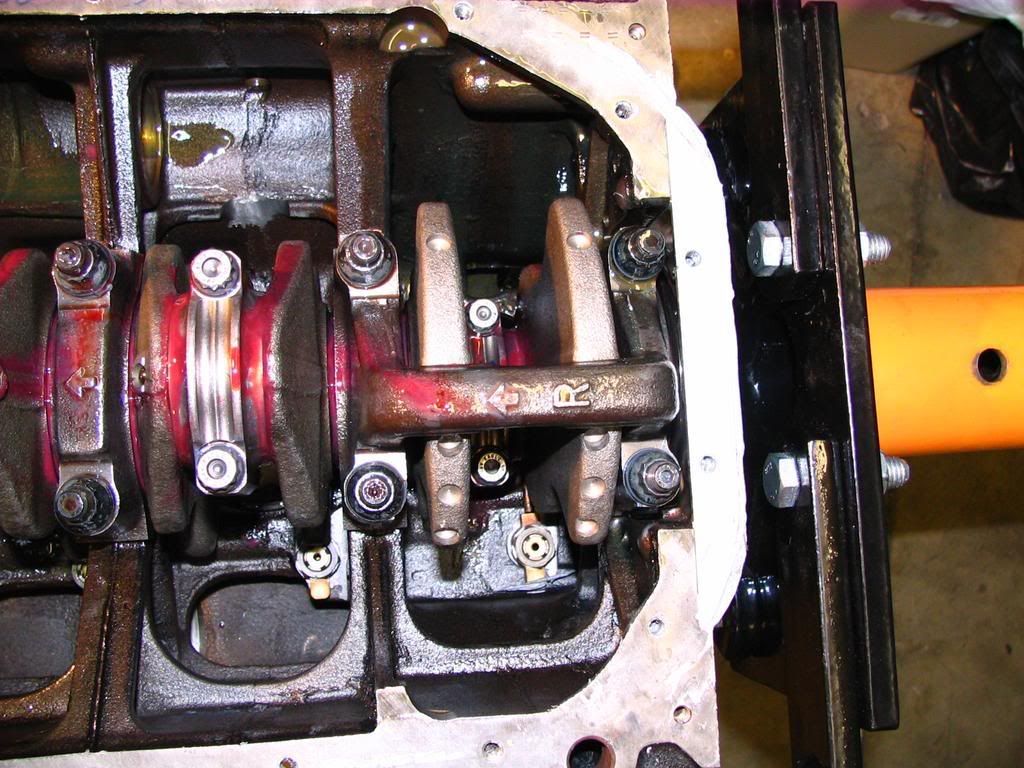
Here's a peak inside the block. Note where portions of the block were ground away for clearance so the Eagle rods would fit (remember you can click on pics for higher res):


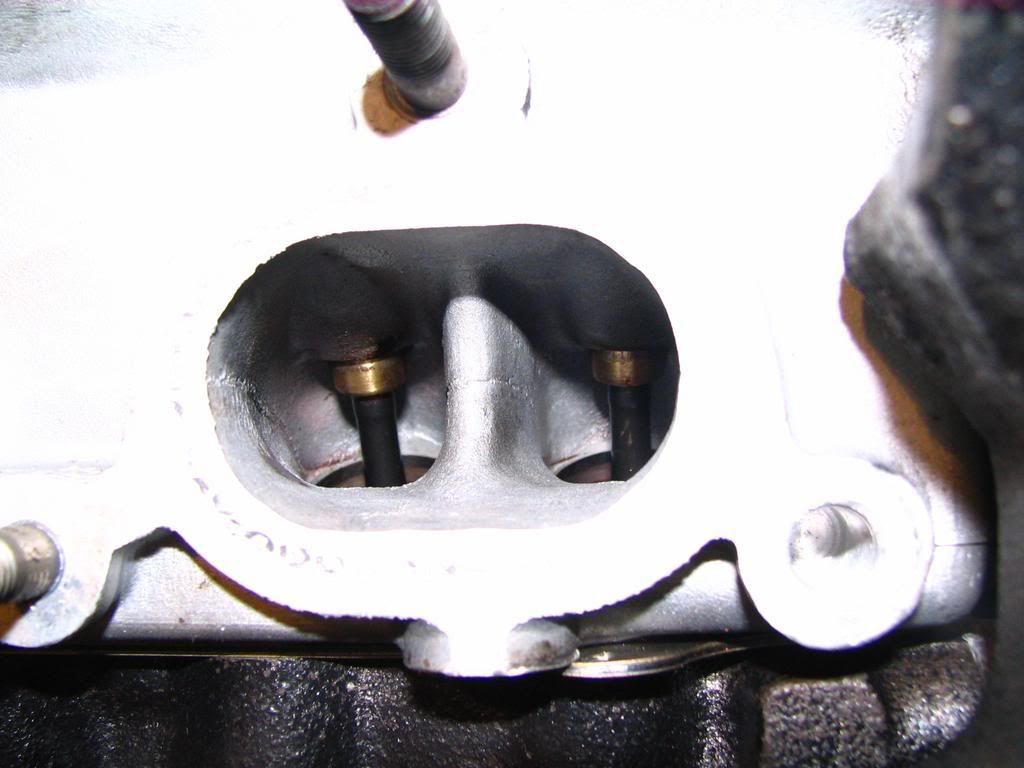
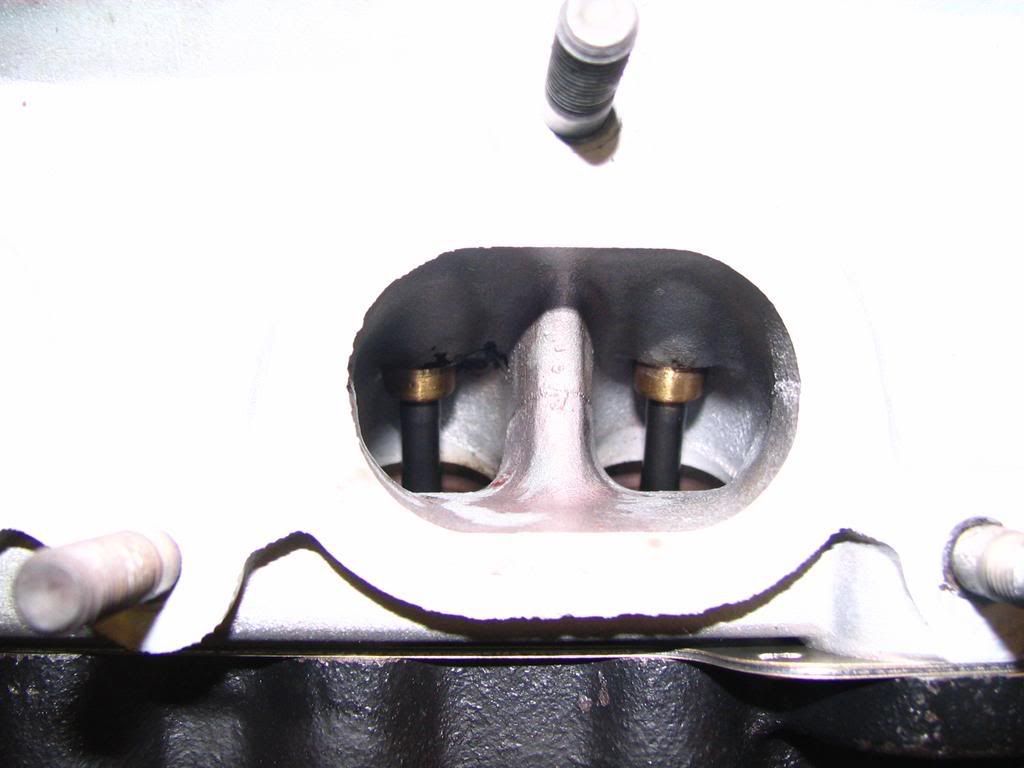
Here's a closer look at the exhaust ports. Note how much smaller the valve stems are compared to the stock ones:


Here's a side-by-side
comparison of the new and old valves:


Bolting more stuff on:


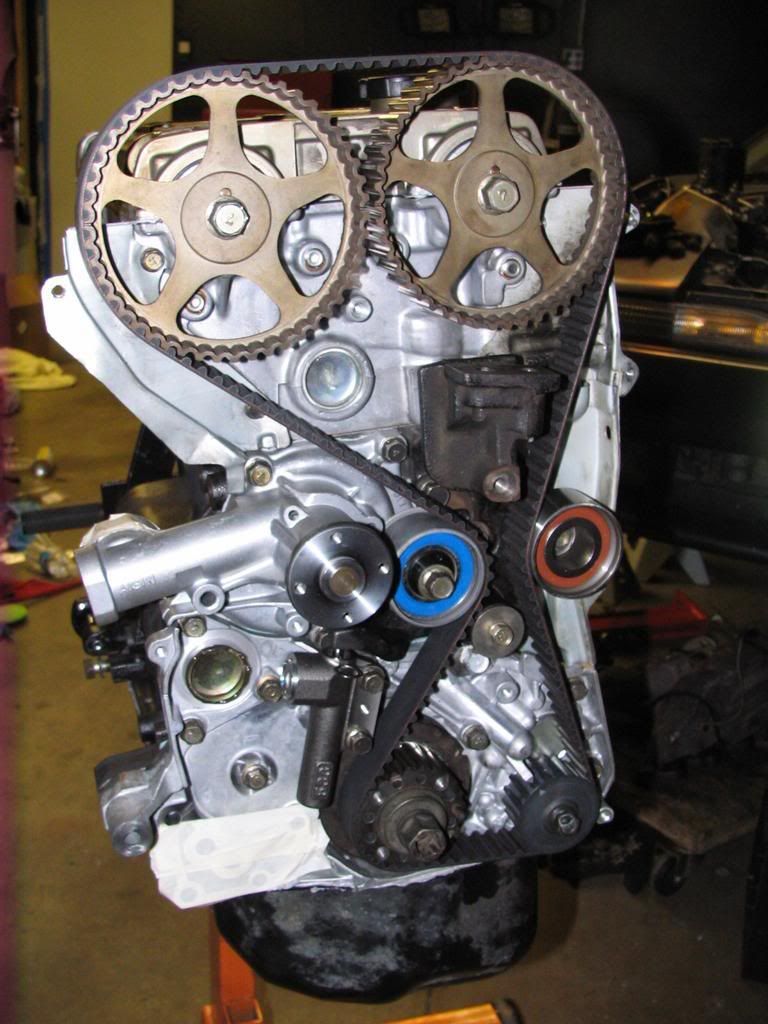
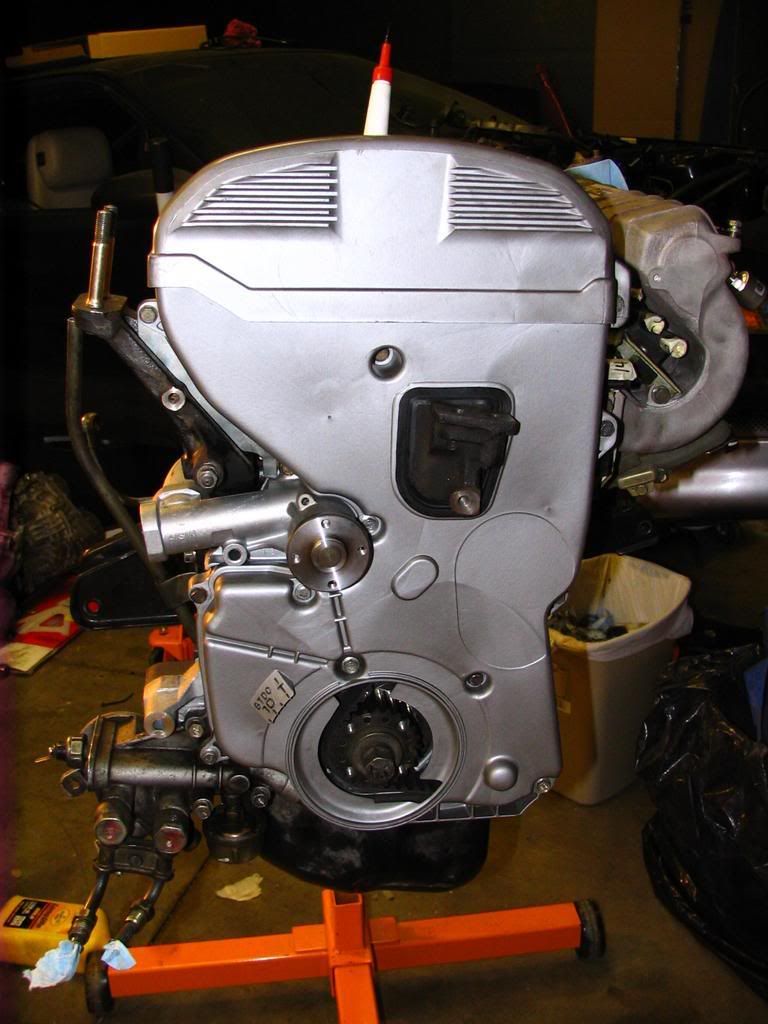
Look at that pristine timing cover! =)


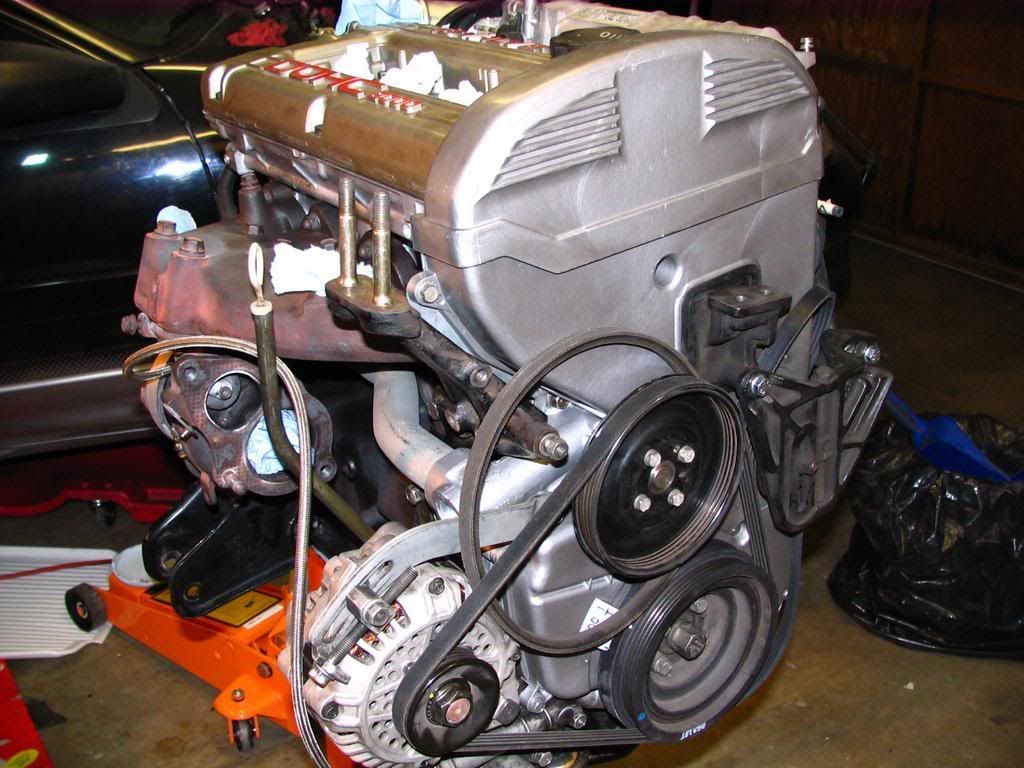
Accessories going on (lol, note the backwards pully wheel on the water pump. I had to go fix that later). =P


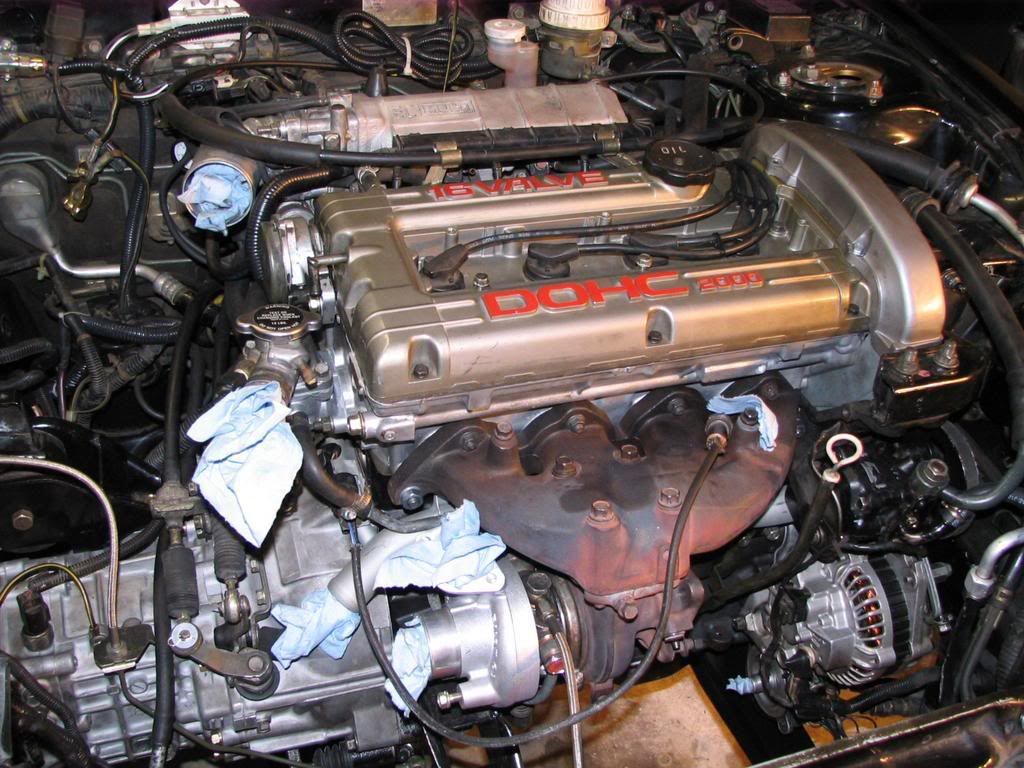
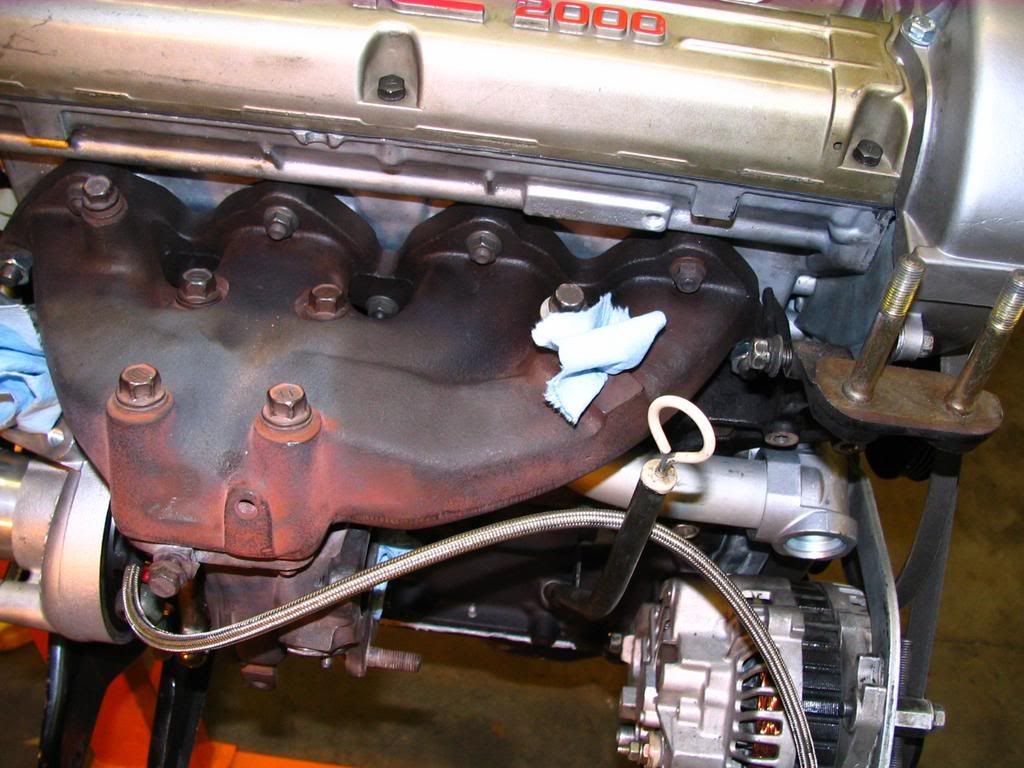
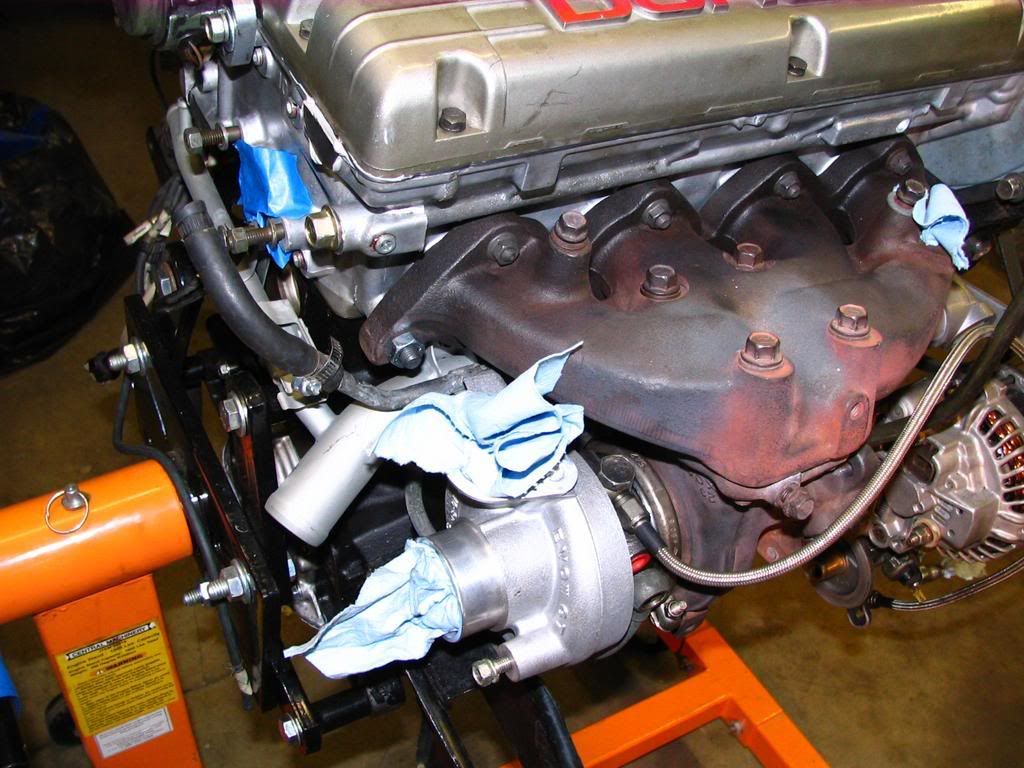
Exhaust manifold and turbo bolted on. Getting close!


That's it for now. Next post I'll show the transmission getting bolted on and the whole assembly going in the car. I'll post specs/details about the engine when I get a chance too.