Thursday, April 3, 2008

Fuel pump housing fix

Disclaimer: use extreme care when working on your own car. This is not an official how-to. Its just here to show you a fix I implemented. Do this at your own risk, and KNOW what you're doing!

While putting in a Walbro 190 fuel pump a while back, I accidentally over-torqued the nut for the positive wire of the pump and I ended up shearing off the brass threaded stud that it attaches to on the pump housing (you'll see what I'm talking about in the pics below). This stud sticks off of a brass fitting that is held in place by a grommet and sealed on the top with some sort of sealant. The plastic grommet keeps the connection isolated from the housing and the rest of the chassis so it won't ground out and cause a short. Here's what I did to fix it:

1. I used a dremel tool to get out the sealant on the top side of the wire and drilled through the brass fitting on the inside of the wire terminal. Note the other two wires that still have the sealant over the connection. That's what it looked like before I butchered it.
IMG_0176.jpg IMG_0176.JPG image by stringfrIMG_0178.jpg IMG_0178.JPG image by stringfr

This view shows the underside where the stud used to be. Again, a proper connection can bee seen next to the one I drilled out.
IMG_0186.jpg IMG_0186.JPG image by stringfr

2. Next, I found a properly sized brass machine screw to insert through the fitting. I made sure that ALL the sealant was ground away over the wire terminal so that the head of the machine screw would make solid contact.
IMG_0190.jpg IMG_0190.JPG image by stringfrIMG_0191.jpg IMG_0191.JPG image by stringfrIMG_0194.jpg IMG_0194.JPG image by stringfr

Here you can see the screw coming through on the underside. I think I ended up using a longer one so more threads were exposed
IMG_0200.jpg IMG_0200.JPG image by stringfr

3. I soldered the screw to the wire terminal
IMG_0201.jpg IMG_0201.JPG image by stringfr


4. I got my multi-meter and checked the resistance from the screw to the wire feed from the fuel pump relay. I compared this with the resistance found in the connections that were still OEM. They were the same. Then (VERY CRUCIAL STEP), I checked the resistance from the screw to the housing to make sure the connection was isolated. You do NOT want a short happening here (you know, with how flammable gas is and everything).
IMG_0205.jpg IMG_0205.JPG image by stringfrIMG_0206.jpg IMG_0206.JPG image by stringfr


5. I then sealed the connection on top of the housing with JB weld. Surprizingly, with the way JB settles in it looks almost OEM. (okay, not quite...but it looks ok and will seal it really good)
IMG_0208.jpg IMG_0208.JPG image by stringfrIMG_0209.jpg IMG_0209.JPG image by stringfrIMG_0215.jpg IMG_0215.JPG image by stringfr

That's it! Waayyy cheaper than buying a new pump housing, and it took far less time than hunting a used one down. You can find all the parts necessary at Home Depot or Lowes. I've been running for a few months with no problems after doing this fix.
IMG_0216.jpg IMG_0216.JPG image by stringfr

How to prime the oil pump (with the timing belt already installed)

This Post will look different from my other posts. I basically copied/pasted it from a VFAQ writeup that I made for DSMtuners.

Introduction

A lot of people ask if and how they should prime the oil pump after a fresh rebuild before they fire up the engine. I highly recommend priming the oil pump. Every manual I've seen states to do this. So do all the engine builders I've talked to. While it is a known method to spin up the oil pump gears with a drill, a lot of people receive their rebuilt engine from the builder with the timing components already installed. With the timing belt on you cannot spin up the oil pump gears. So here is an alternative method suggested to me by RRE.

Tools and supplies needed:
- Wrench set
- Pliars
- 1qt/1gal/5qt bottle of oil of your choice
- Oil hand pump (attaches to the opening of the 1qt/5qt/1gal oil bottle). You can find these in different sizes at auto parts stores for $5-$10. They don't fit every bottle type perfectly, but that's nothing a little duct tape can't solve
- 2-3 ft of properly sized hose/tubing (Should come with the pump. If not, you can find some at Home Depot.)

Procedure:
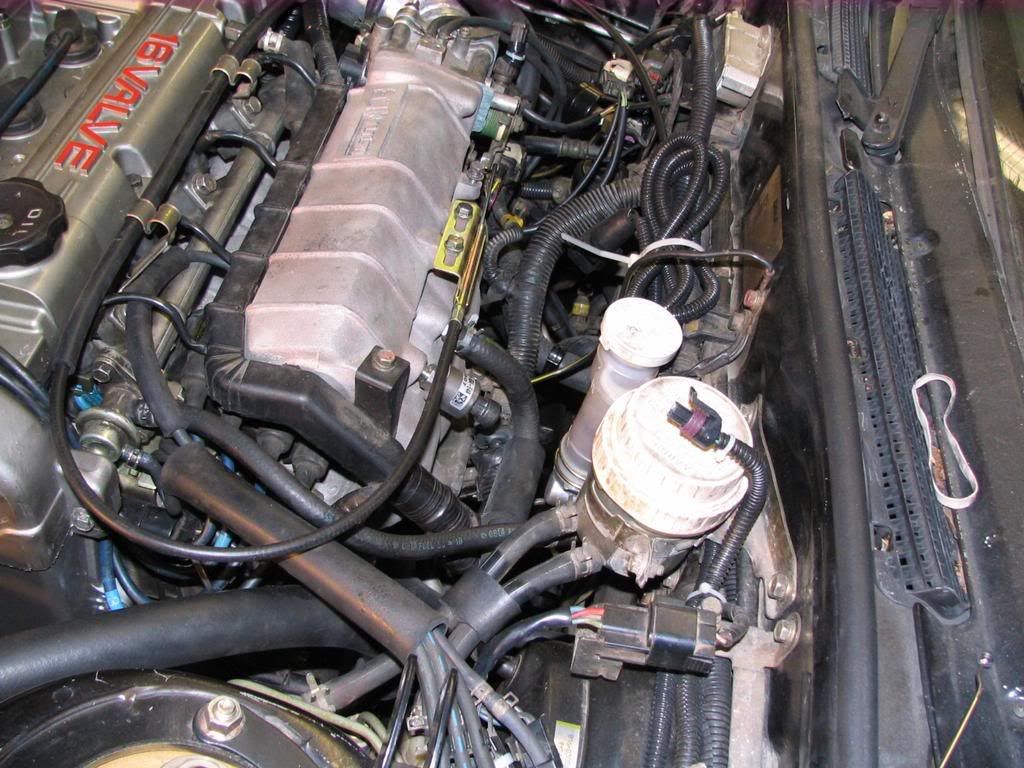
1. Remove the fitting from the intake manifold that the brake booster hose attaches to


Name:  IMG_9557_fixed.jpg Views: 1 Size:  70.3 KB


Here is the fitting removed:


Name:  IMG_9553.jpg Views: 1 Size:  42.4 KB


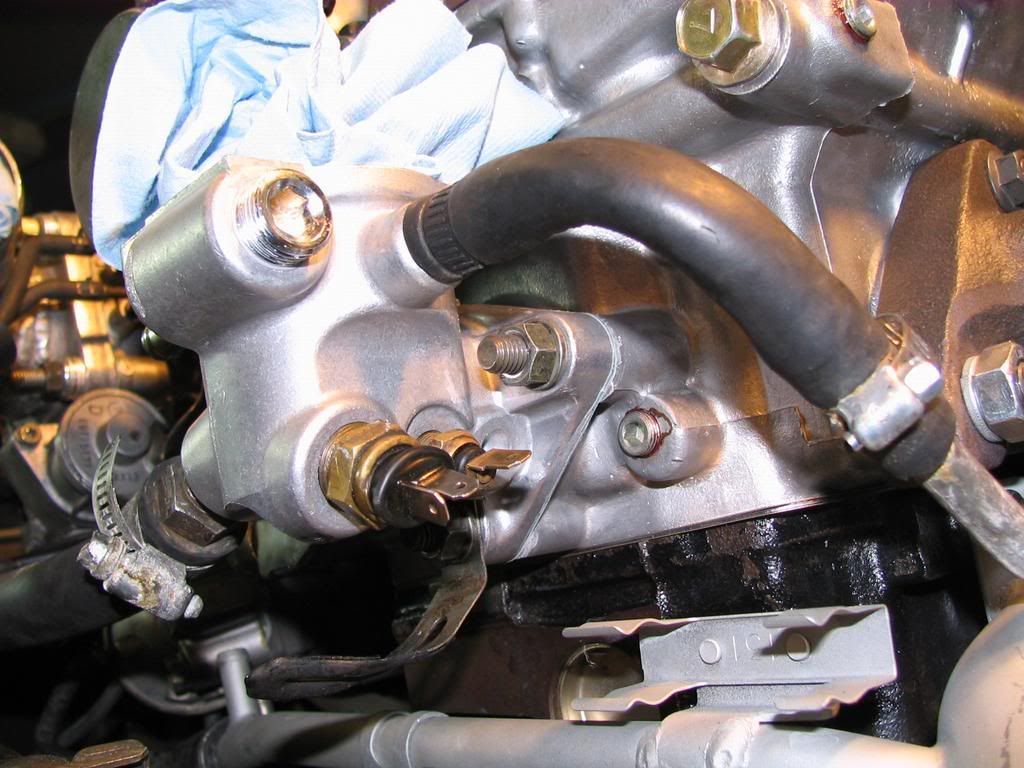
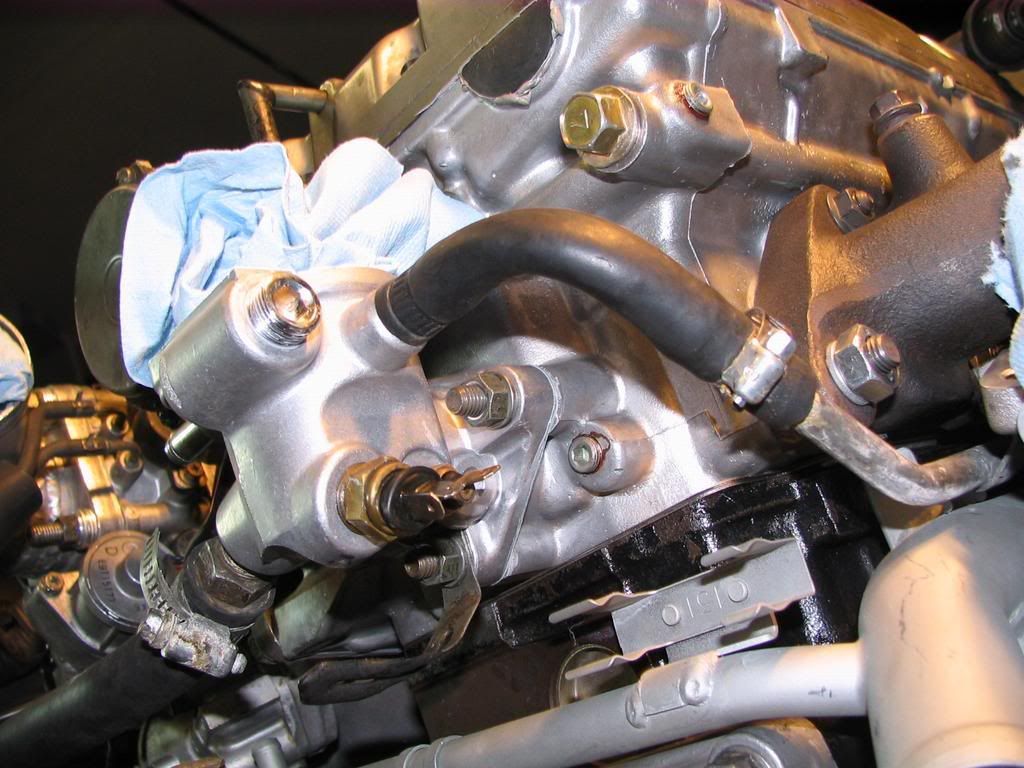
2. Attach the fitting to the oil filter housing in place of the oil pressure sending unit (the big thing hanging off the bottom).

With the pressure sending unit:


Name:  IMG_9550_fixed2.jpg Views: 1 Size:  210.6 KB


With the brake booster fitting installed:


Name:  IMG_9548.jpg Views: 1 Size:  50.6 KB


3. Attach the hose from the oil bottle pump to the fitting on the oil filter housing.


Name:  IMG_9543.jpg Views: 1 Size:  41.4 KB

Name:  IMG_9535.jpg Views: 1 Size:  51.7 KB


4. Start pumping. After a while it will get harder to pump. Your engine will start making some funny breathing noises too. =) Keep going until you can see oil coming out of the rocker arm when you look through the oil cap opening. NOTE: If you have the turbo oil feed going from the oil filter housing like I do, then this should send oil to your turbo. Either way, continue reading below for further instructions.


Name:  IMG_9538.jpg Views: 1 Size:  49.2 KB


To complete the process, you want to crank the engine w/o fuel or spark to allow the primed pump to build pressure in the entire system. To do this:

1. Remove the MPI fuse


Name:  IMG_96298_fixed.jpg Views: 1 Size:  84.7 KB


2. Remove the fuse for the fuel pump (location varies depending on setup)
3. Remove spark plugs from the engine (PLUGS, not just the wires). This allows air to escape from the cylinders while cranking. Now turn the key to "start" and crank the engine over until the oil light goes out and you start to see oil pressure on the gauge. This should get oil into all the other necessary places with minimal work/stress being put on the engine internals.

That's it!

Wednesday, April 2, 2008

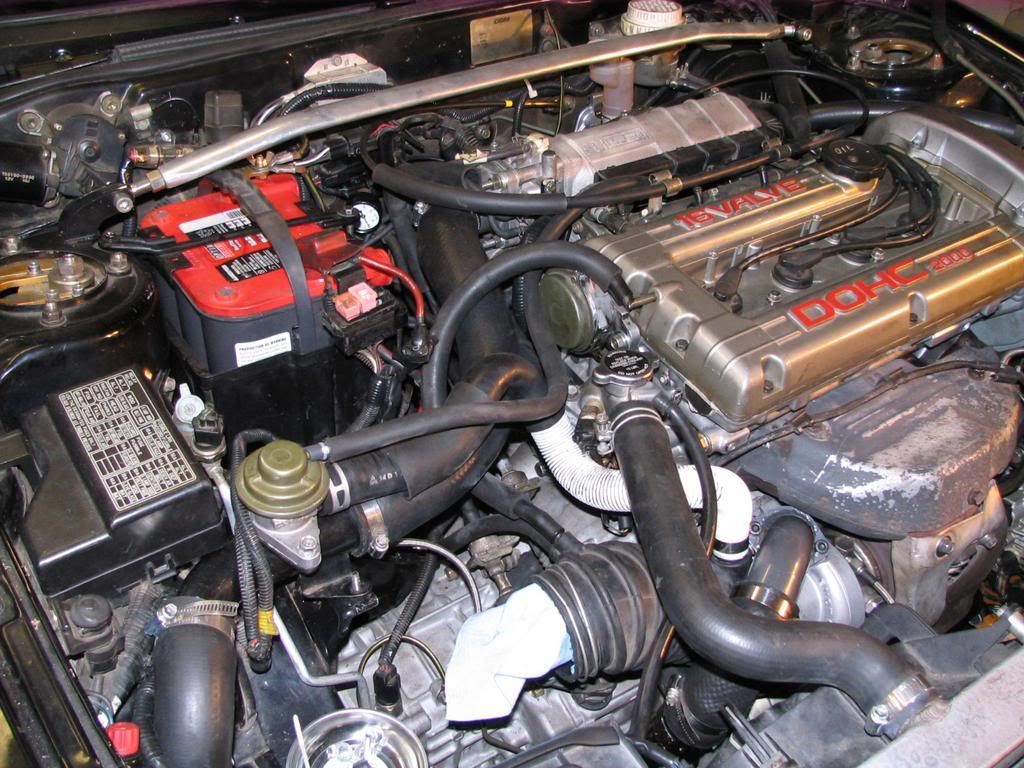
4G63 Build part 4

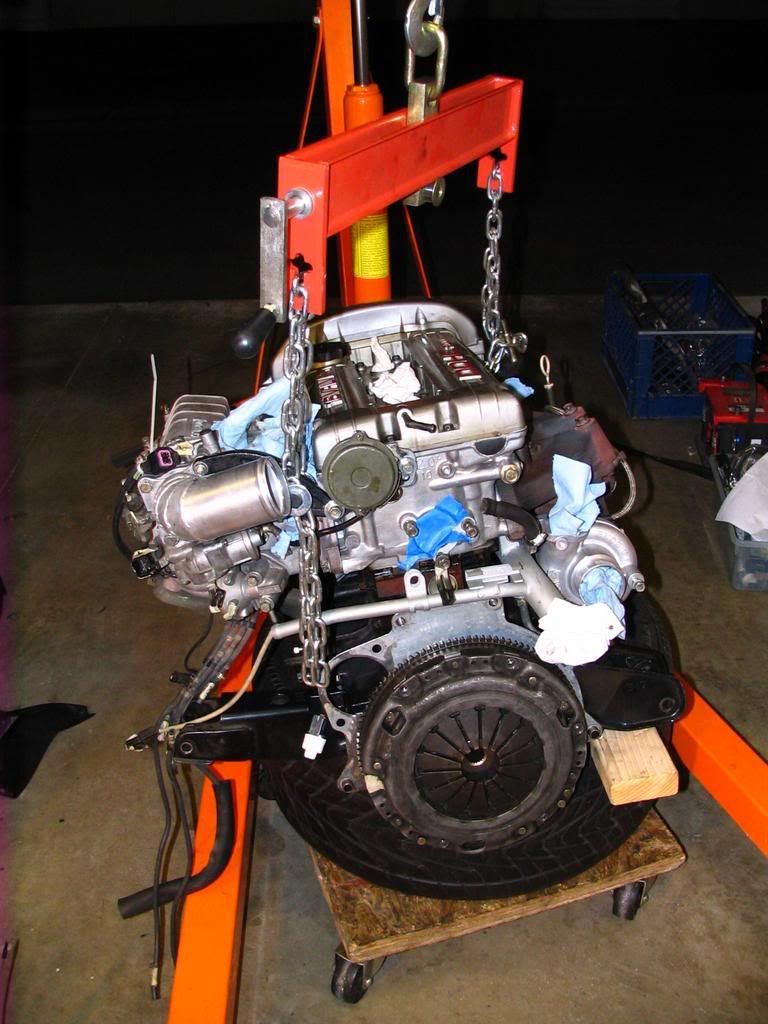
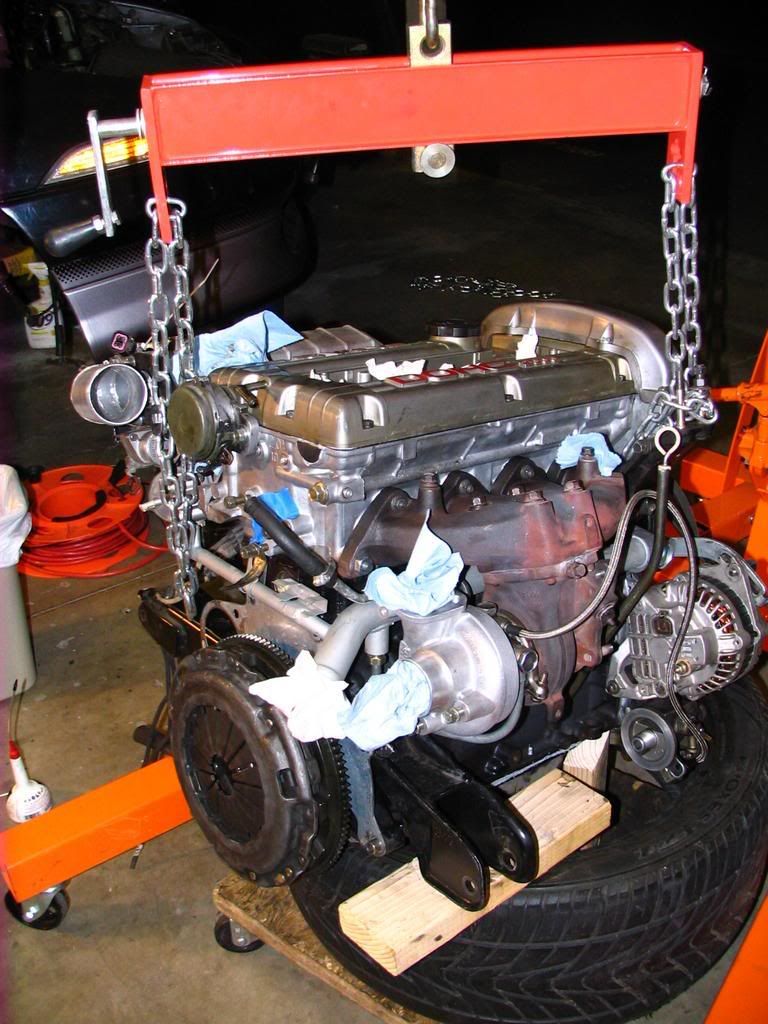
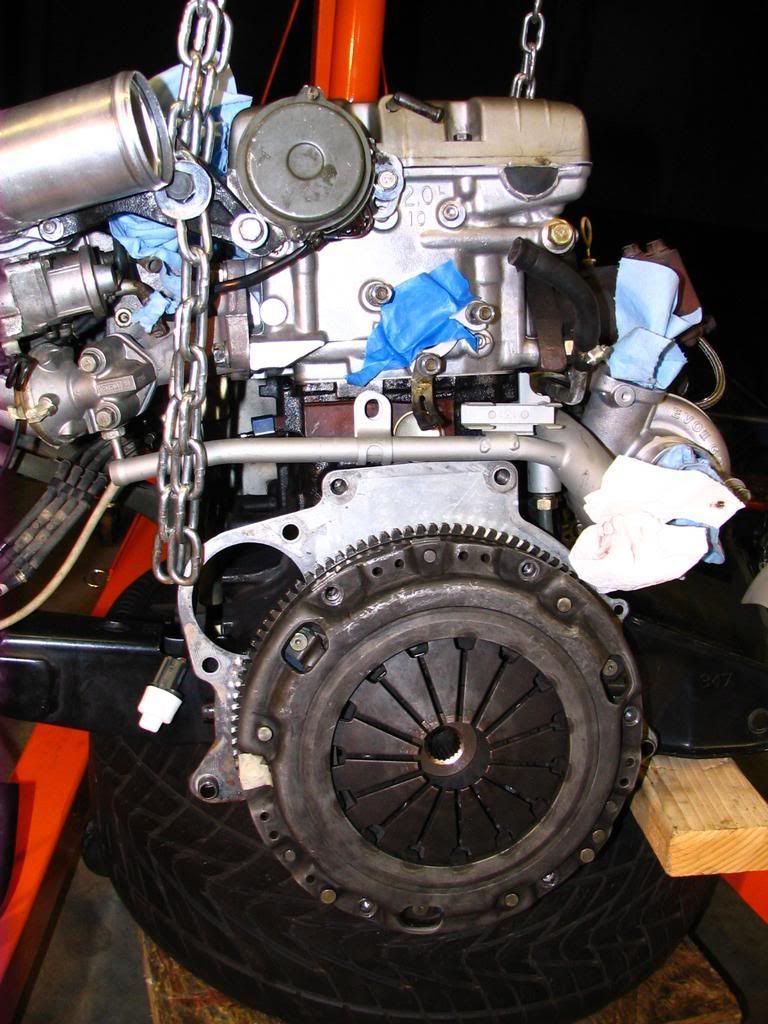
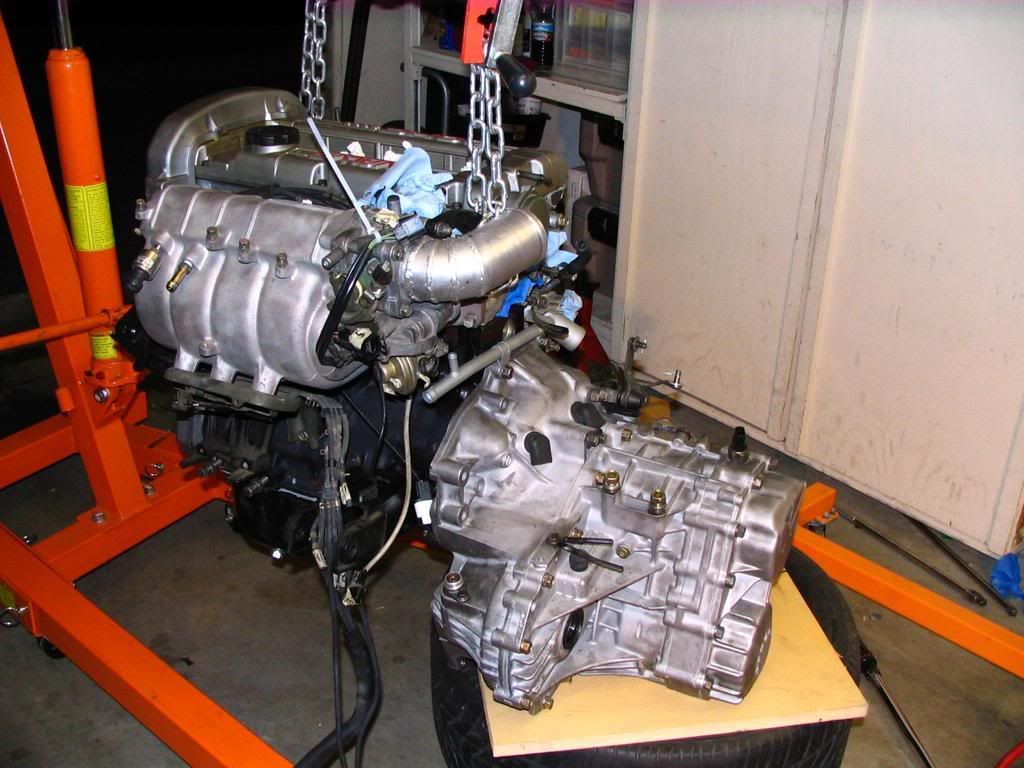
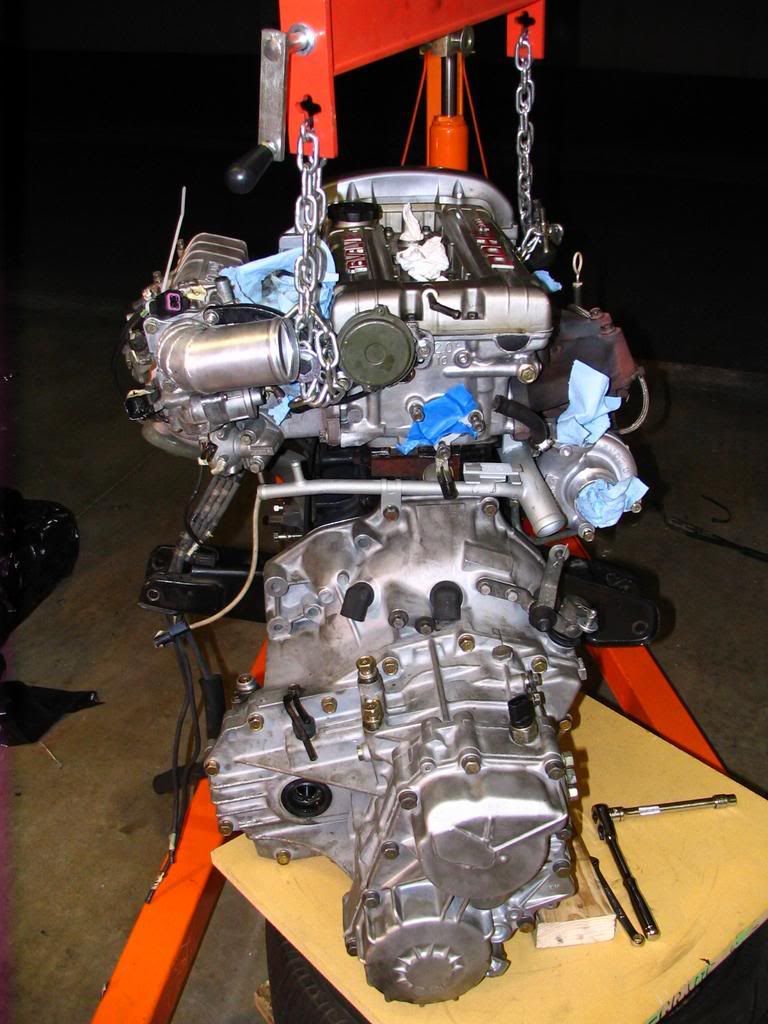
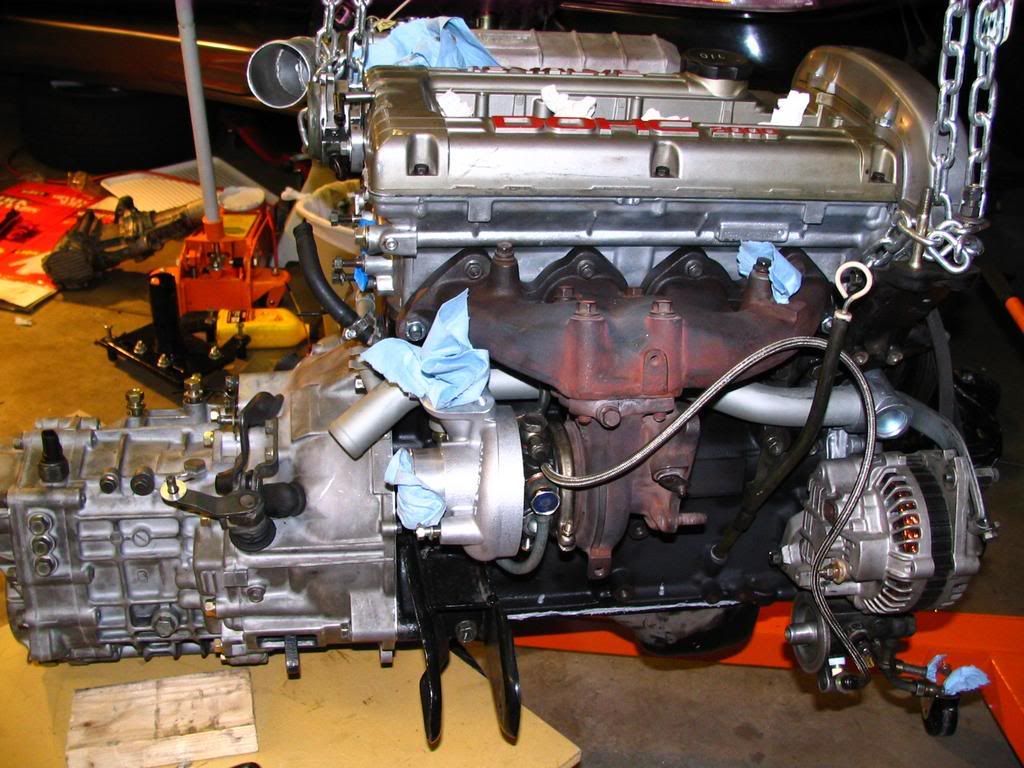
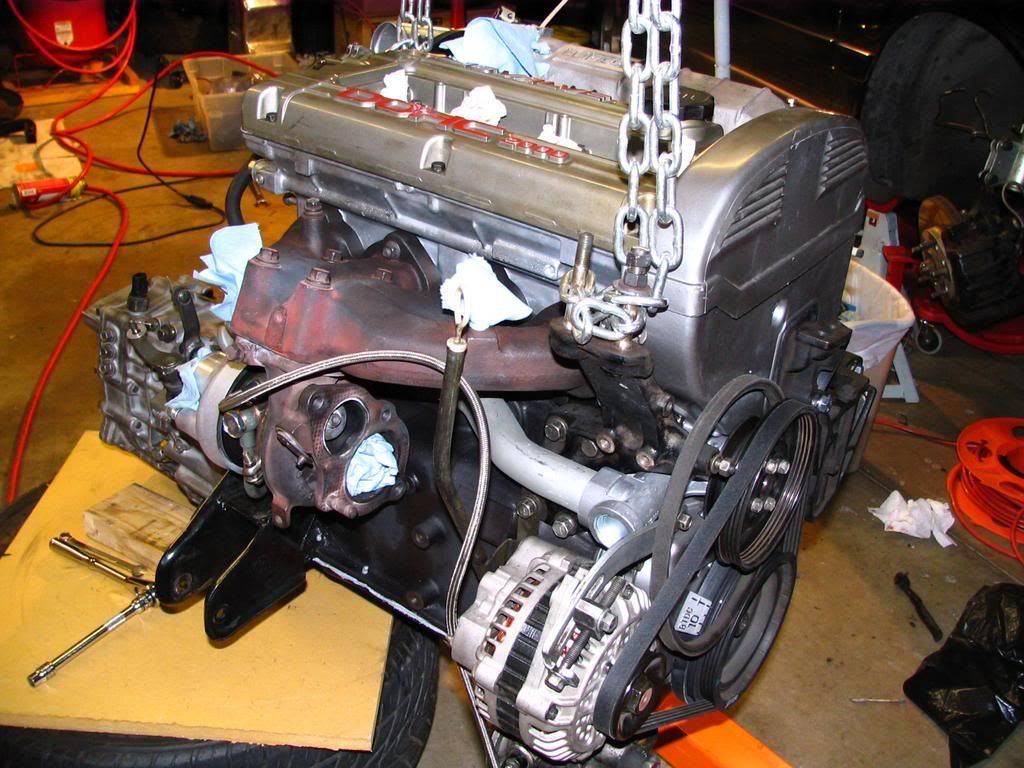
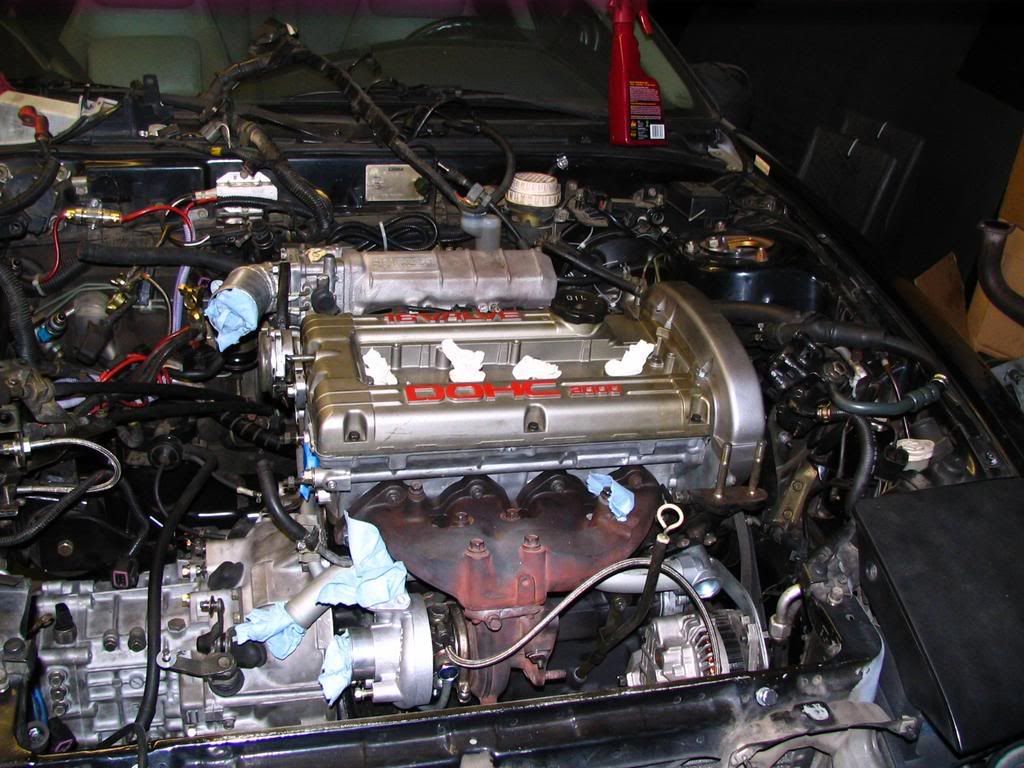
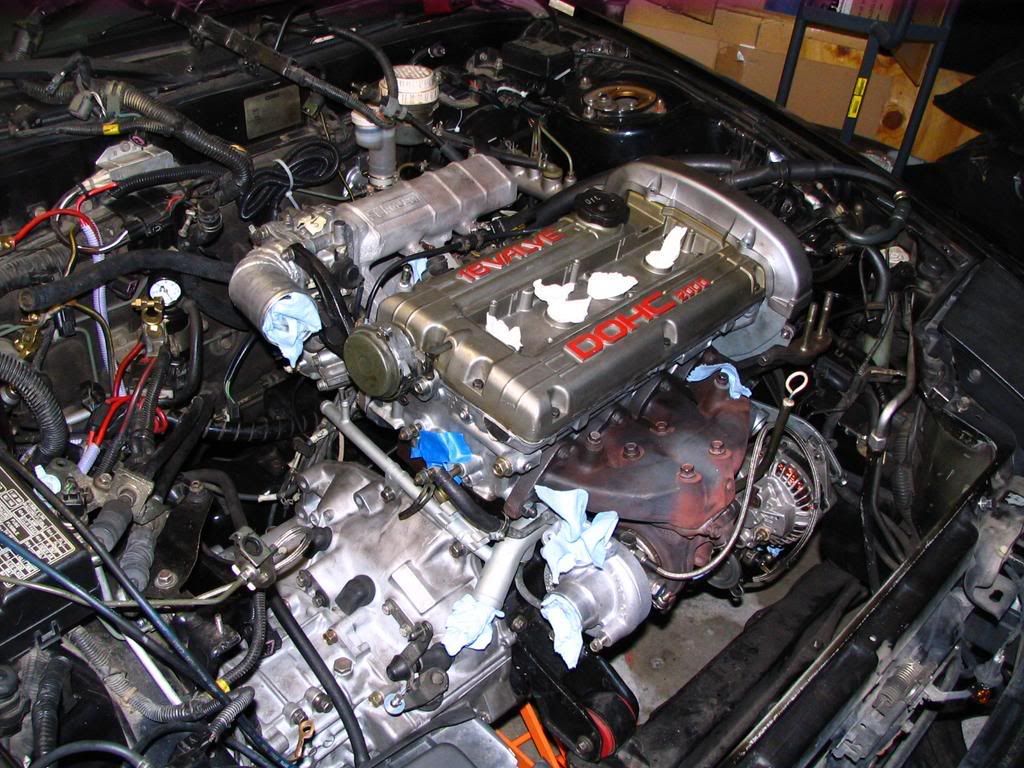
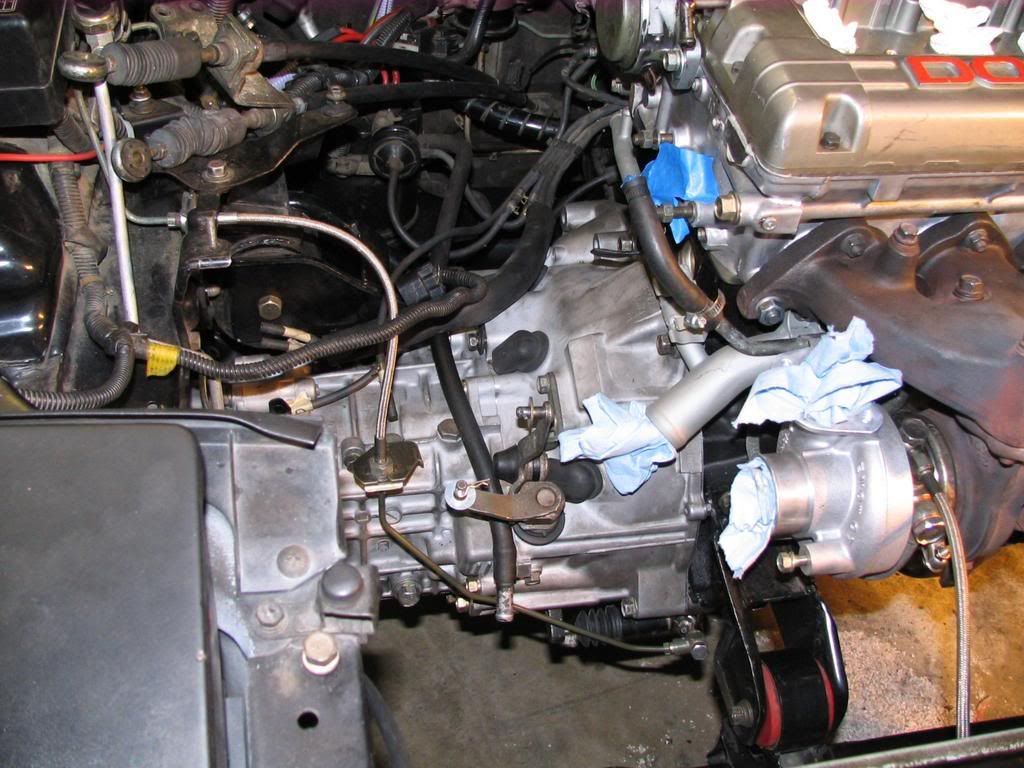
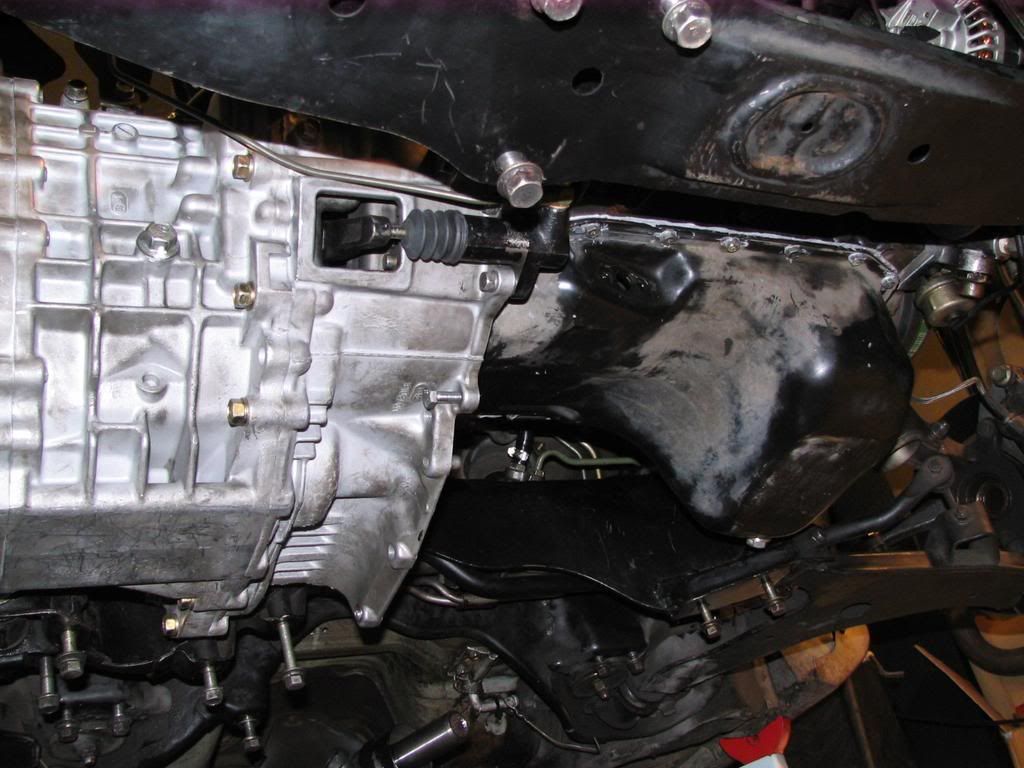
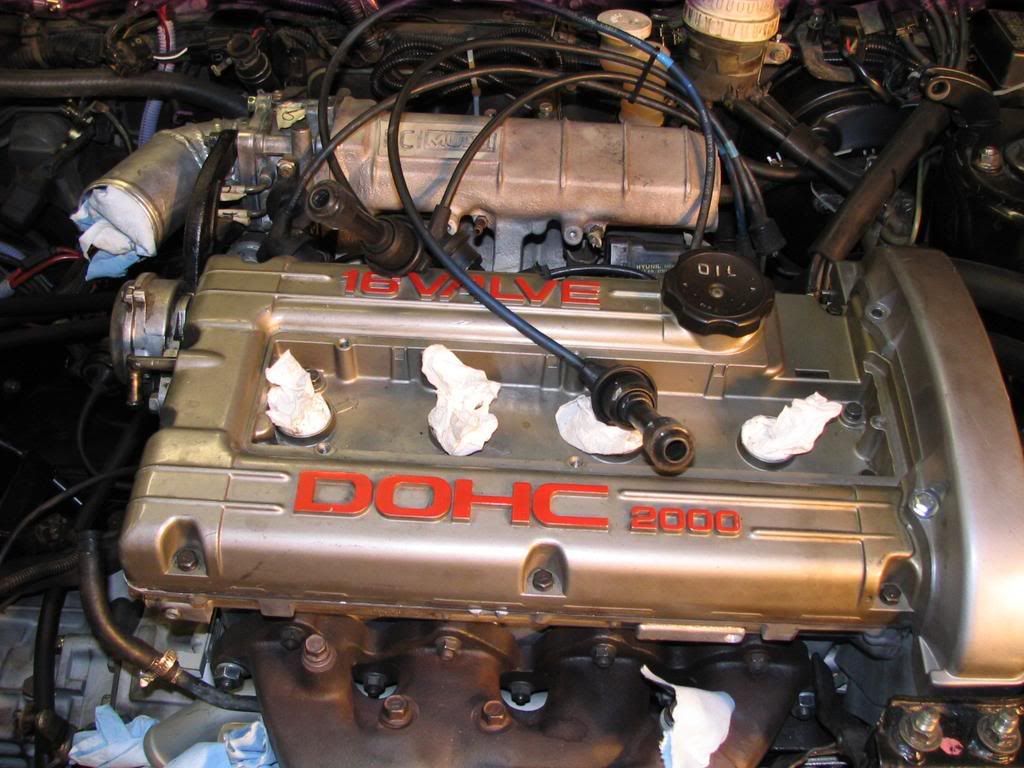
Okay, here we go. Yet another incredibly late update. Now that the engine is completely assembled, its time to bolt up the transmission before dropping it in. This was a little tricky by myself, but not to bad thanks to the cherry picker.


IMG_8280.jpg IMG_8280.JPG picture by stringfr
IMG_8281.jpg IMG_8281.JPG picture by stringfrIMG_8279.jpg IMG_8279.JPG picture by stringfrIMG_8284.jpg IMG_8284.JPG picture by stringfrIMG_8286.jpg IMG_8286.JPG picture by stringfr


All put together and ready to go in:

IMG_8288.jpg IMG_8288.JPG picture by stringfr
IMG_8289.jpg IMG_8289.JPG picture by stringfr


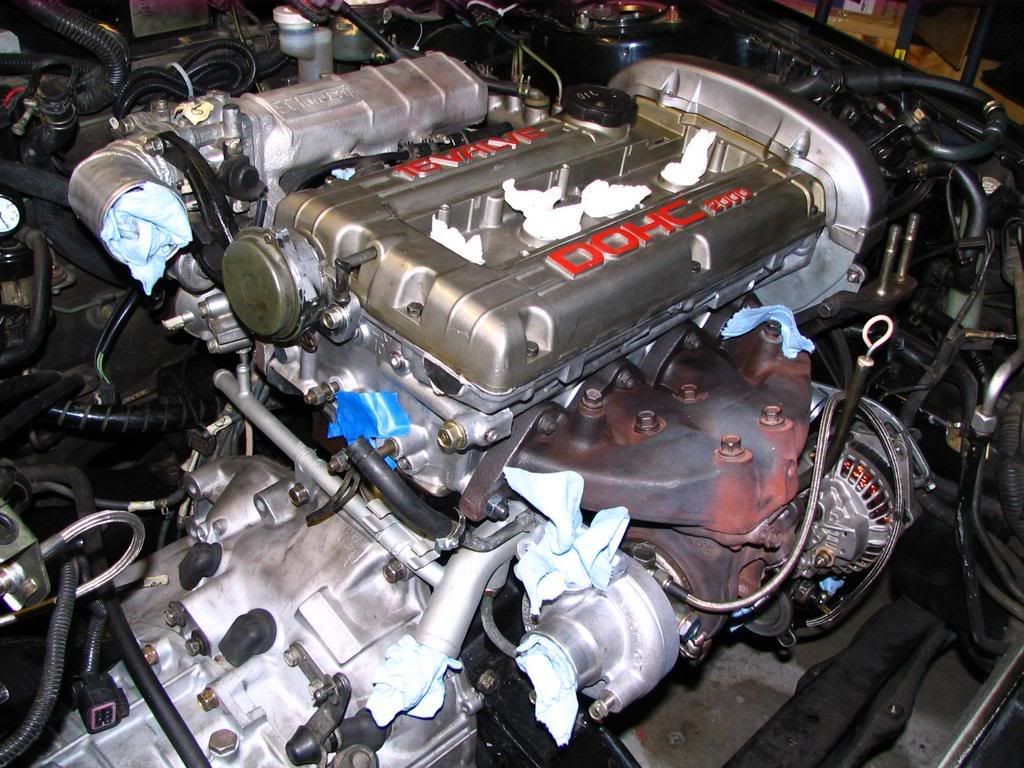
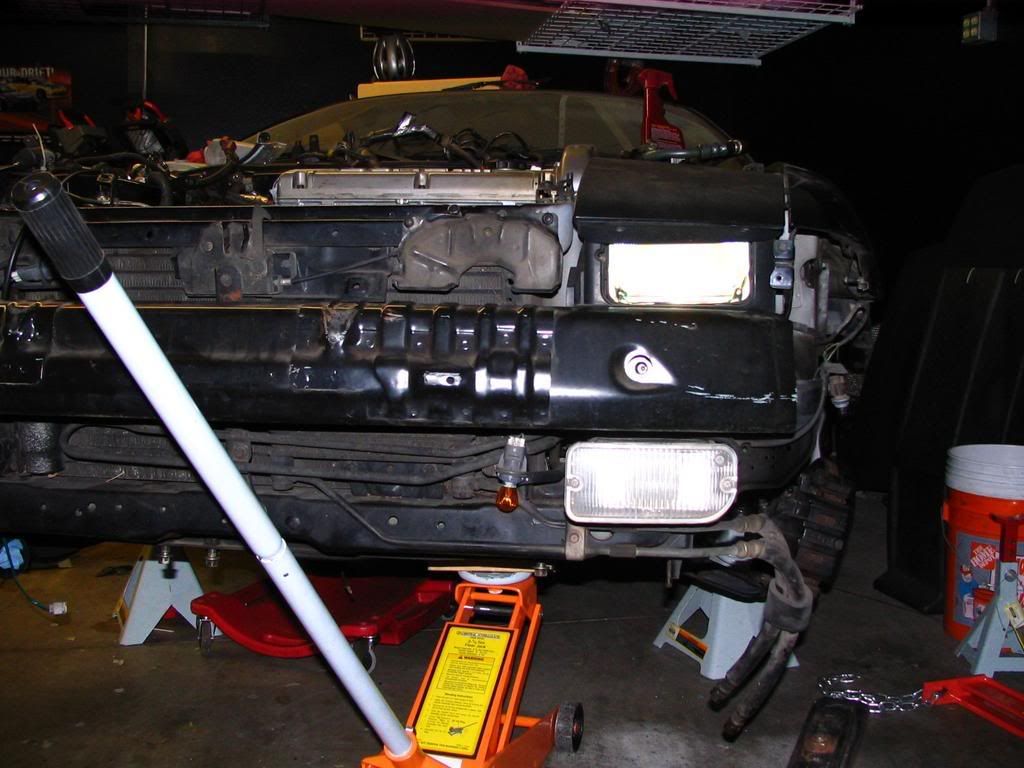
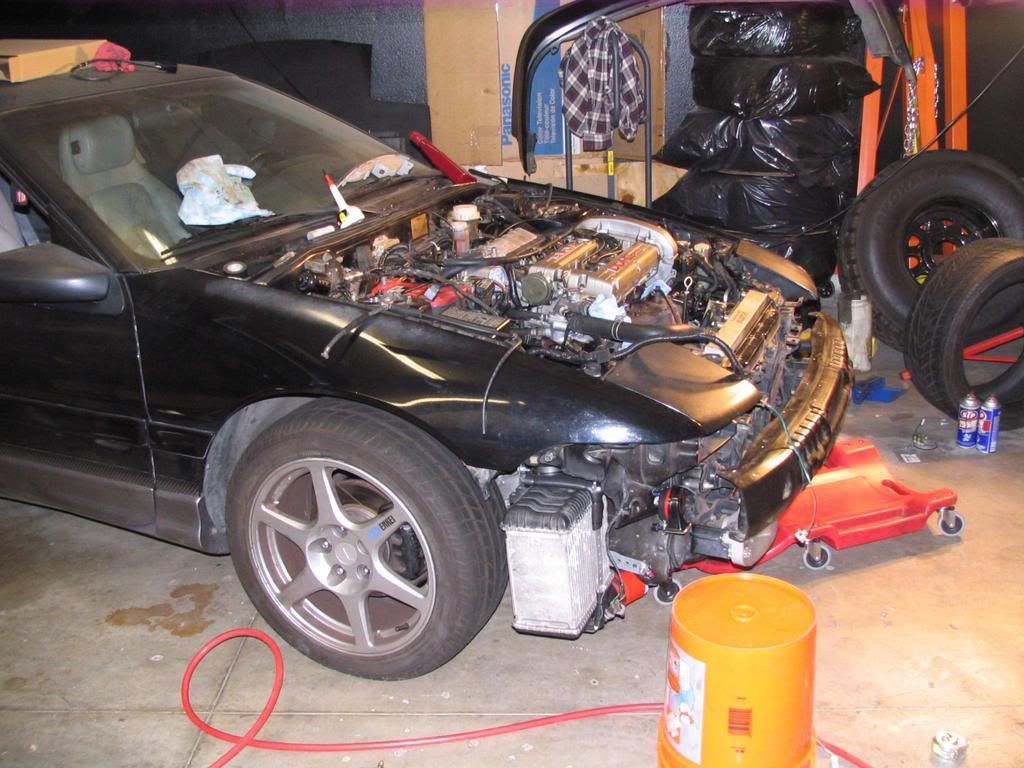
Sorry, no pics of hoisting it into the car (all hands were busy). Just like removing the engine, we jacked the car WAY up in the air and slid the whole assembly in from underneath and then lowered the car down.

IMG_8290.jpg IMG_8290.JPG picture by stringfr
IMG_8291.jpg IMG_8291.JPG picture by stringfrIMG_8292.jpg IMG_8292.JPG picture by stringfr


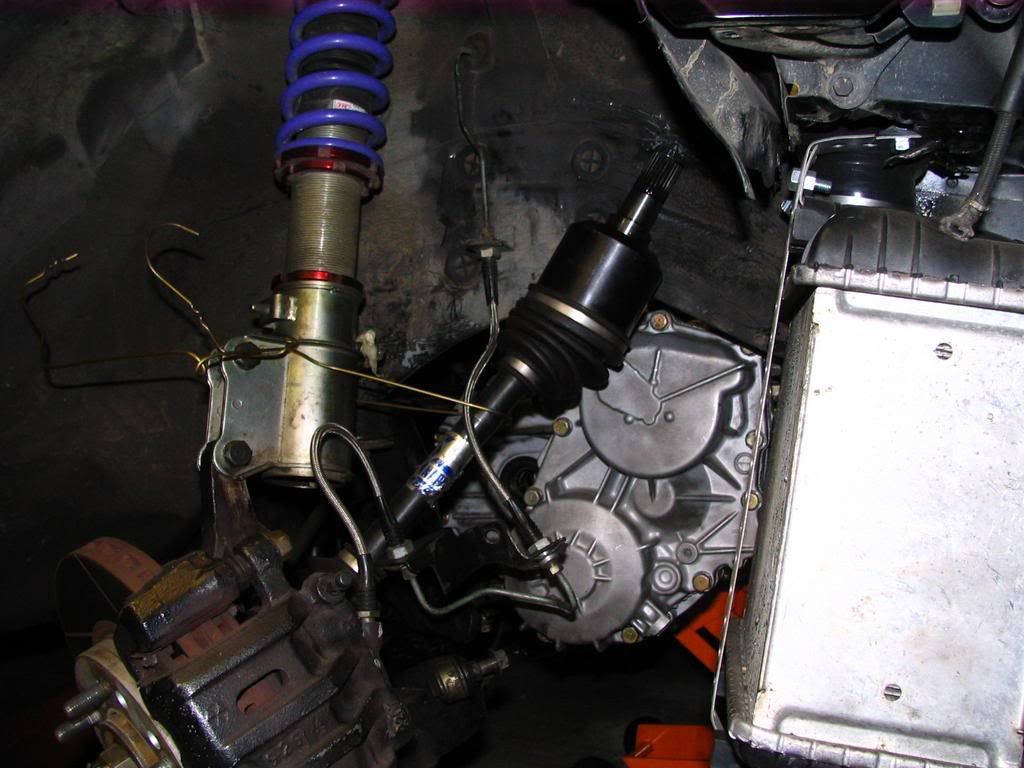
Oh, one tip I forgot to point out when removing everything. Here's how I supported the axle when I pulled it out of the transmission:

IMG_8293.jpg IMG_8293.JPG picture by stringfr


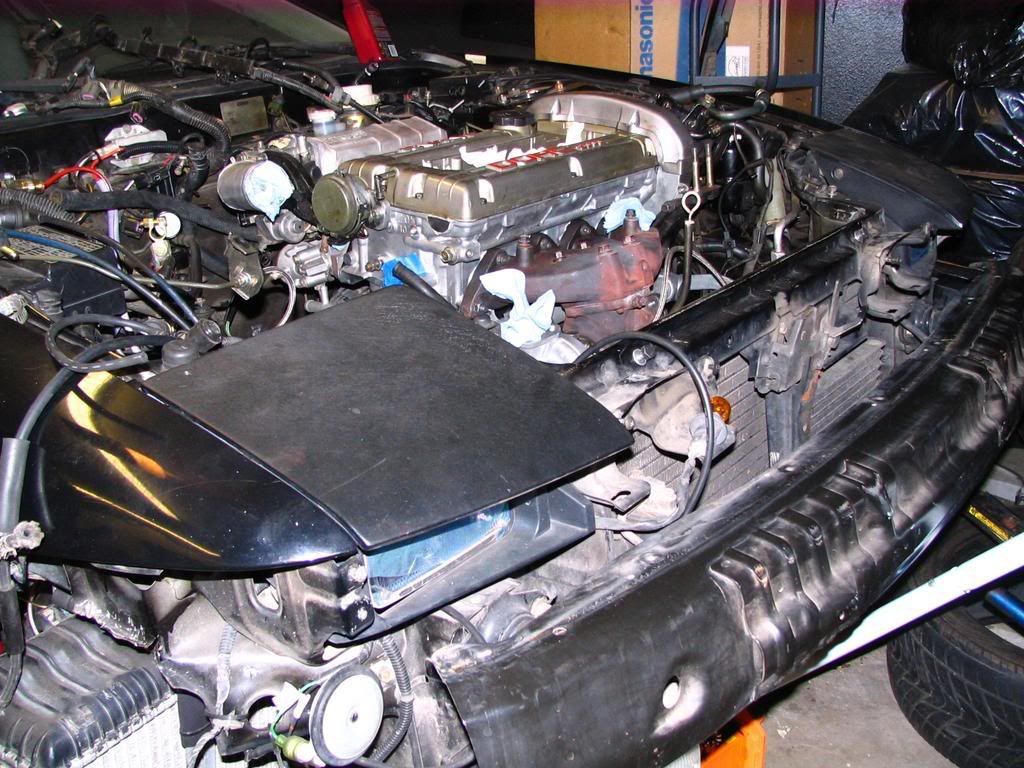
Progression of hooking everything back up:

IMG_8294.jpg IMG_8294.JPG picture by stringfr
IMG_8295.jpg IMG_8295.JPG picture by stringfrIMG_9150.jpg IMG_9150.JPG picture by stringfrIMG_9157.jpg IMG_9157.JPG picture by stringfrIMG_9158.jpg IMG_9158.JPG picture by stringfrIMG_9247.jpg IMG_9247.JPG picture by stringfrIMG_9248.jpg IMG_9248.JPG picture by stringfrIMG_9249.jpg IMG_9249.JPG picture by stringfr


Brand new t-stat housing:

IMG_9163.jpg IMG_9163.JPG picture by stringfr
IMG_9164.jpg IMG_9164.JPG picture by stringfr


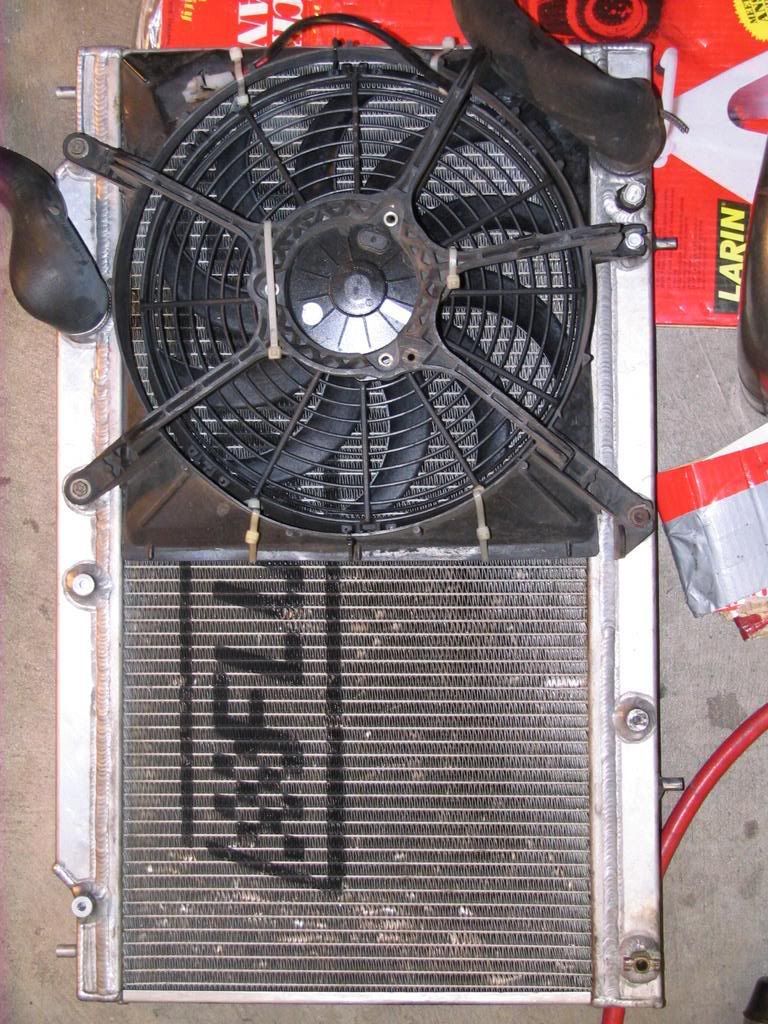
Radiator ready to go in:

IMG_9250.jpg IMG_9250.JPG picture by stringfr


So close, yet so far away

IMG_9251.jpg IMG_9251.JPG picture by stringfr
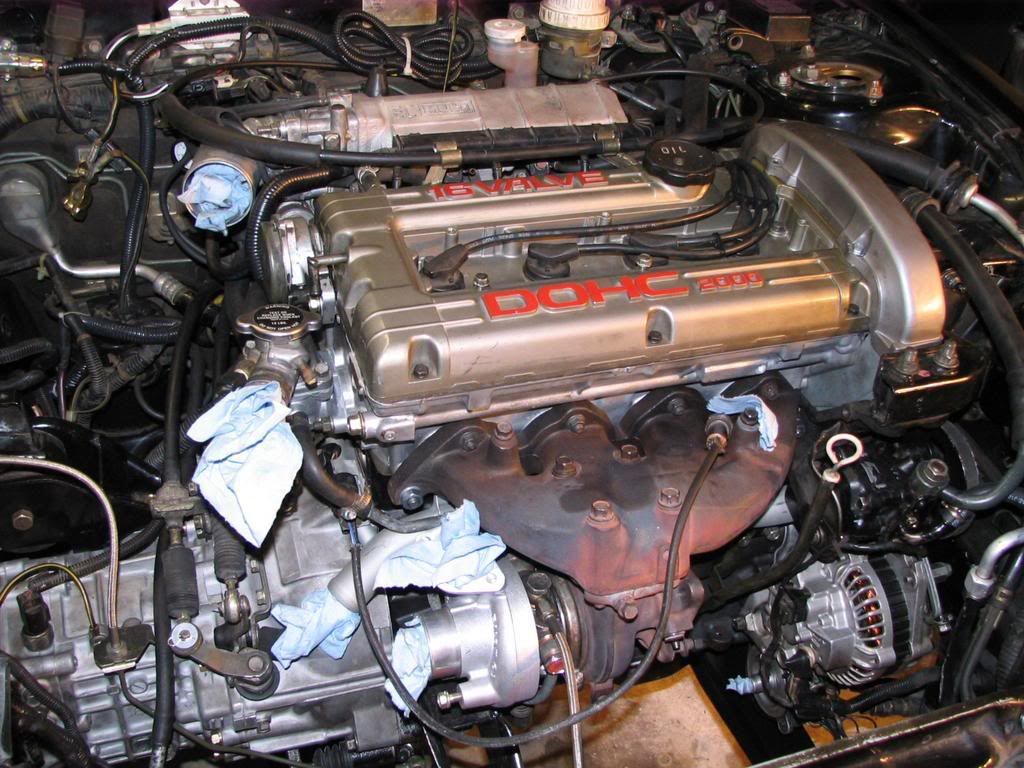
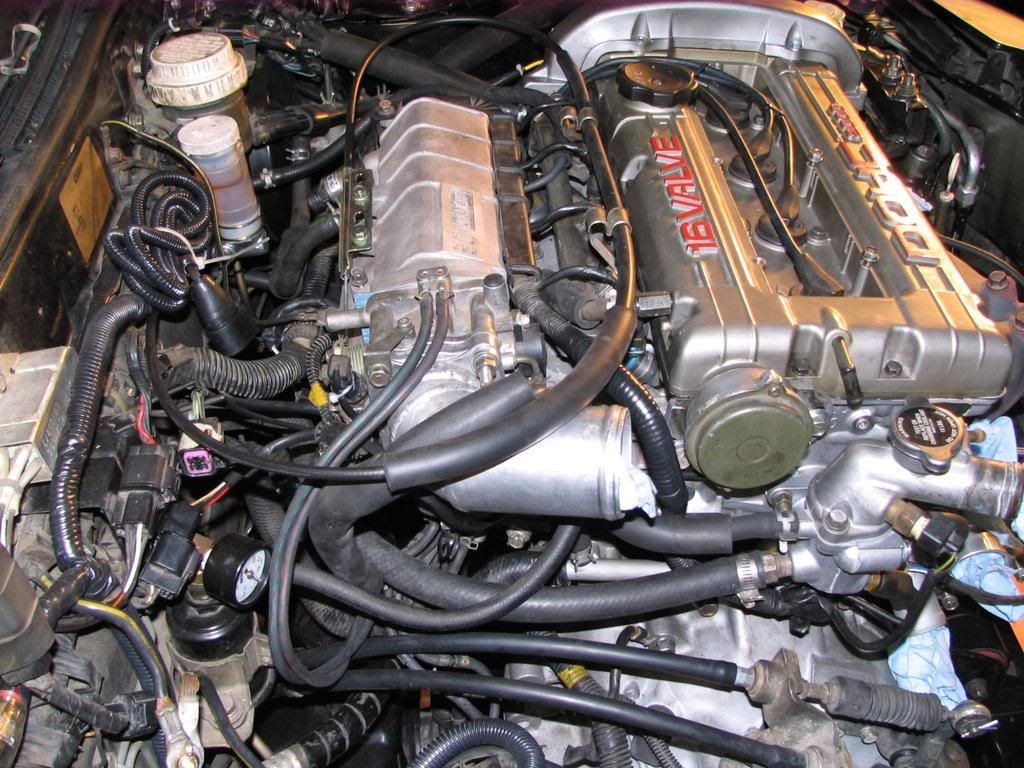
IMG_9253.jpg IMG_9253.JPG picture by stringfrIMG_9559.jpg IMG_9559.JPG picture by stringfr


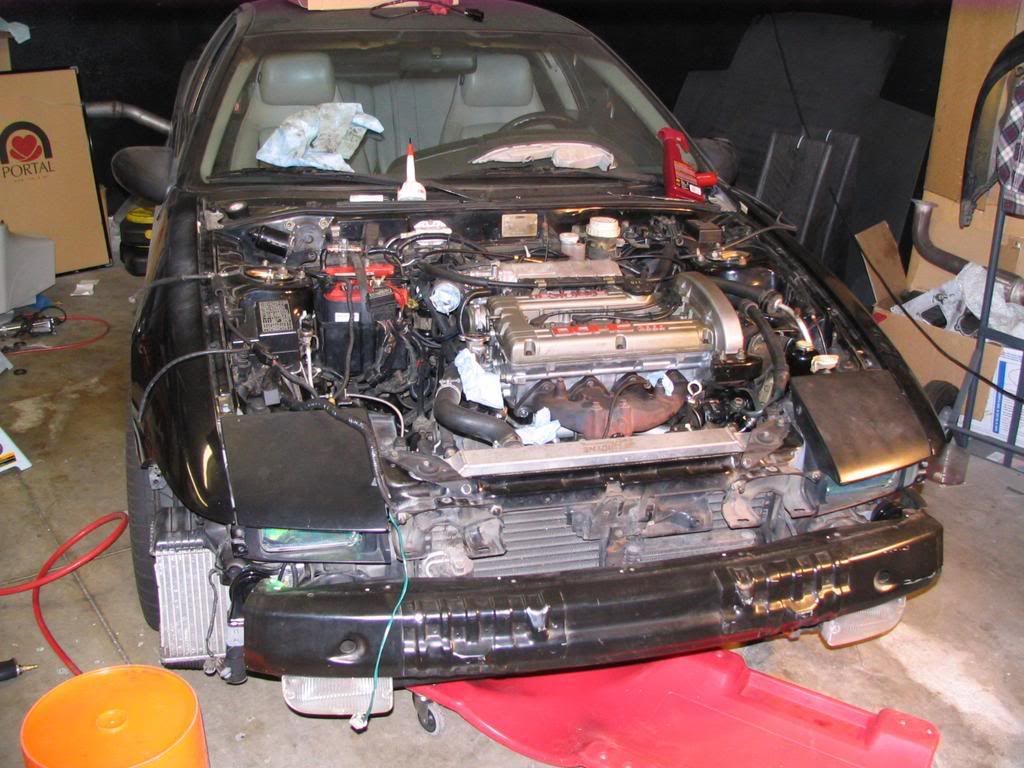
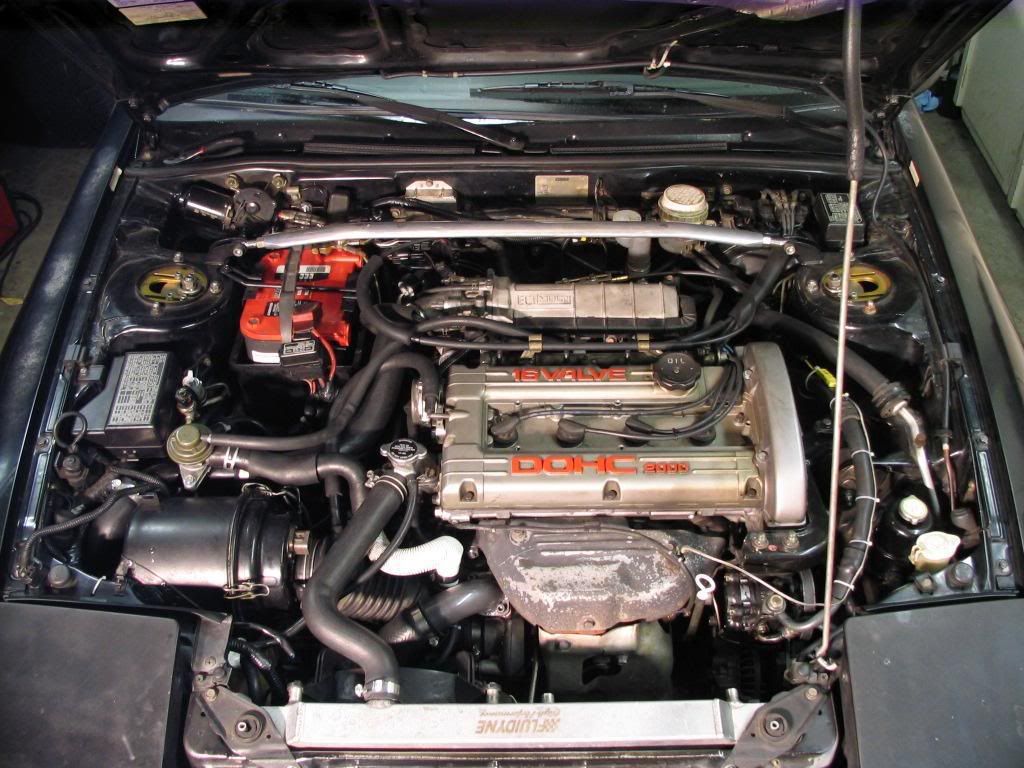
ALL RIGHT!! All put back together! Now all I have to do is prime the oil pump and fire it up! Stay tuned.

IMG_96293.jpg IMG_9629 (3).JPG picture by stringfr

Tuesday, April 1, 2008

Red Line Time Attack!

I wanted to enter my car in the Time Attack season opener last Sunday, but I'm still fine tuning and prepping the car. Megan and I did go up to Buttonwillow to spectate, though. Here's a short video that I put together from the event:


More updates on last year's engine swap coming soon! =P